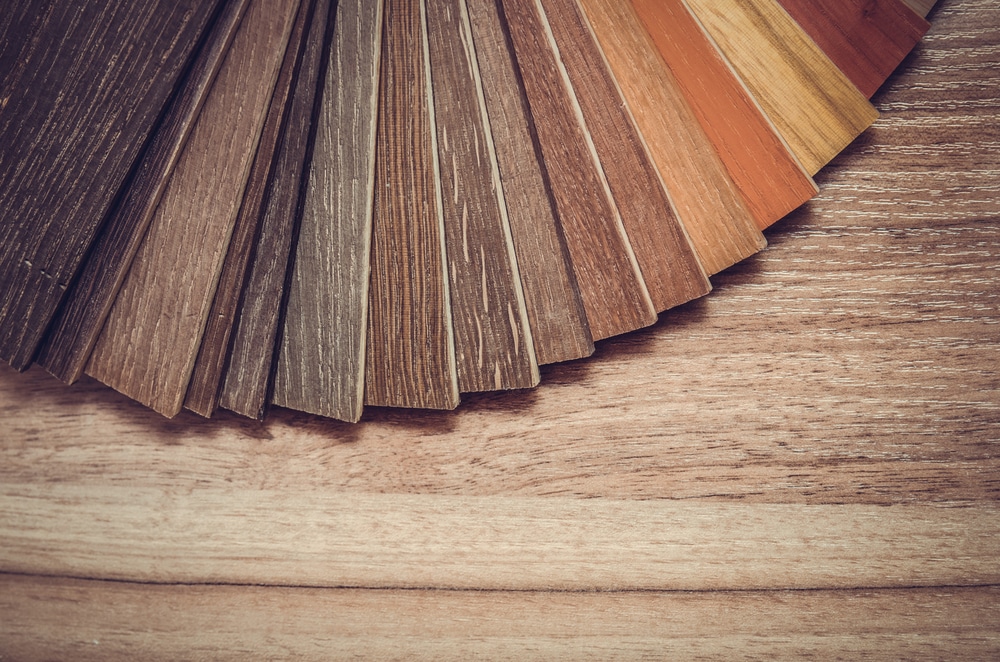
Before we even bought the bus, we were visiting different vendors to pick up flooring samples. It was going to be installed in no time and we needed to have it NOW. As it turned out, it took over five months to get to the flooring phase and there was more to flooring that we had ever realized. Real wood flooring is thick and heavy. Fake wood flooring is cheap particle board with a sticker on top. Roll out vinyl is easily ruined and impossible to patch. Then came along a great product called vinyl plank flooring. Vinyl plank looks like wood, is texture like wood, is more durable than wood, and is easily fixed if scarred (guess how we know?)
There are a lot of options when it comes to vinyl plank flooring. Some are less than $.97 per square foot, while some of the other higher end products are more than $4.00 per square foot. We ended up purchasing a very nice mid ranged product that was the exact color we were looking for. Unfortunately this flooring sat in our kitchen (Dustin’s second garage) for 121 days while we completed the plethora of other things that needed done before the installation could begin. Such things included: spending a month on removing the track seating, cutting out the wheel wells to install flat floors, and installing the subfloor 5 times.
Vinyl plank flooring much like real hard wood flooring is assembled using tongues and grooves which, make for an incredibly easy and fast install. Once we began the installation we installed the full 27′ of flooring in about 5 hours.

The dog box (engine cover), steps, and final row of flooring were the biggest challenges we ran into. Overall the installation was quite painless. Taking our time and making patterns (you know we love patterns) we formed the vinyl planks around the dog box. Our initial foam, and subfloor pattern fit perfectly around the the dog box, but the vinyl planks took a little more finesse. After a little bit of trimming with a box cutter, we were able to fit the vinyl planks in perfectly snug around the dog box.


One small bit

This was a minor setback since the old steps needed to be removed, framed out, and insulated before we could start to finish them using the vinyl planks. It took another two weeks working off and on between other projects before we had the walls of the steps done. We still need to decide what to do with the actual steps but other than that, the floor is complete.


