When we were deciding whether or not to purchase a bus we made a list of the pros and cons. As many of you that own a bus have found out, there are far more pros to converting a bus than there is to buying/renovating a RV. Since we are downsizing from 1,312.85 ft² to 172.50 ft² we needed to come up with a way to maximize our living space without being able to physically change the size of the bus. Sort of like that old saying, you can’t fit 10lbs of shit in a 5lb sack.
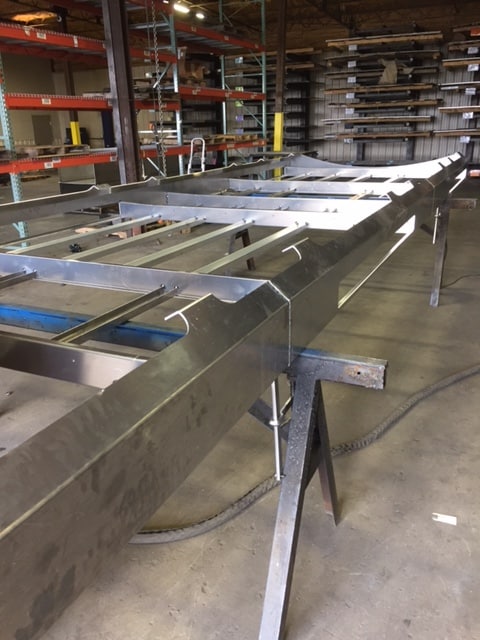
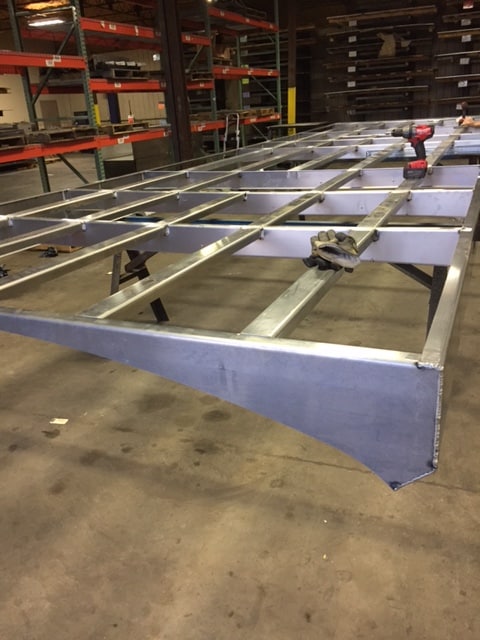
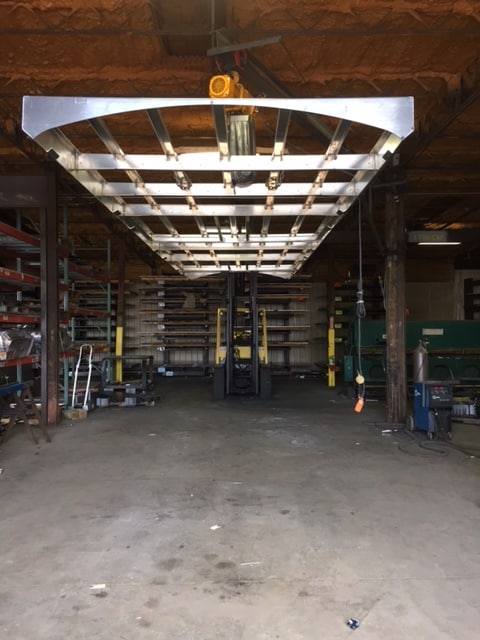
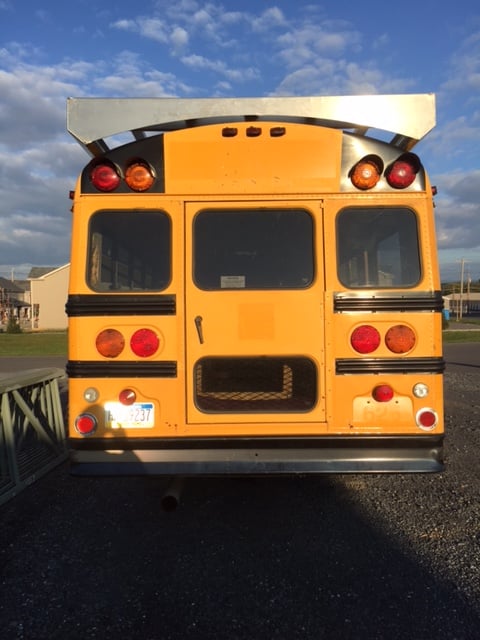
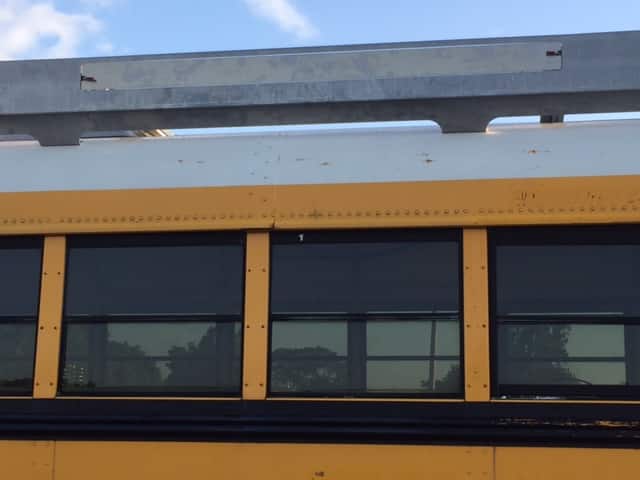
One of the biggest reasons we wanted a bus was to have a rooftop deck, and by doing so we would essentially double our square footage. Since owning the bus, we have seen many different shapes and sizes of rooftop decks. Some are super simple and are primarily used for storage, while others are full blown wooden decks that can hold fifteen people. Since our bus is only 27′ we decided that a full length deck was a must. Initially we were going to make it ourselves. Since this entire build is a guessing game we decided that it would be better to have a professional company build the deck. We did not trust ourselves enough to properly secure the decking to ensure everyone’s safety while we are traveling.
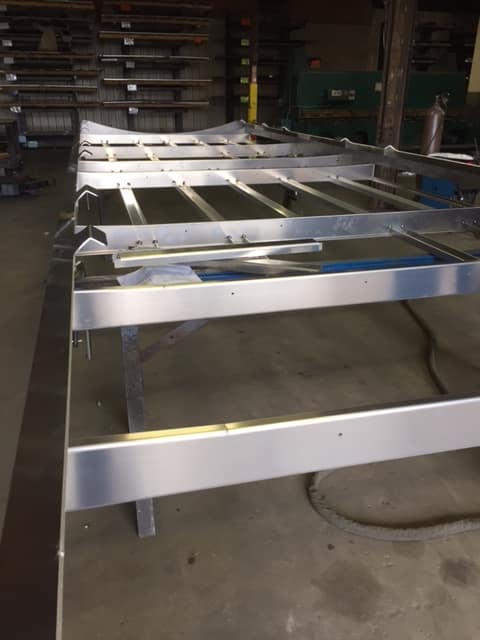
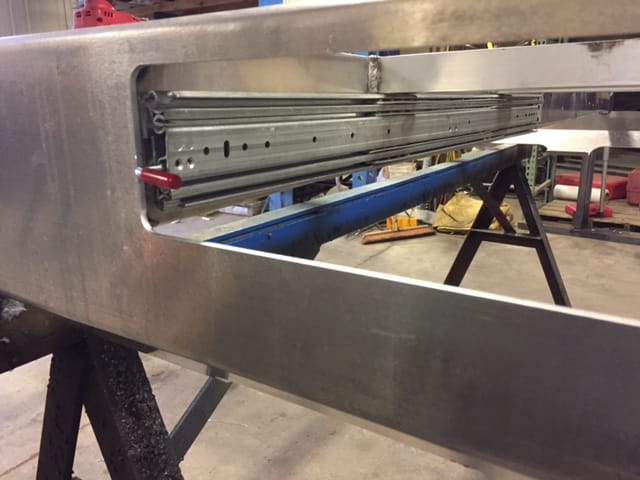
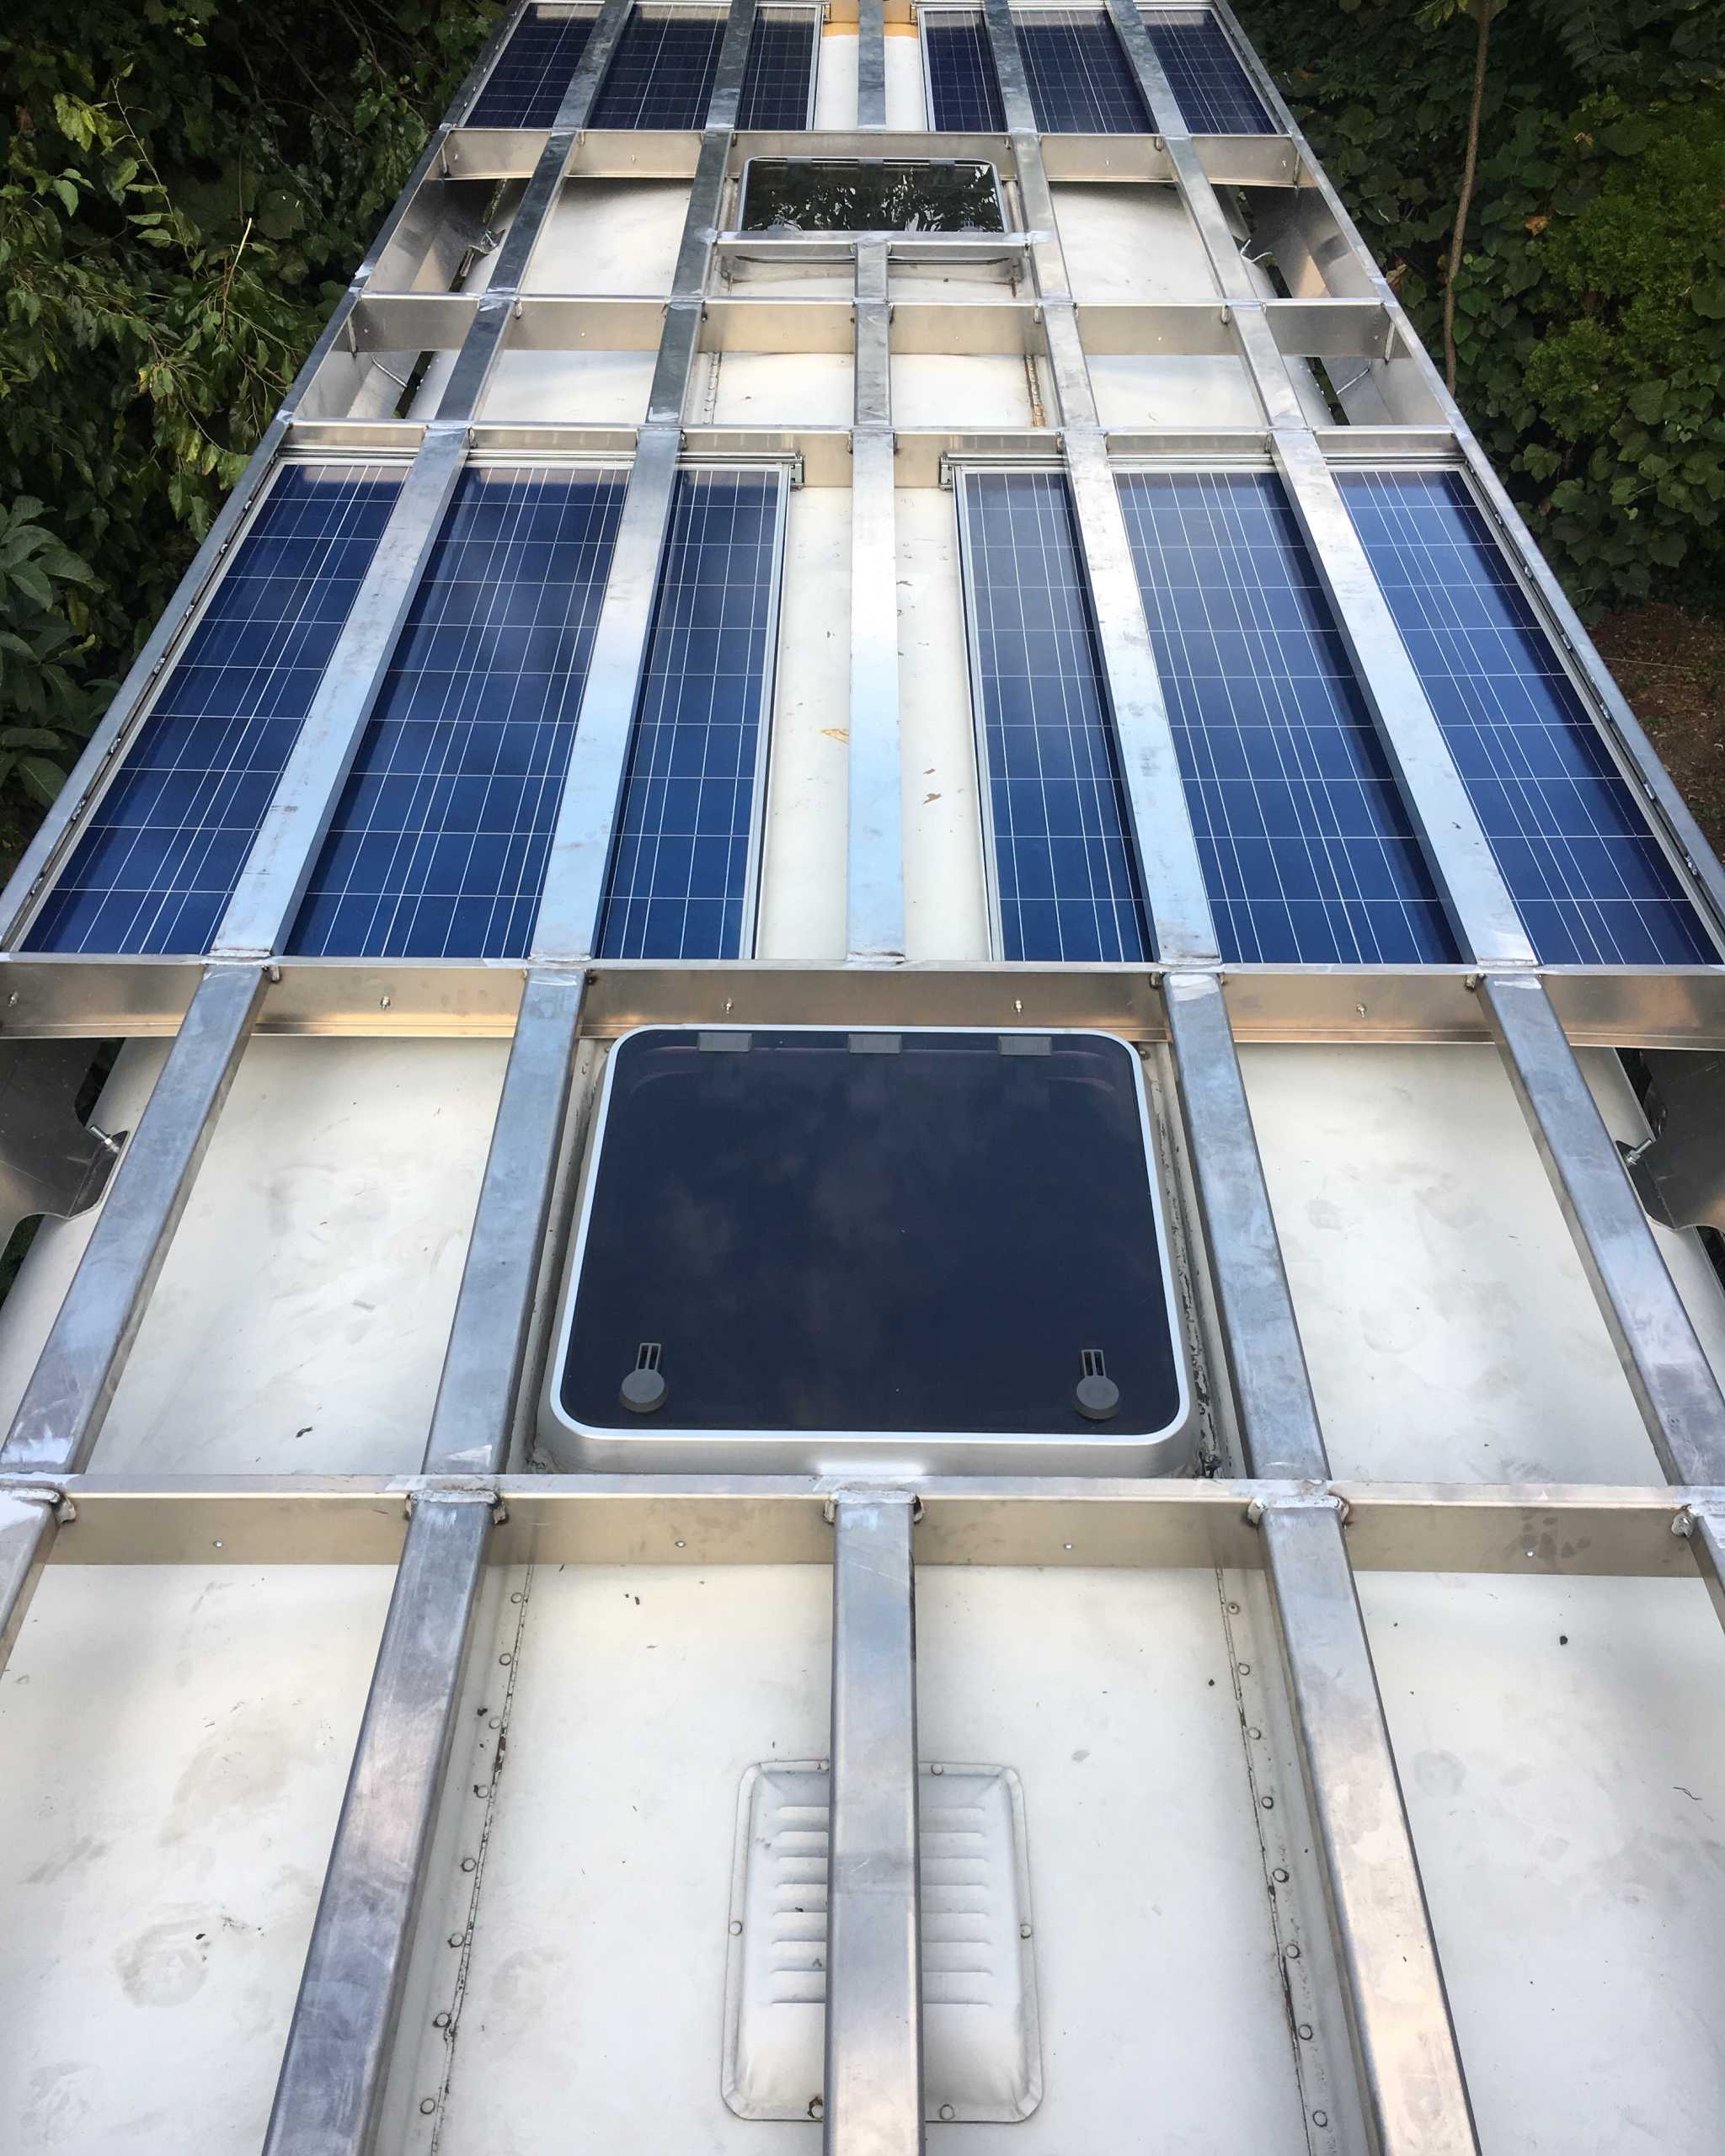
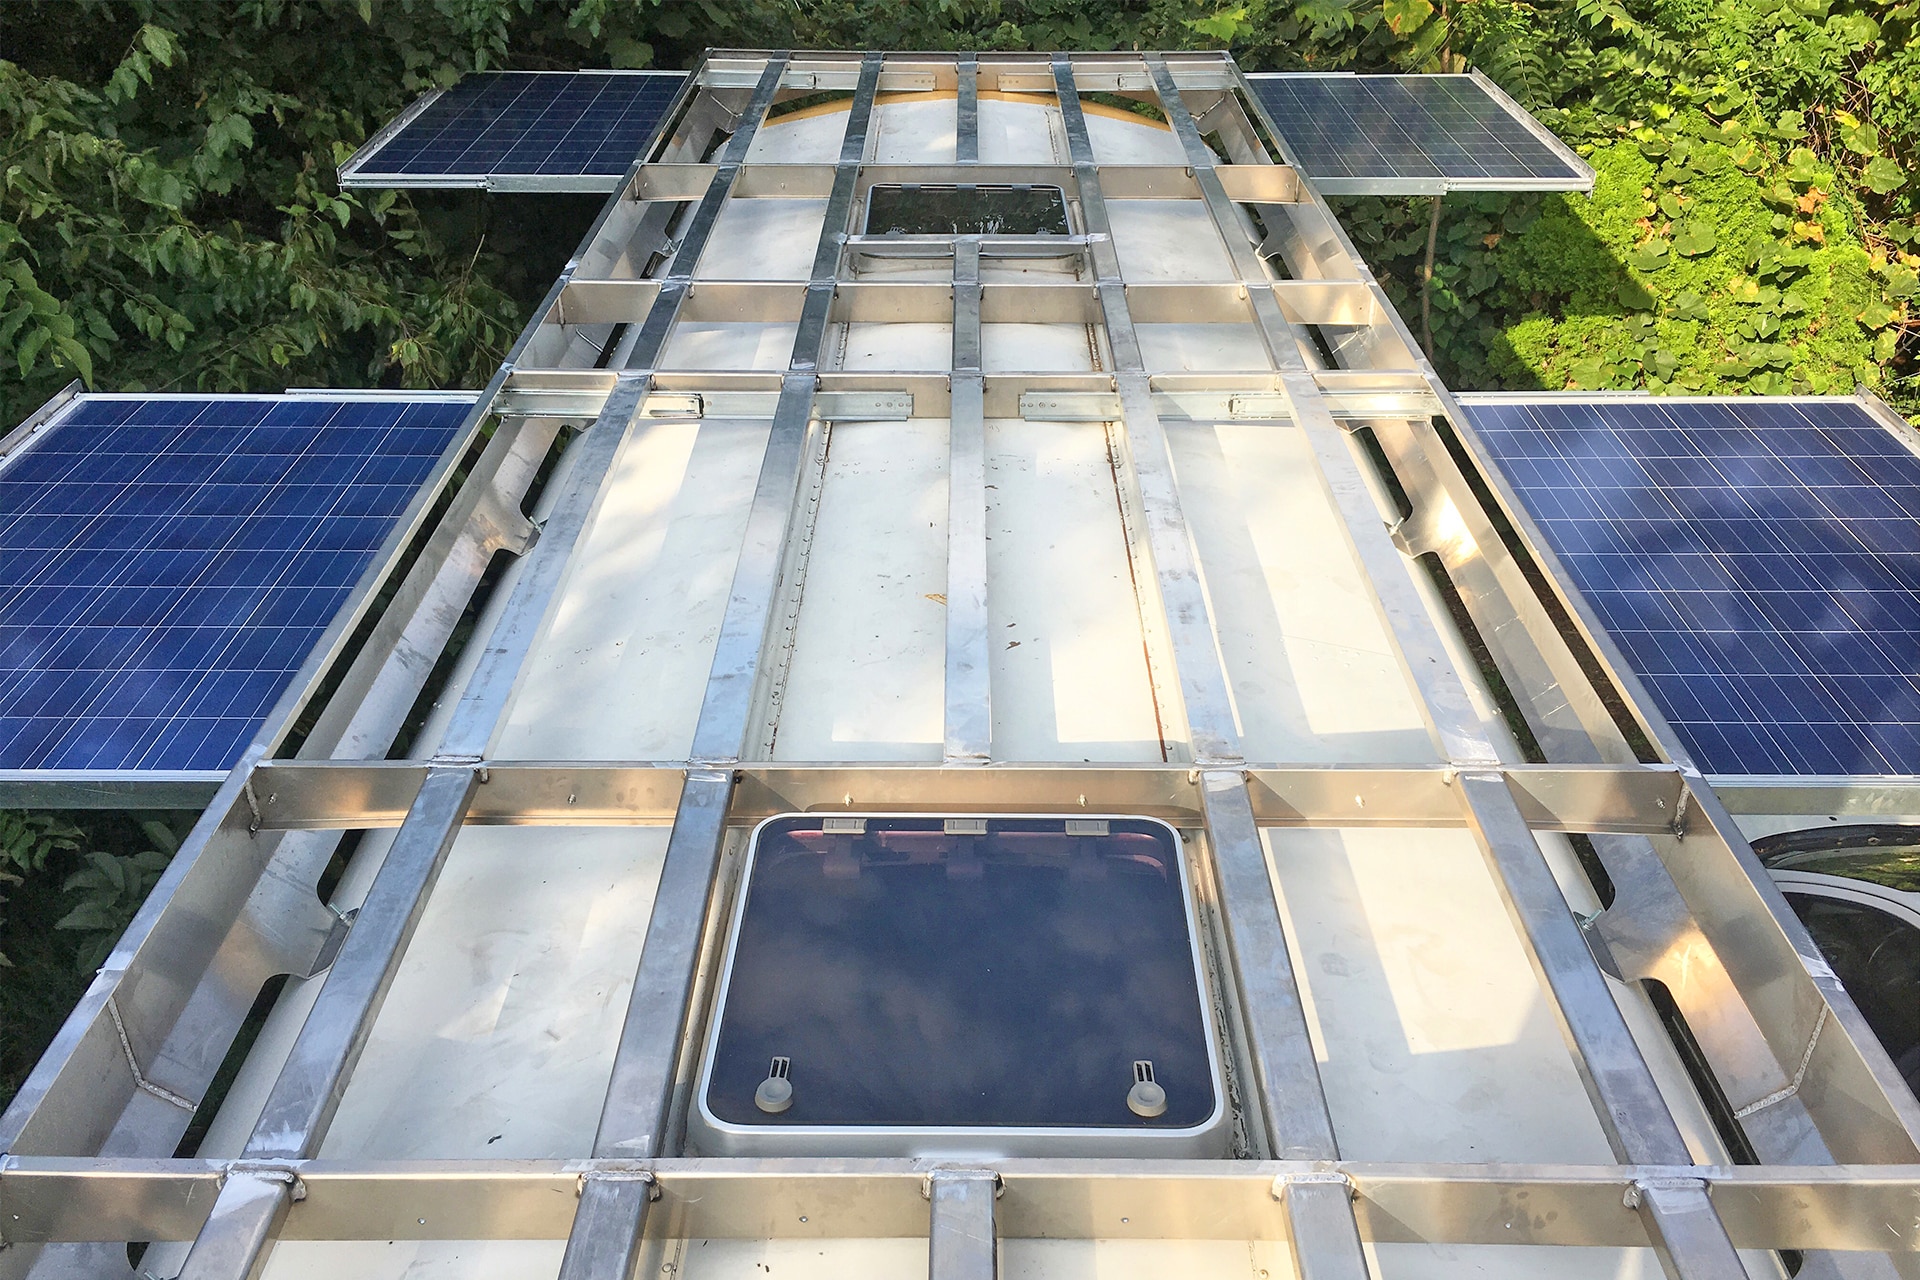
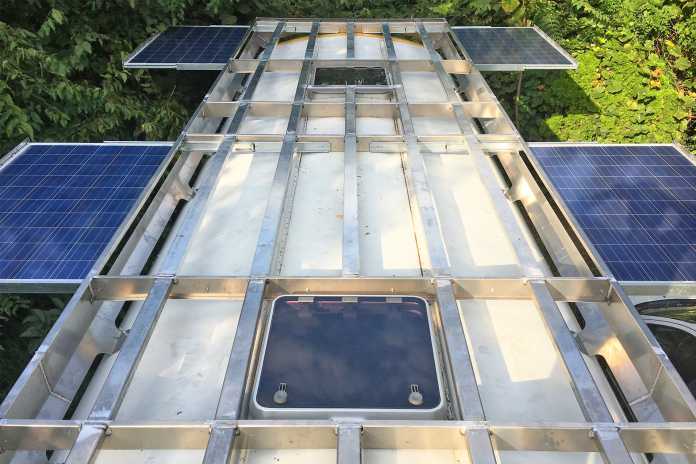
The biggest challenge we had was trying to figure out what we were going to do with our solar panels. They obviously needed to be located on the roof but we didn’t want to pay to have the deck built and then just cover it in panels. We considered having the solar panels on hinges hanging down off of the deck and then flipping them up once we were parked. The problem with this design was that the majority of our windows would be covered while driving and it would be quite dark inside the bus. After taking some measurements of our panels, and between the roof hatches, we decided that having them on slides would be the best option. When we are driving the alternator will charge the 12v system, and when we are parked we can slide the panels out. The added benefit of having the panels on slides is that we can tuck them away during hail storms. This all took a while to design but unlike the majority of this project so far, we were only doing this ONCE.
Finishing up designing the deck came at the perfect time. We had been working on the bus for six months (our initial time frame to have the bus done) and we needed a break. We talked to a local company and they were eager to begin work on this project. Their portfolio was quite extensive, but they definitely had never done something like this before. They said they were about five weeks out and in the interim we decided to take a little vacation. We decided to go to Chincoteague for four days and we had a really fun time. Despite everything we did while at the beach, we couldn’t wait to get home and see progress on the bus.
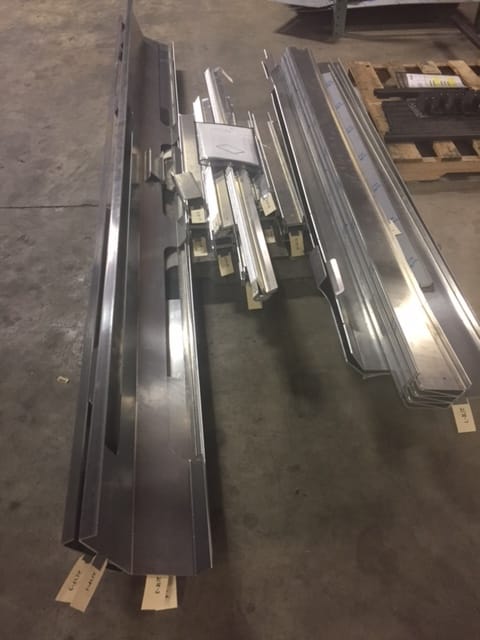
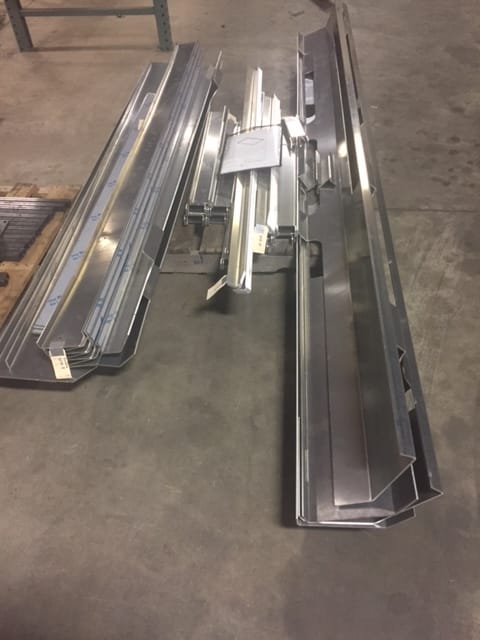
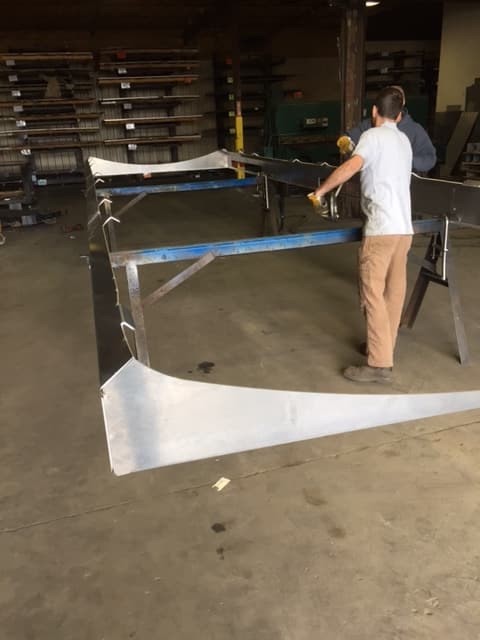
Once we returned to Pennsylvania (bleck) we gave the welder a call and they said that the drafter was finalizing the CAD drawing and would send it to us for review. After a few minor changes, the deck was put into production and was done within days. We are extremely happy with how it turned out, and having the panels on slides is really great. We are still deciding on what boards to use to finish the deck, but that is on the super back burner.




Wow this is great!!! I’d like to have this set up on my bus. Do you share the cost of this project (the frame and slide outs for the solar panels) somewhere on your site? Thank you!
@yahal_bus
We don’t have the cost up anywhere because it was ridiculously expensive. In fact, it was more than we paid for the bus. It was designed in CAD by an engineer and the welded together by a local shop out of all aluminum. I will say that just the slide were $1,000. They are able to hold 50 pounds upon full extension. Our friends http://russthebuss.com have a deck as well but mounted their solar on top. The benefit is that it was way cheaper, but the drawback is that you lose dancing space. 😉
Do you have a video of the solar panels and slides, so I get a better idea on this?
Sorry, no video.
This is just what I want to do on my 28′ bus. There is a local fabricator that can do it. I’m a structural engineer and use AutoCAD and wanted to keep whatever I added light and Aluminum maybe with teak slats is the way to go. I really like what you did with the roof hatches. I was looking over my plastic up there and it is getting pretty worn. I wanted to have new ones fabbed with a clear hatch, maybe the vent option like the stock ones have, but maybe not. Any chance you can sell plans? My roof looks very similar, ’99 Thomas Built.
The hatched we used a Lewmar boat hatches and they have a vent on them. Shoot us an email and we can probably work something out for the plans. hello@sasquatters.com