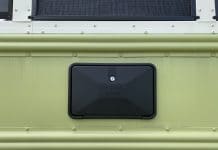
We decided that the original bus handle on the side and rear doors were ugly and not secure. You could lock the two doors but only by using a pin from the inside. Having the convenience to lock and unlock the doors from the outside was a necessity. Check out this tutorial on how to add more Insulation while the door is apart.

Tools
| Drill | Screw Driver | Chisel |
| Hammer | Punch | Angle Grinder |
| Cutting Wheel | Grinding Wheel | Dremel |
| Rivet Gun | Rivets |
Materials
| Silicone | RV Latch |
Prep Work:
Start by taking all of the screws out of the original latch and sliding the mechanism off.
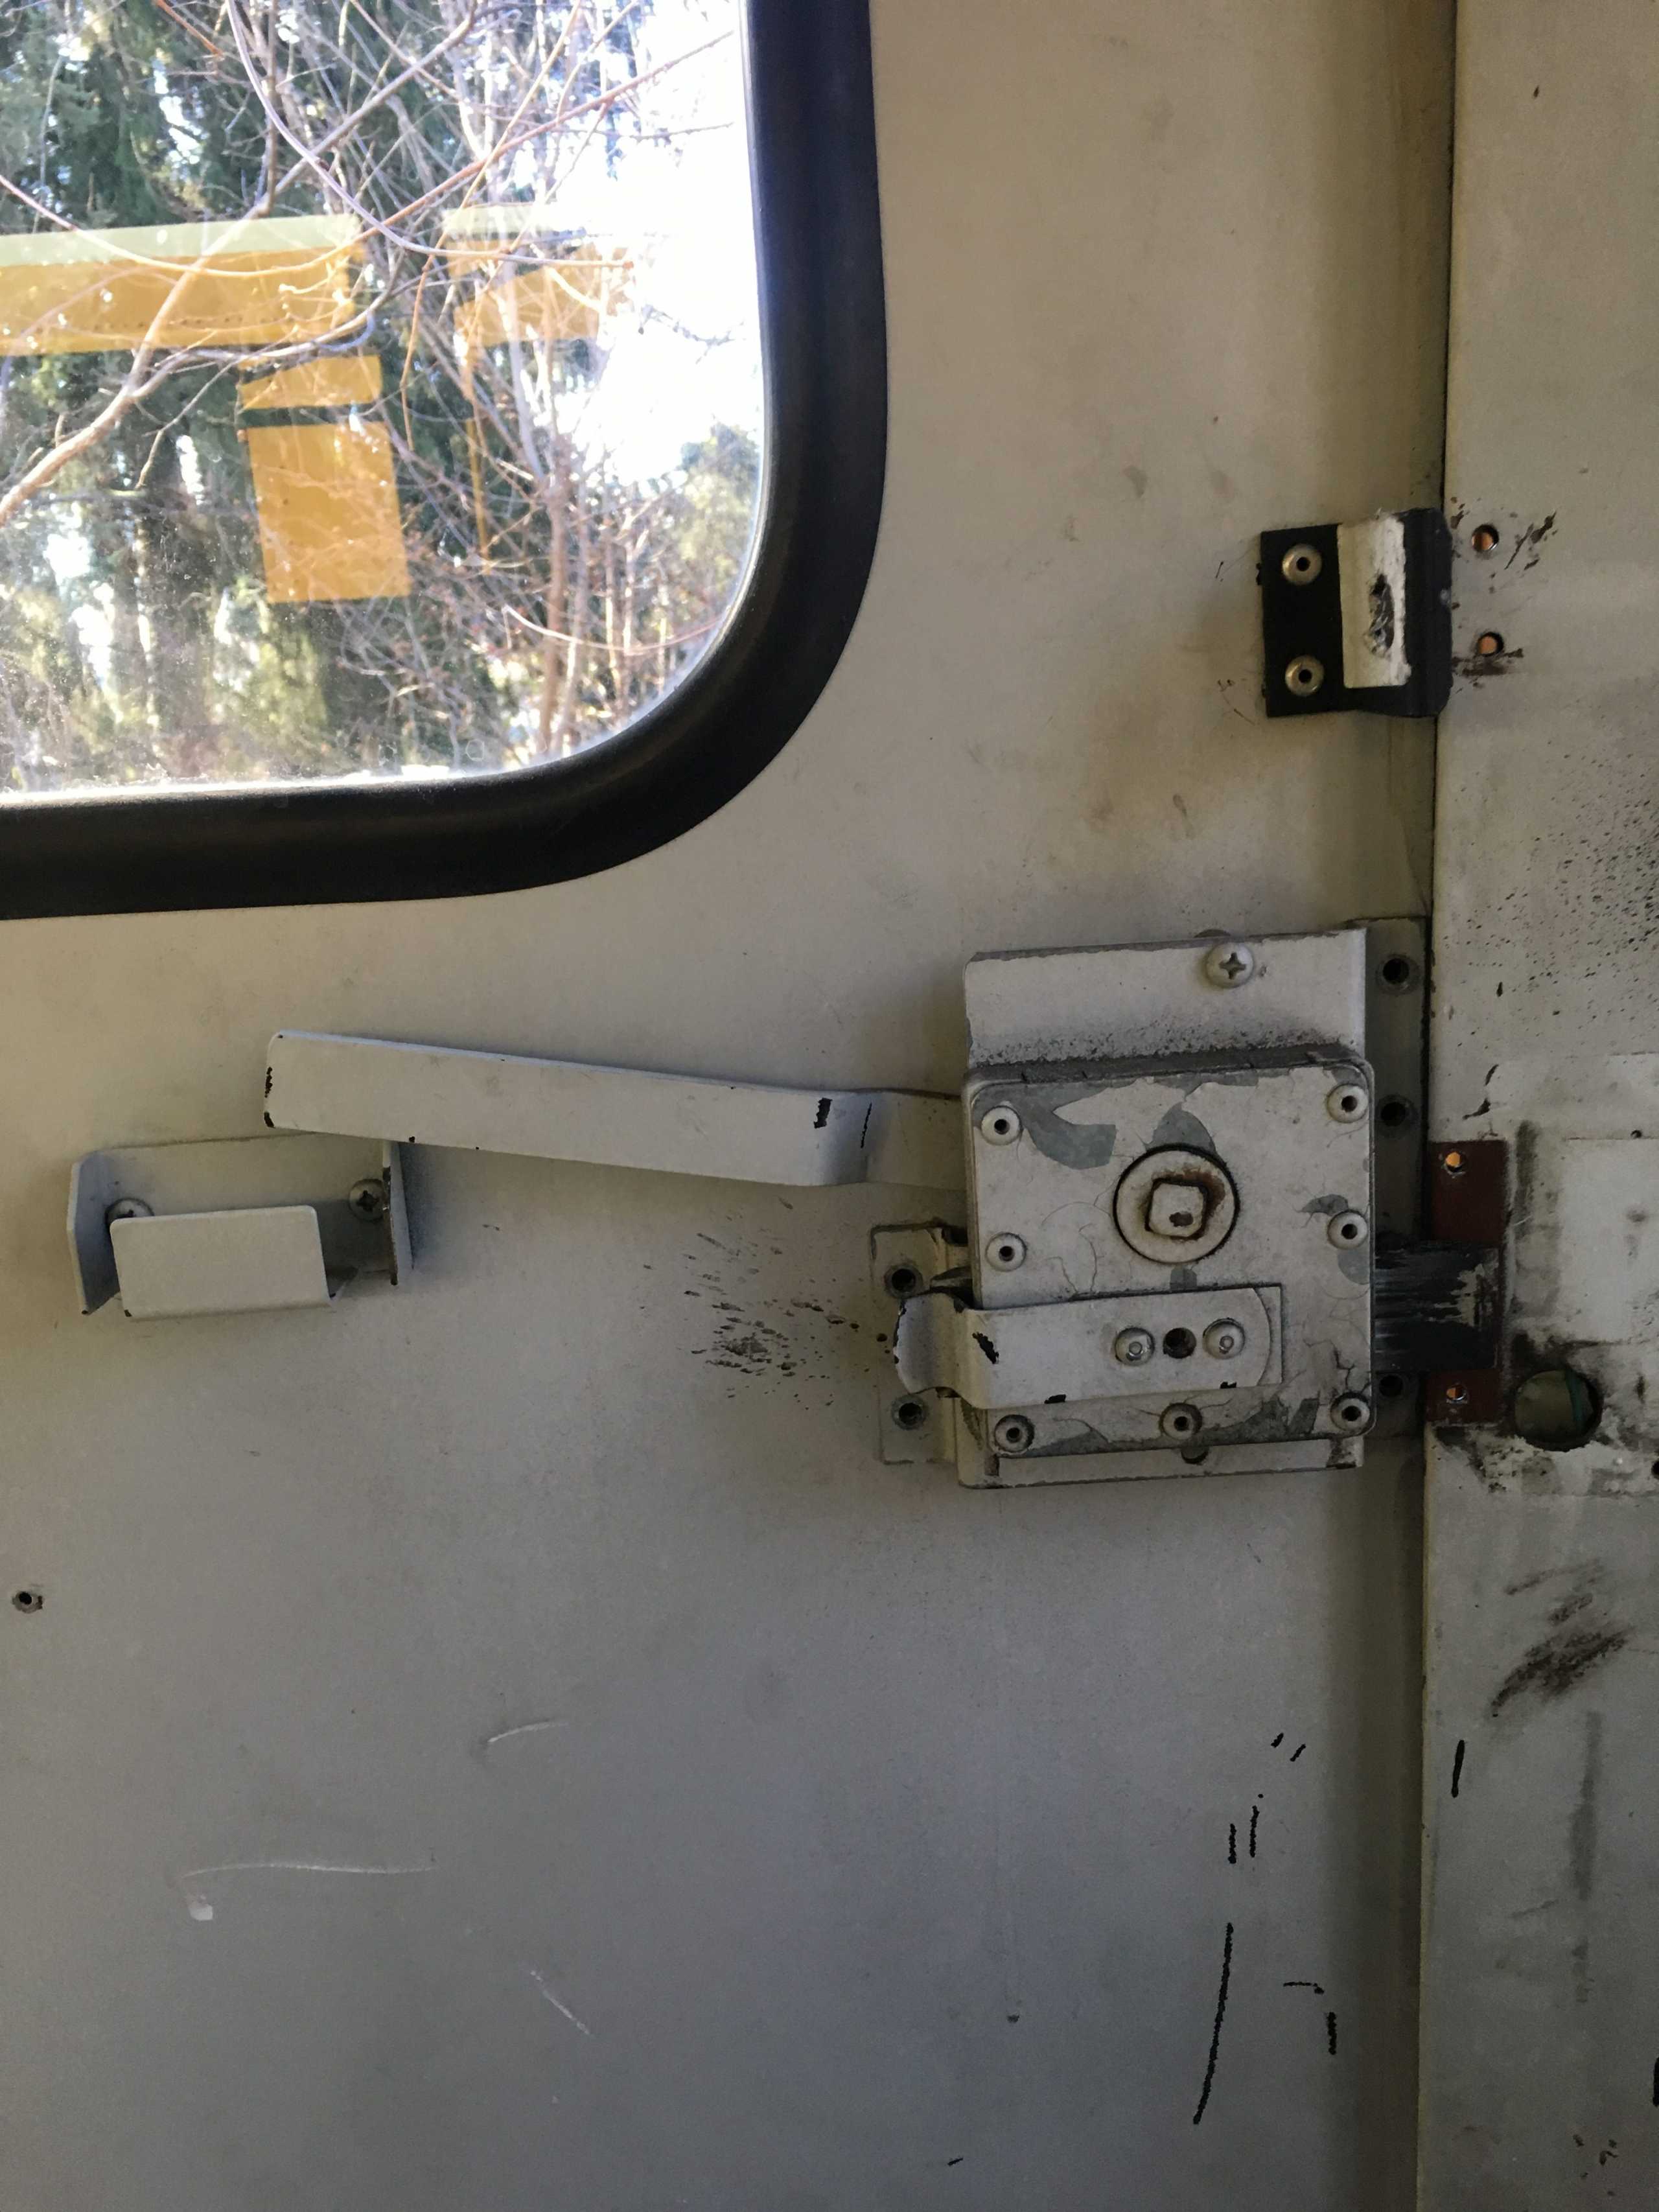
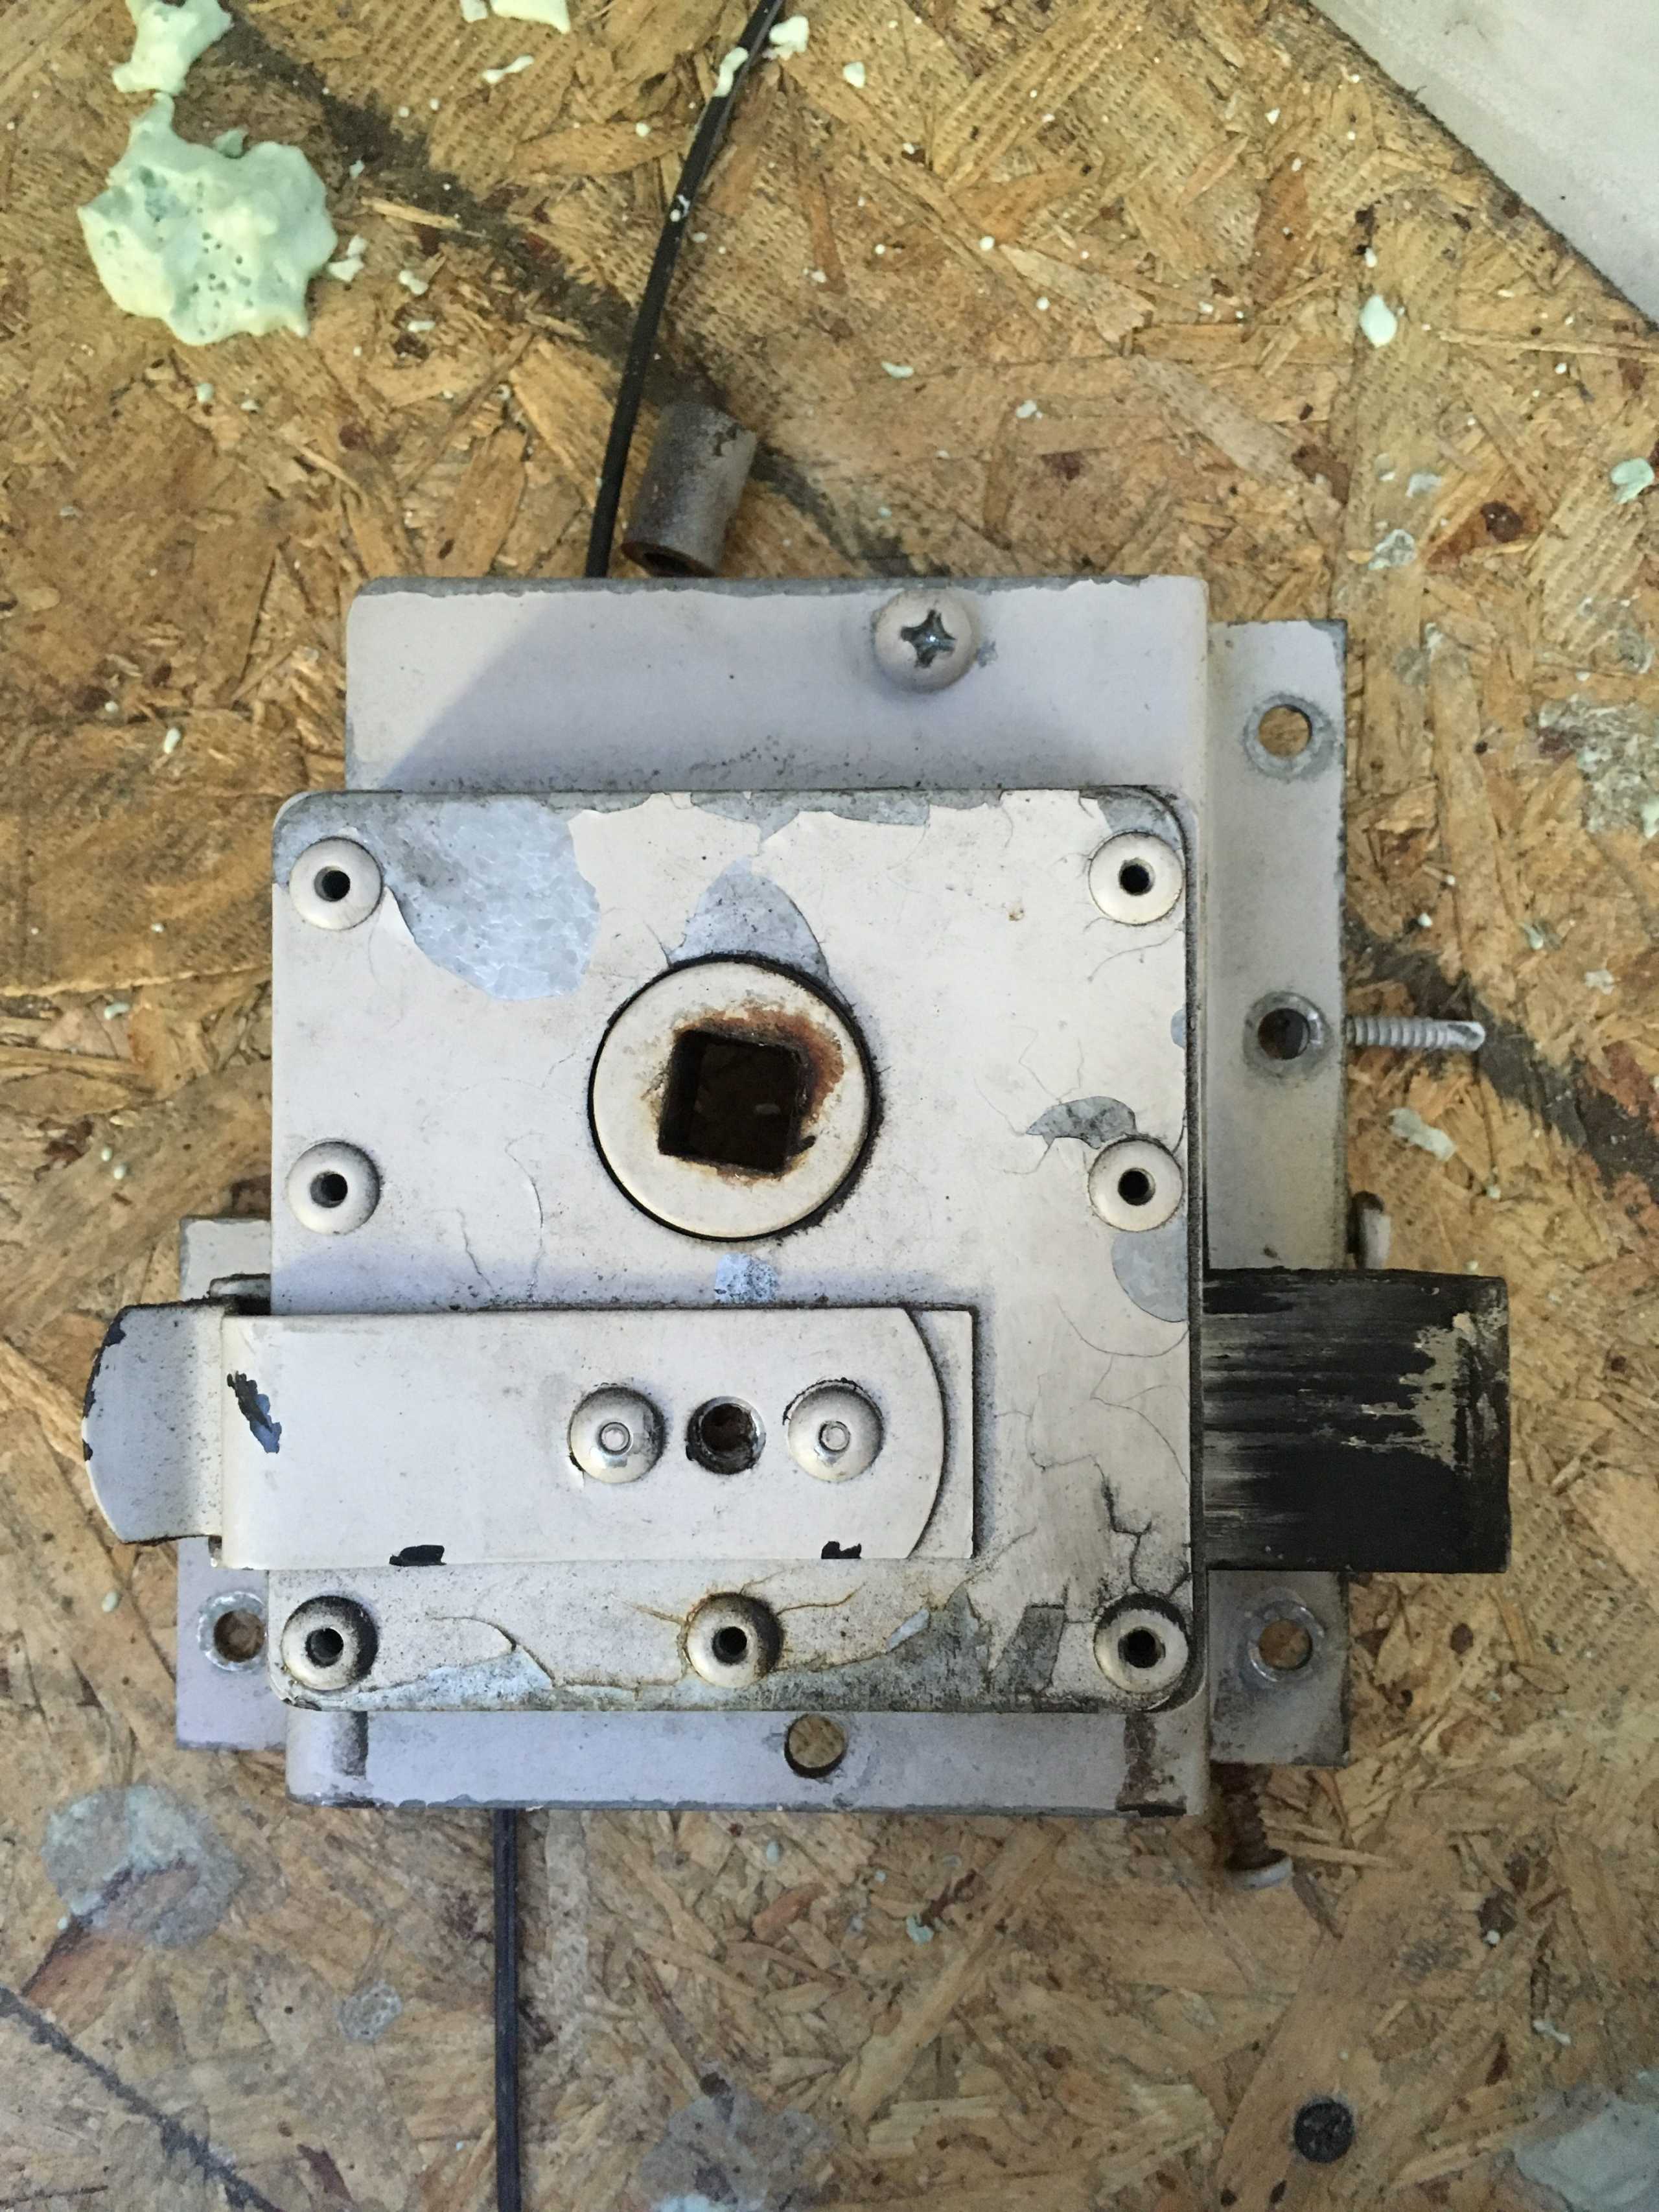
Once the latch is removed you will need to move to the outside of the door. Within the plastic handle is a pin. Take the punch and hammer and knock this pin out. It takes a good amount of force. Try to see which side of the pin is set into the handle a little already and start there.
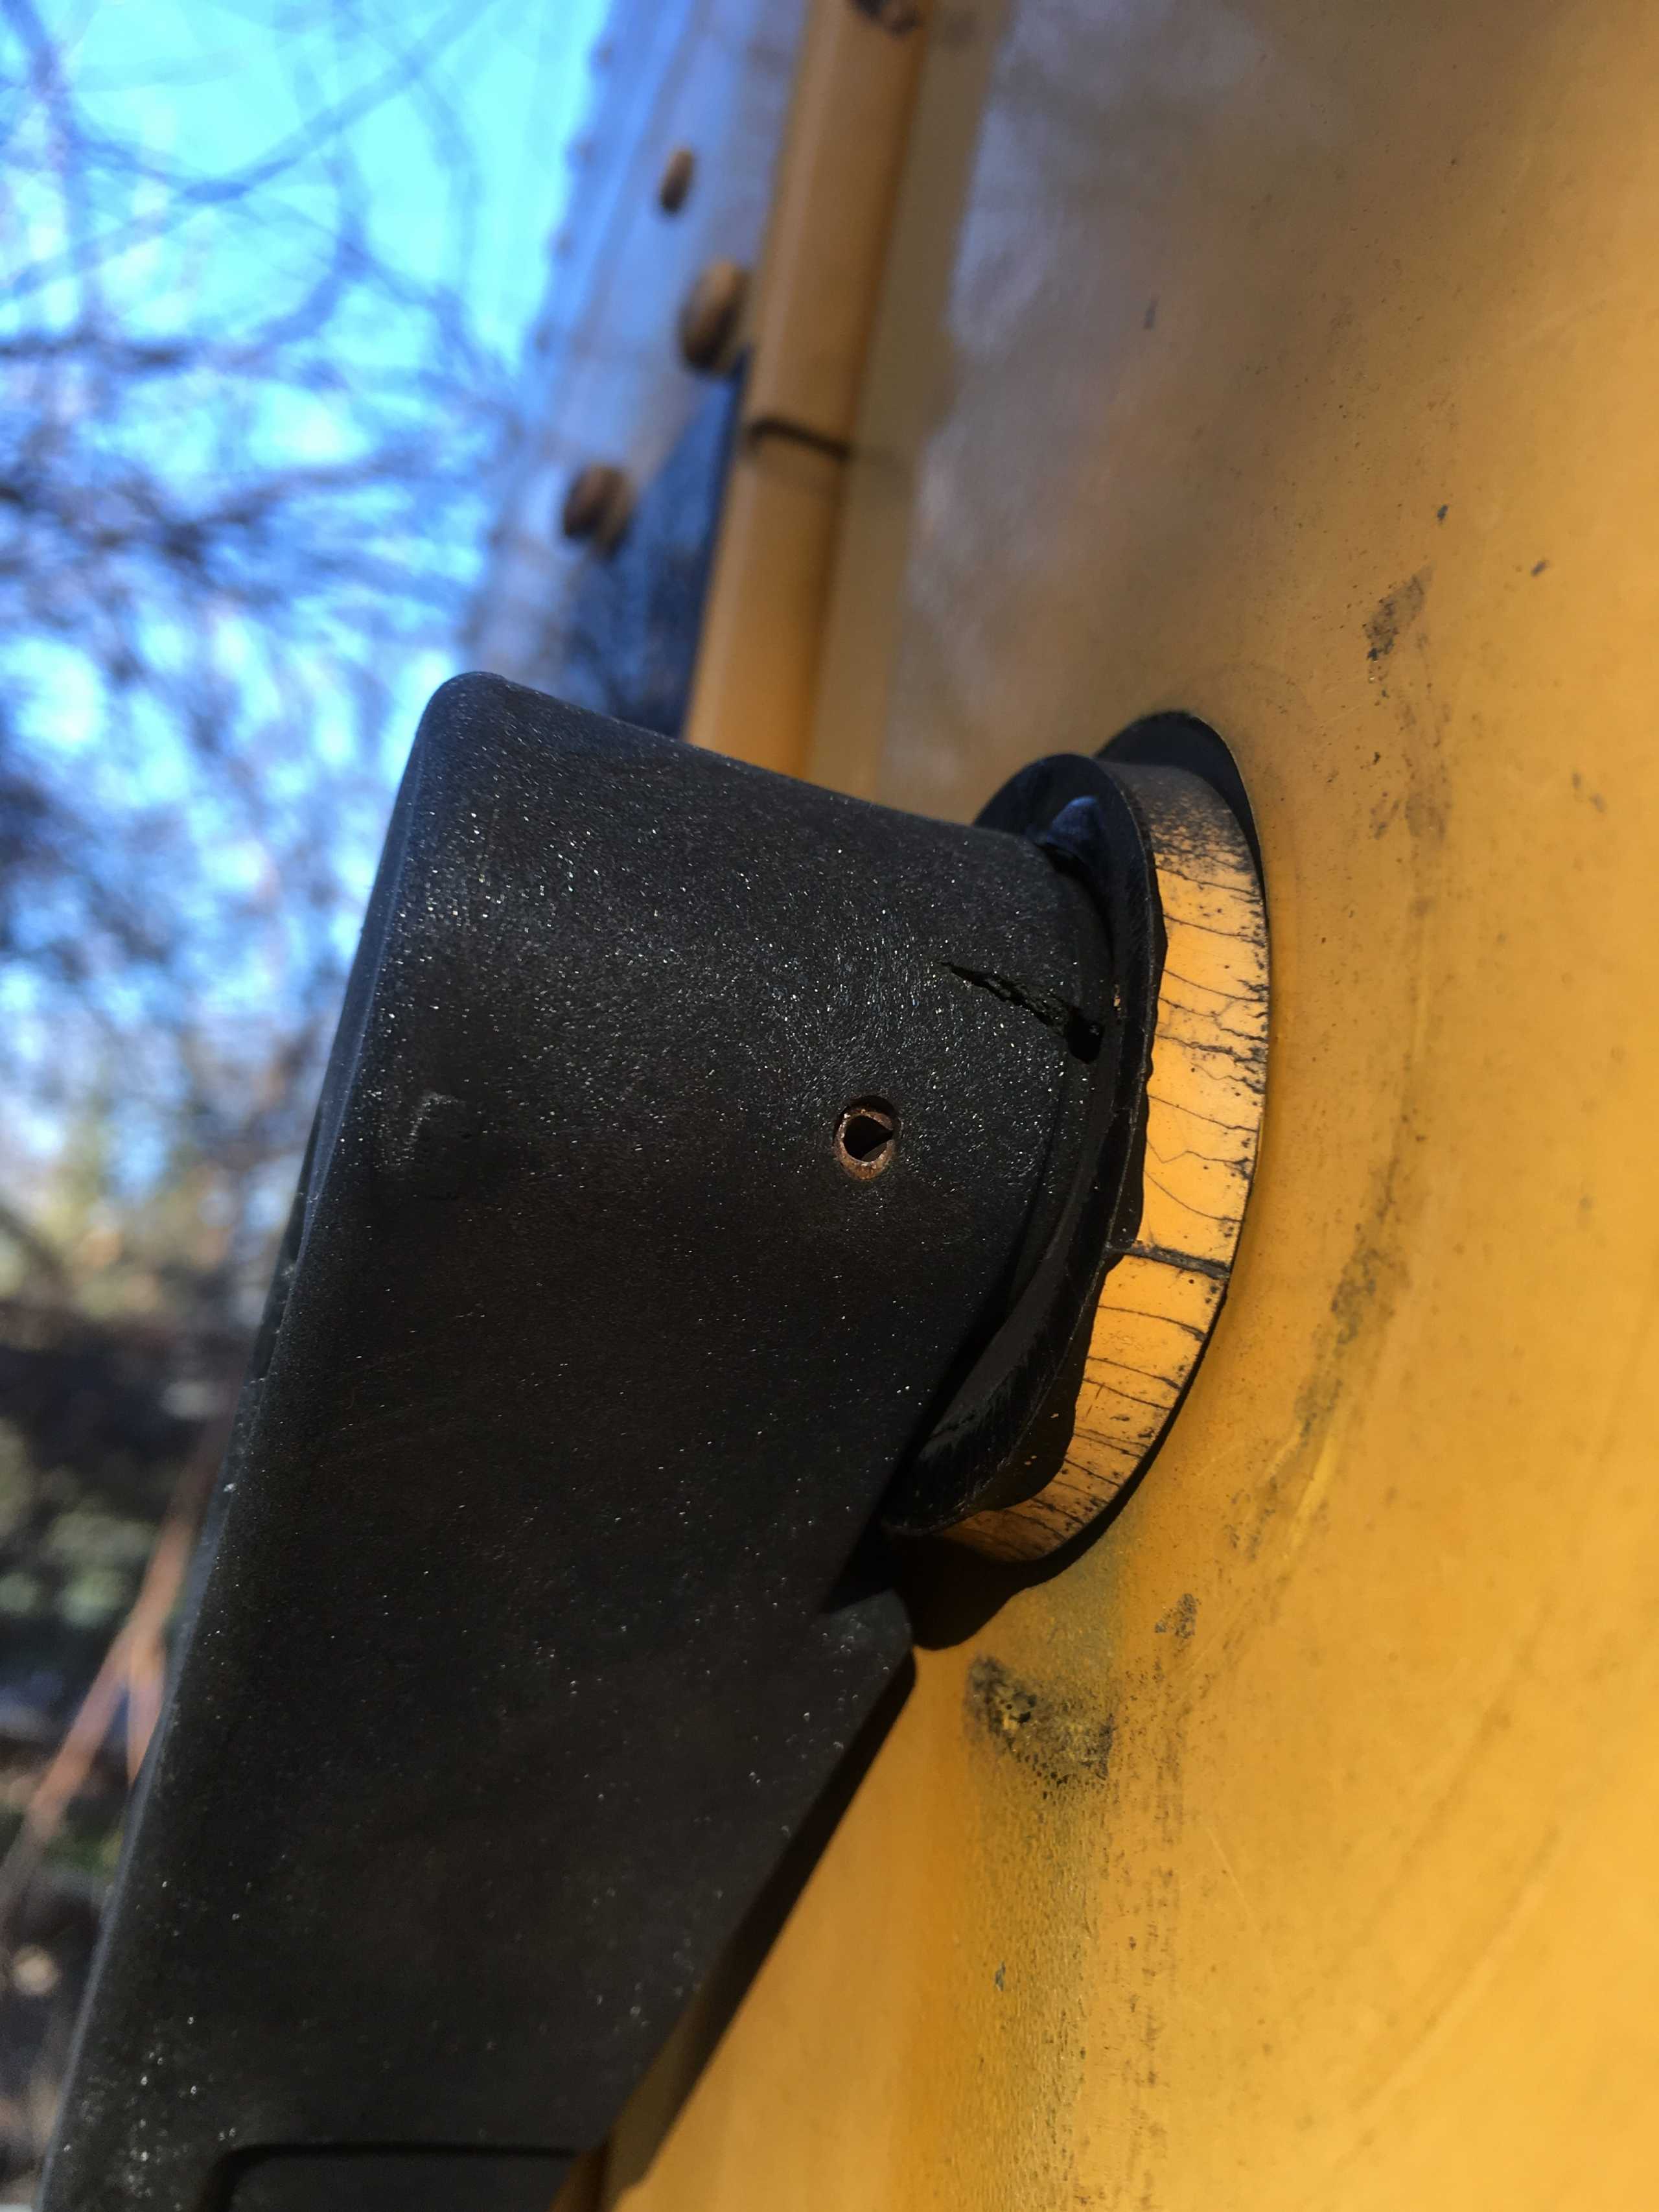
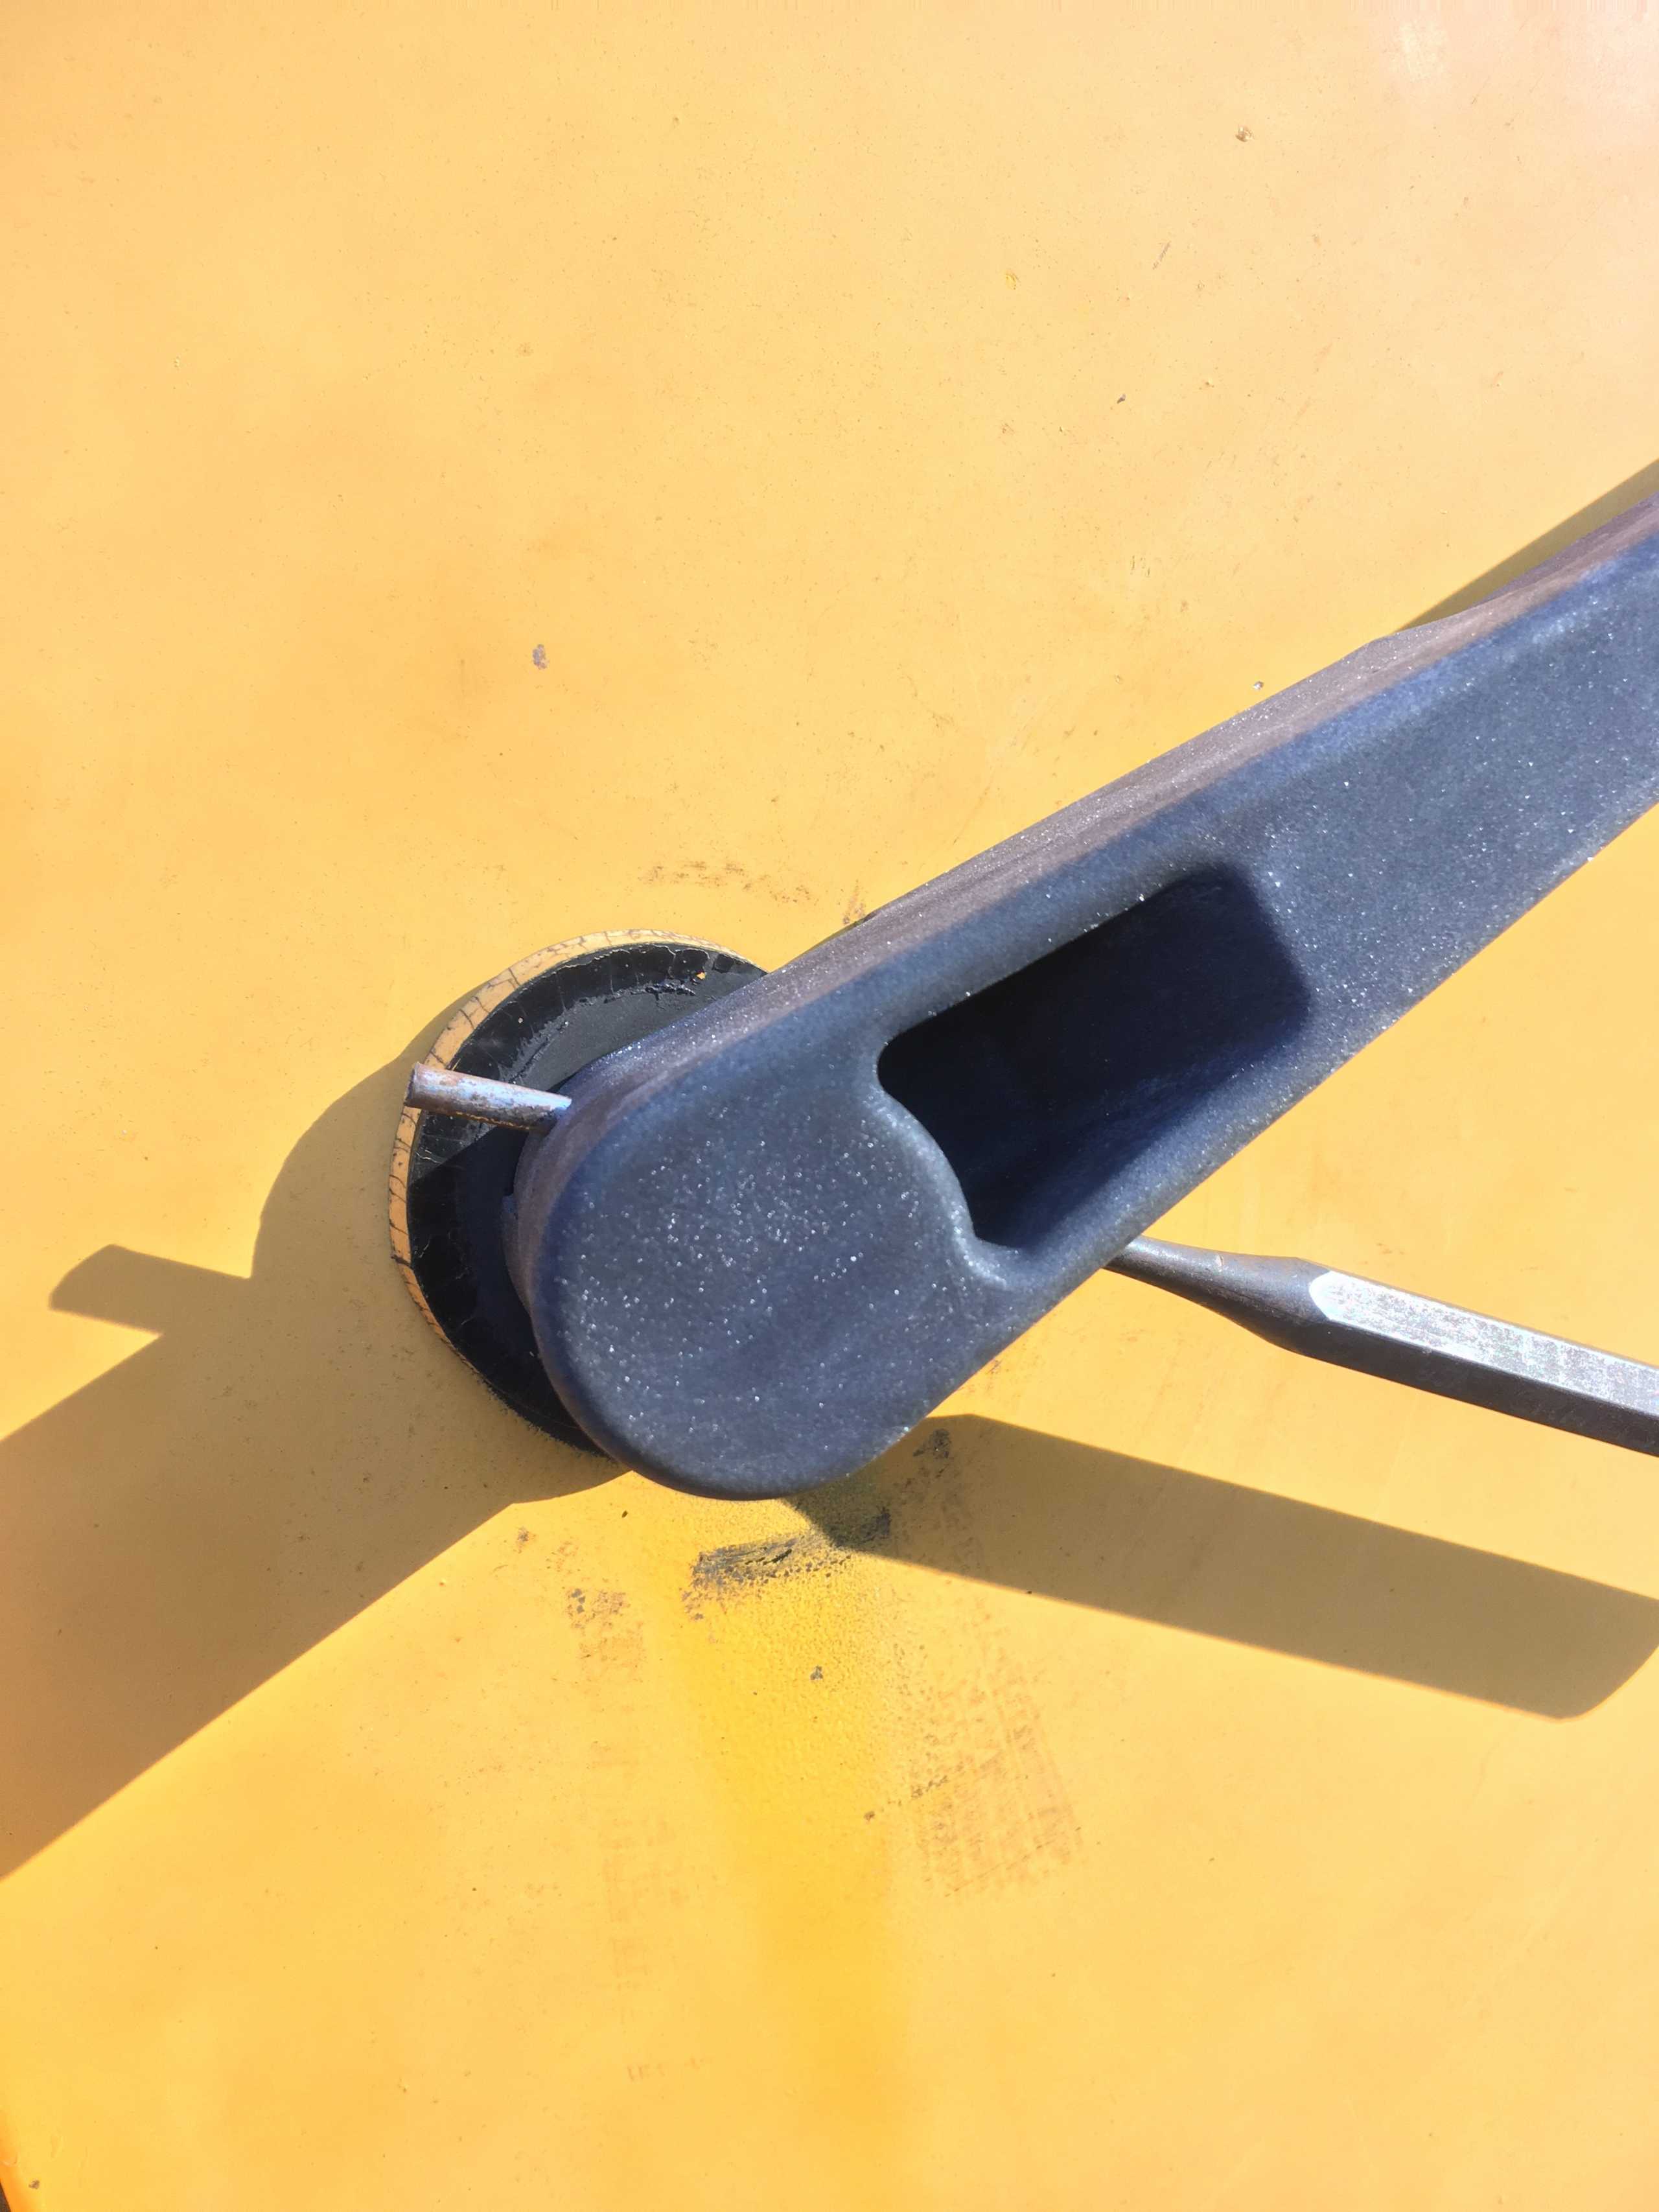
Once the pin is out you will be left with the outer handle that the pin just came out of and the square shaft that went into the latch itself. These two pieces should pull apart. Our was rusted so we had to cut the metal shaft to separate the two halves. Had we known that it was rusted we could have skipped the step that involved removing the pin.
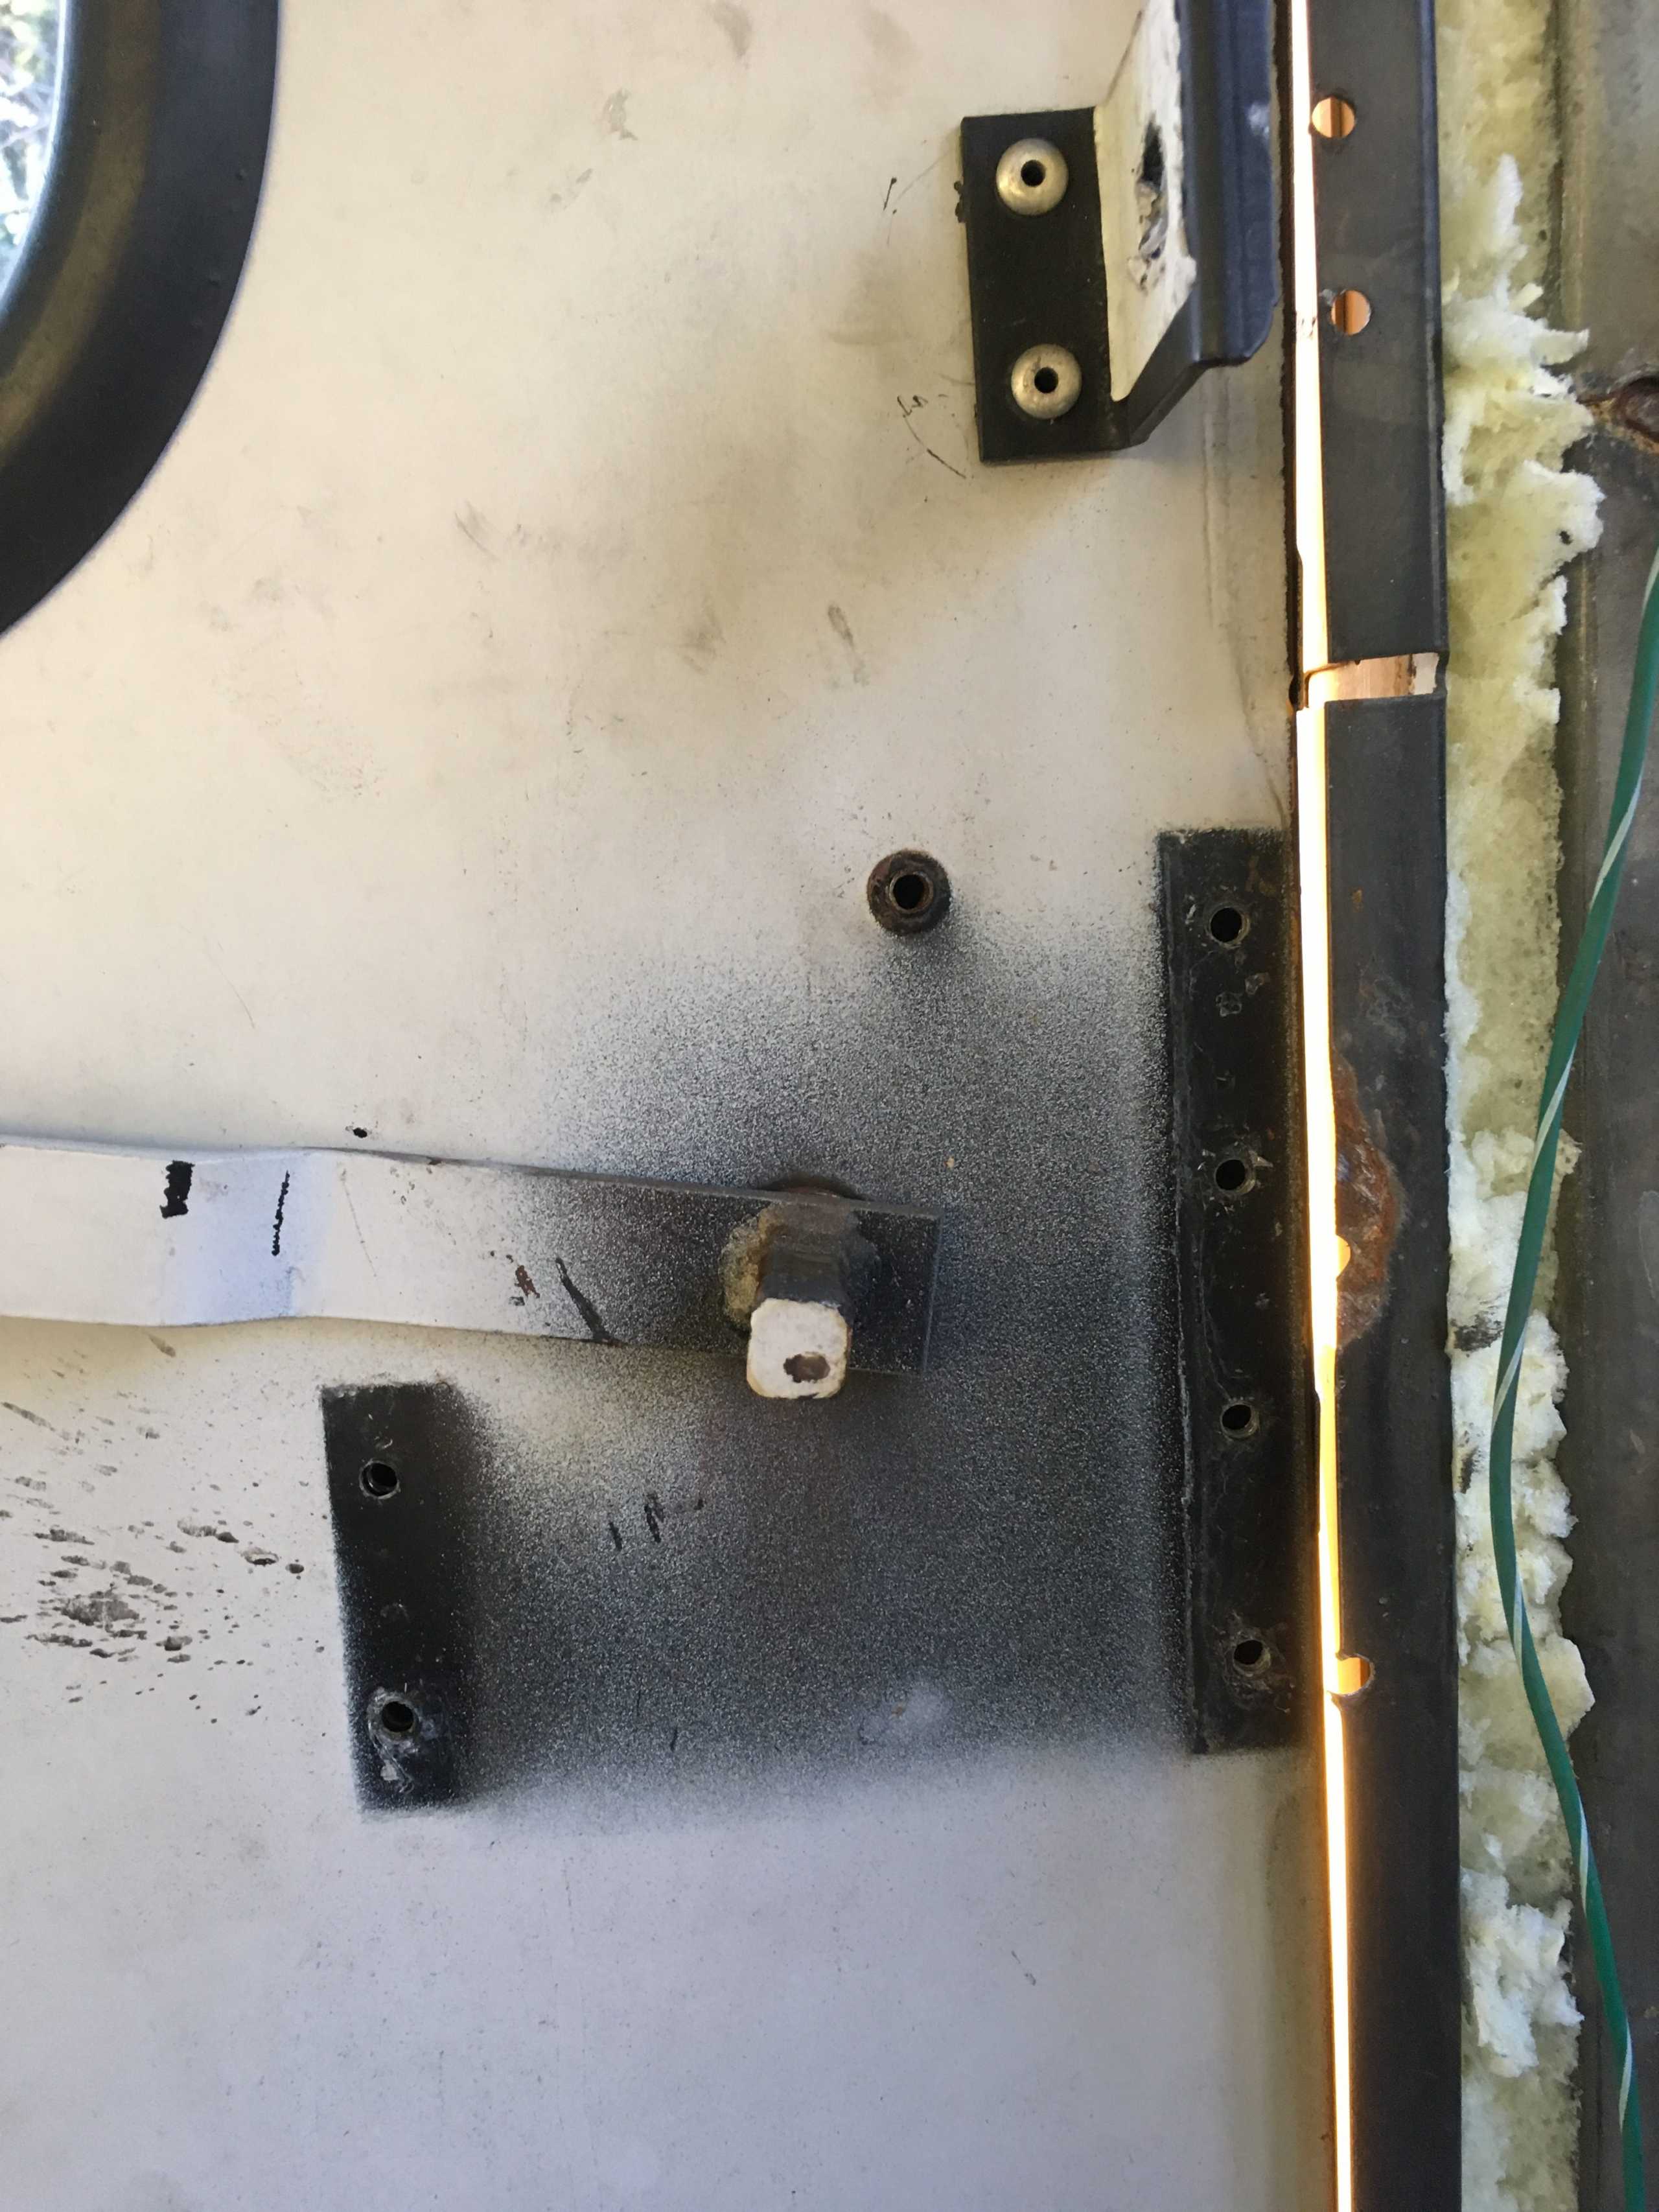
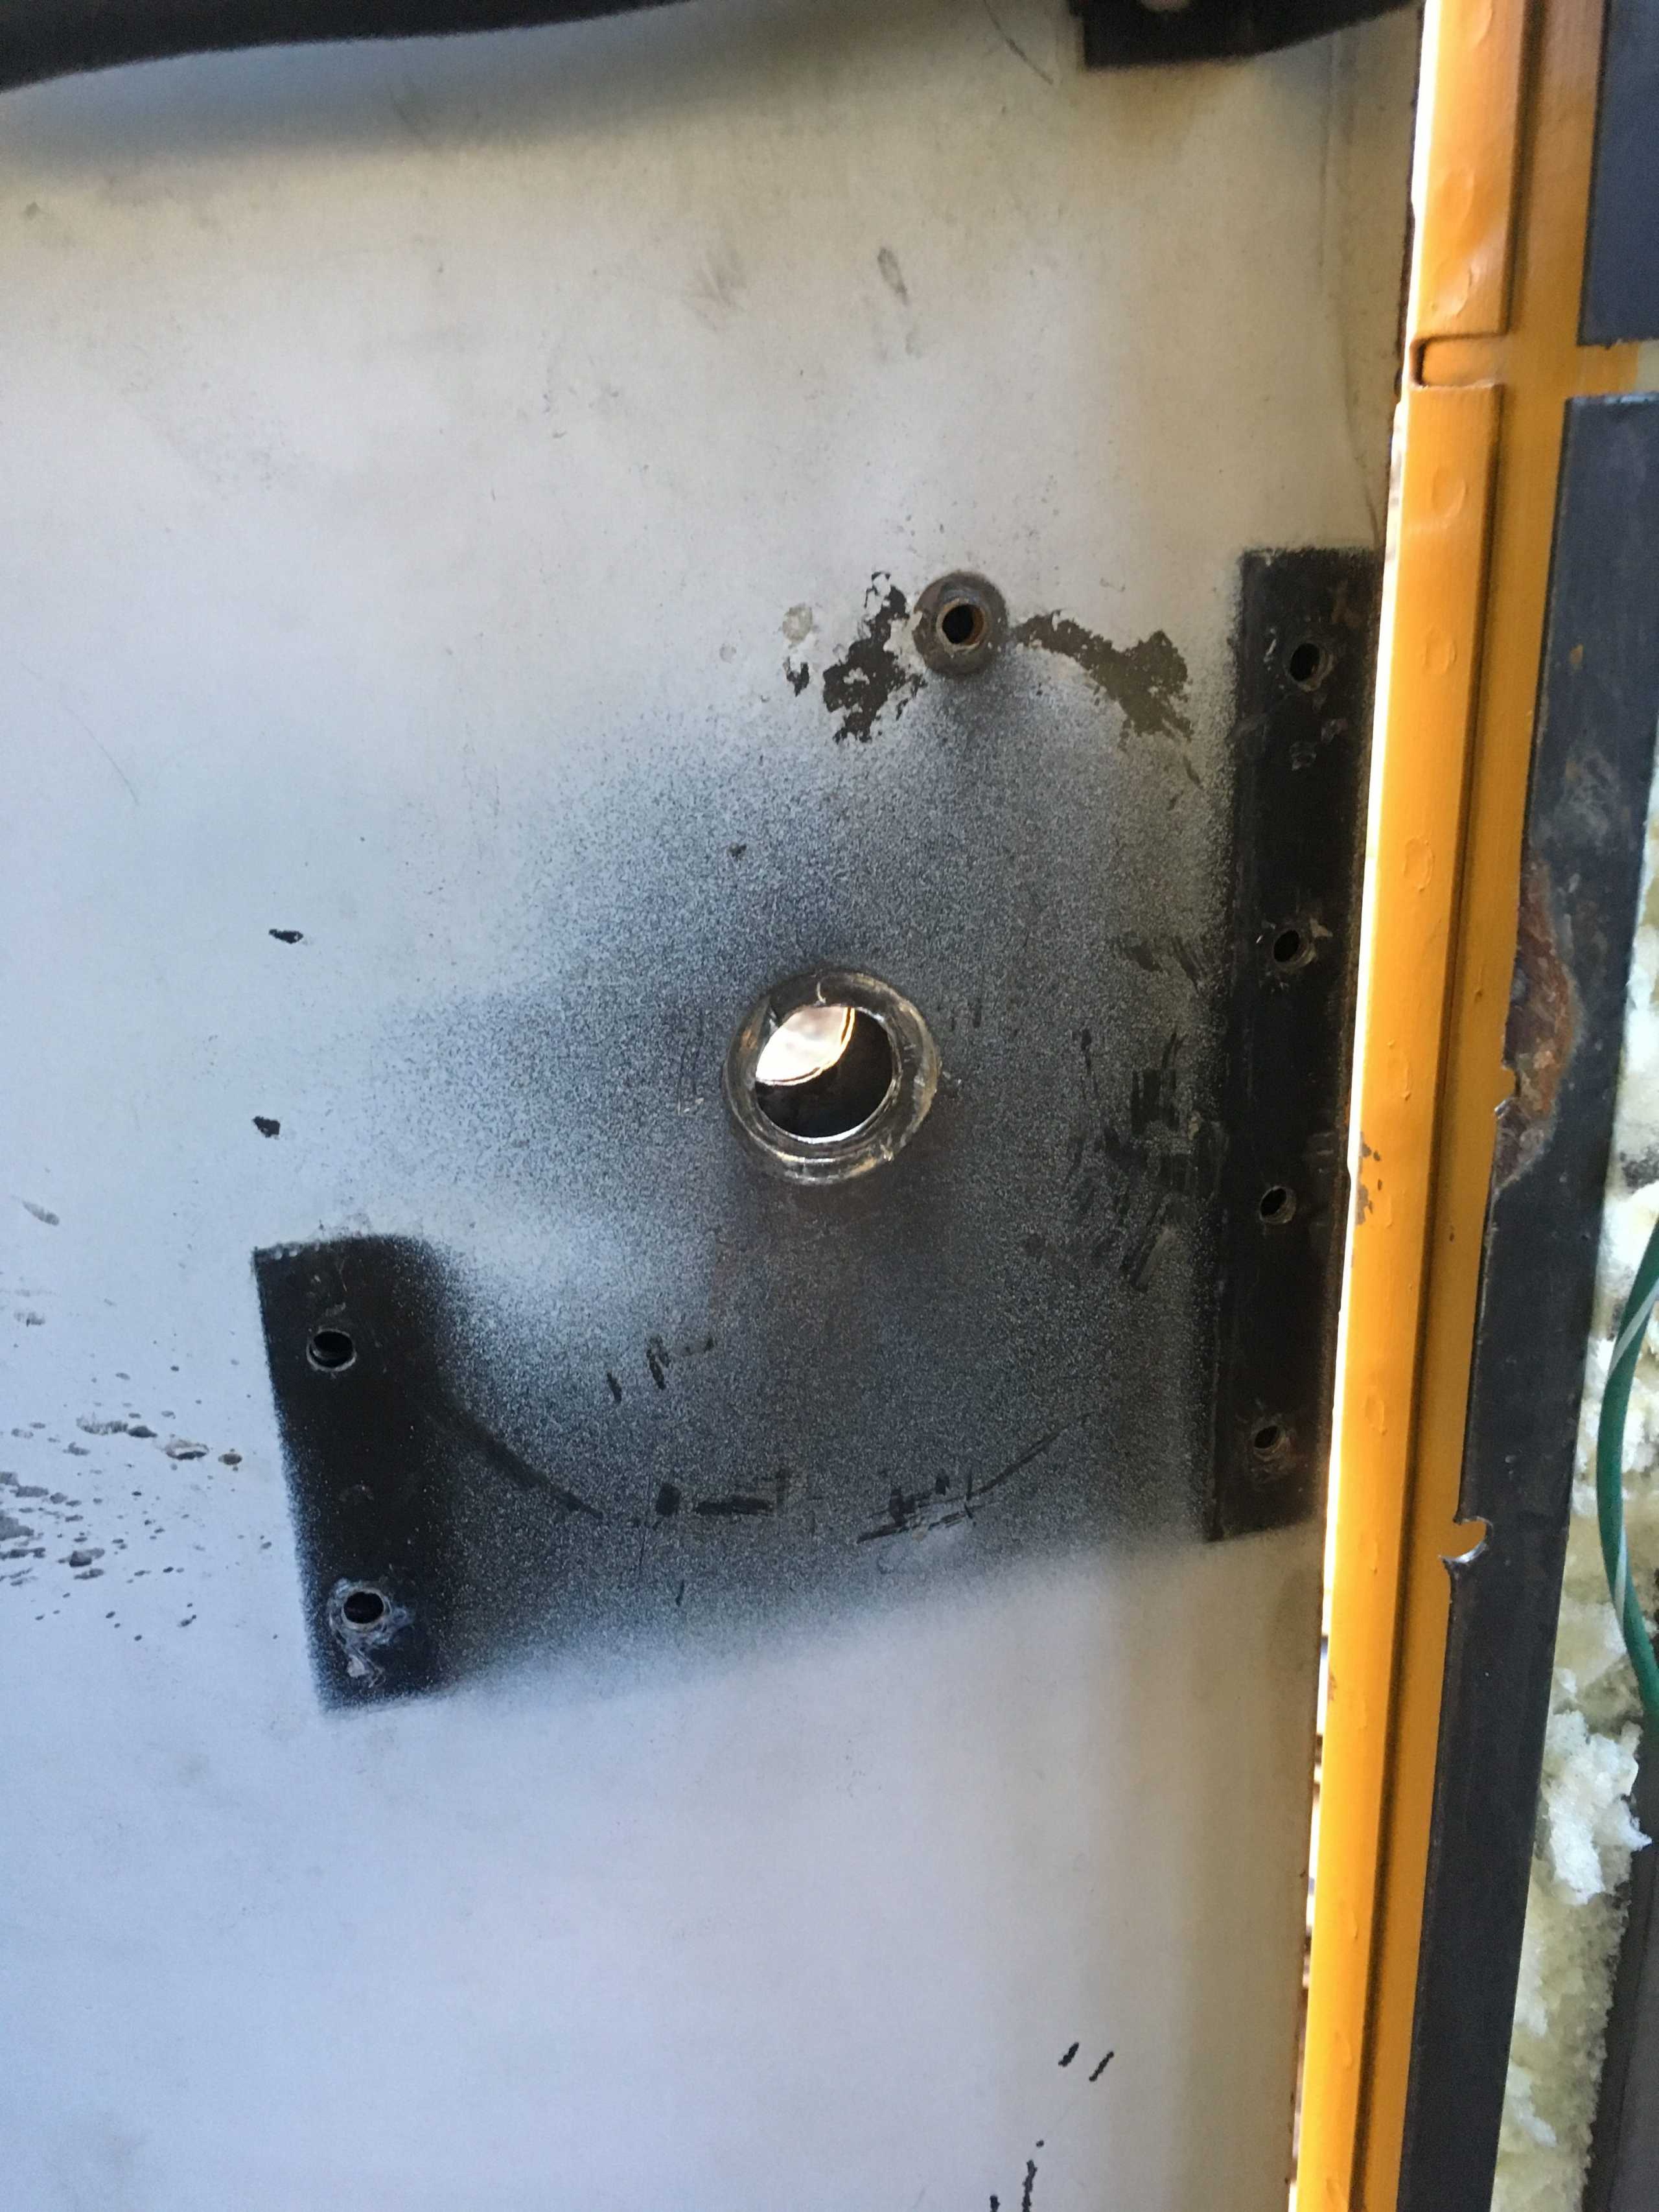
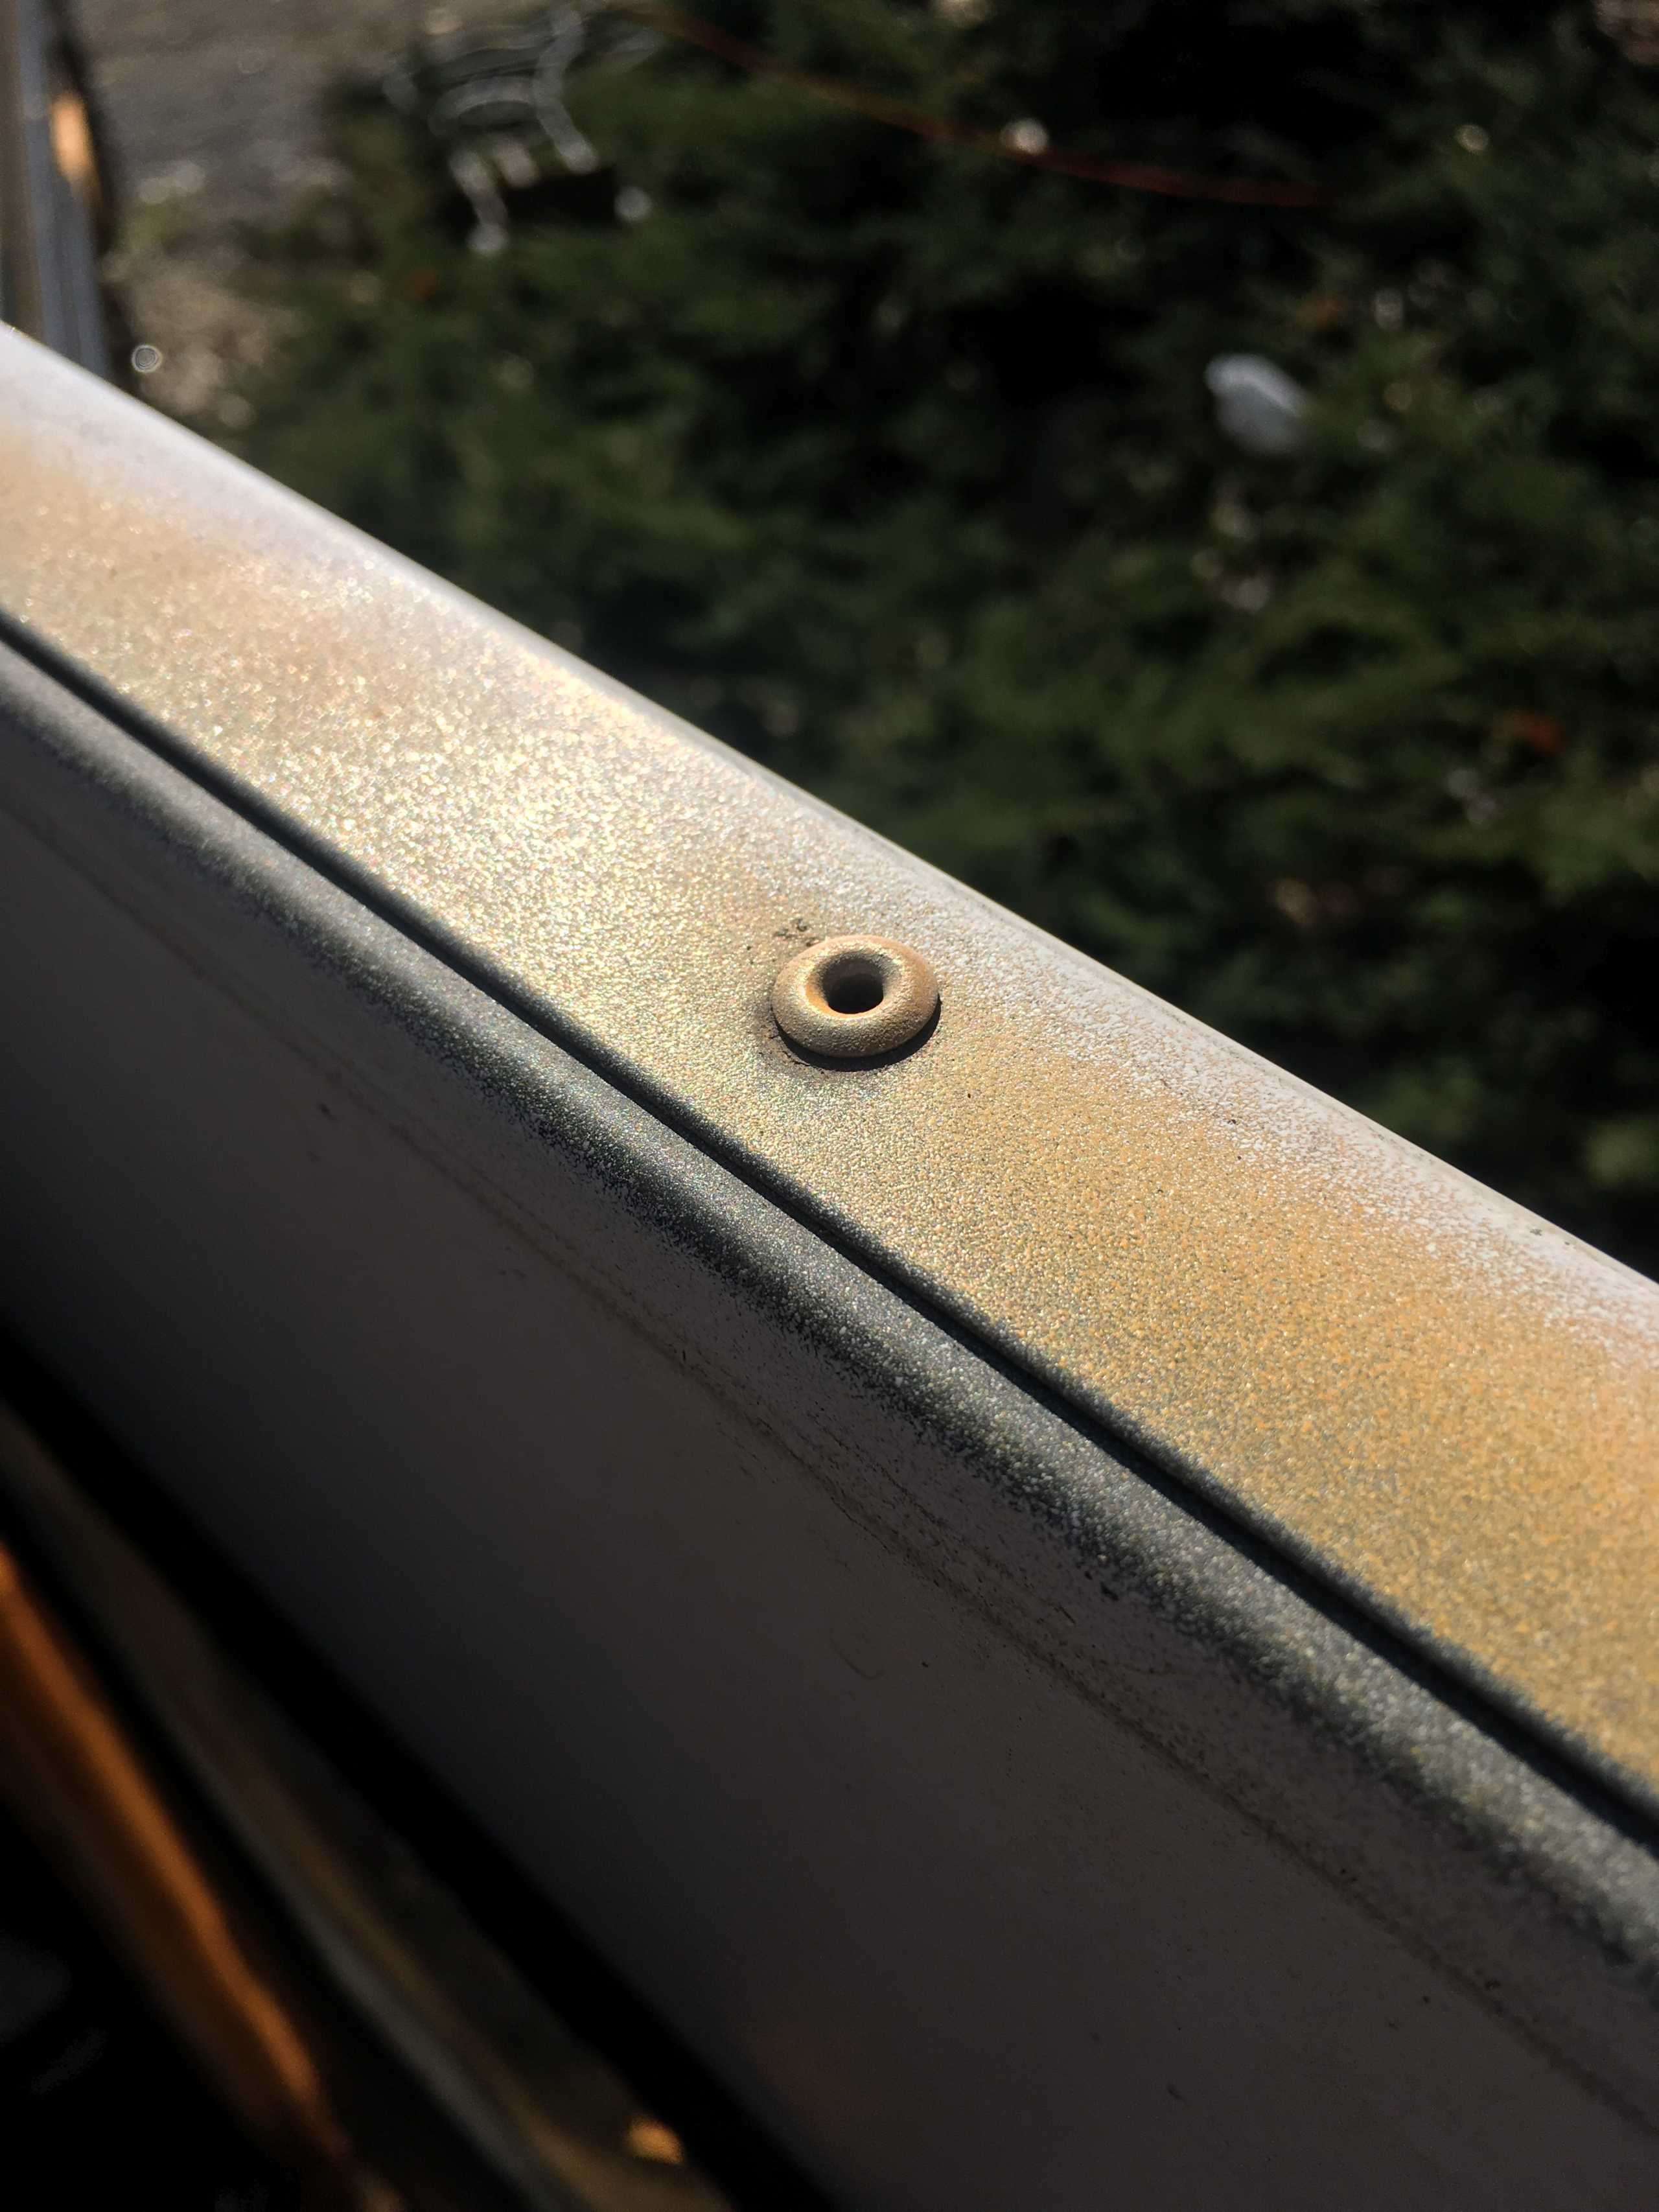
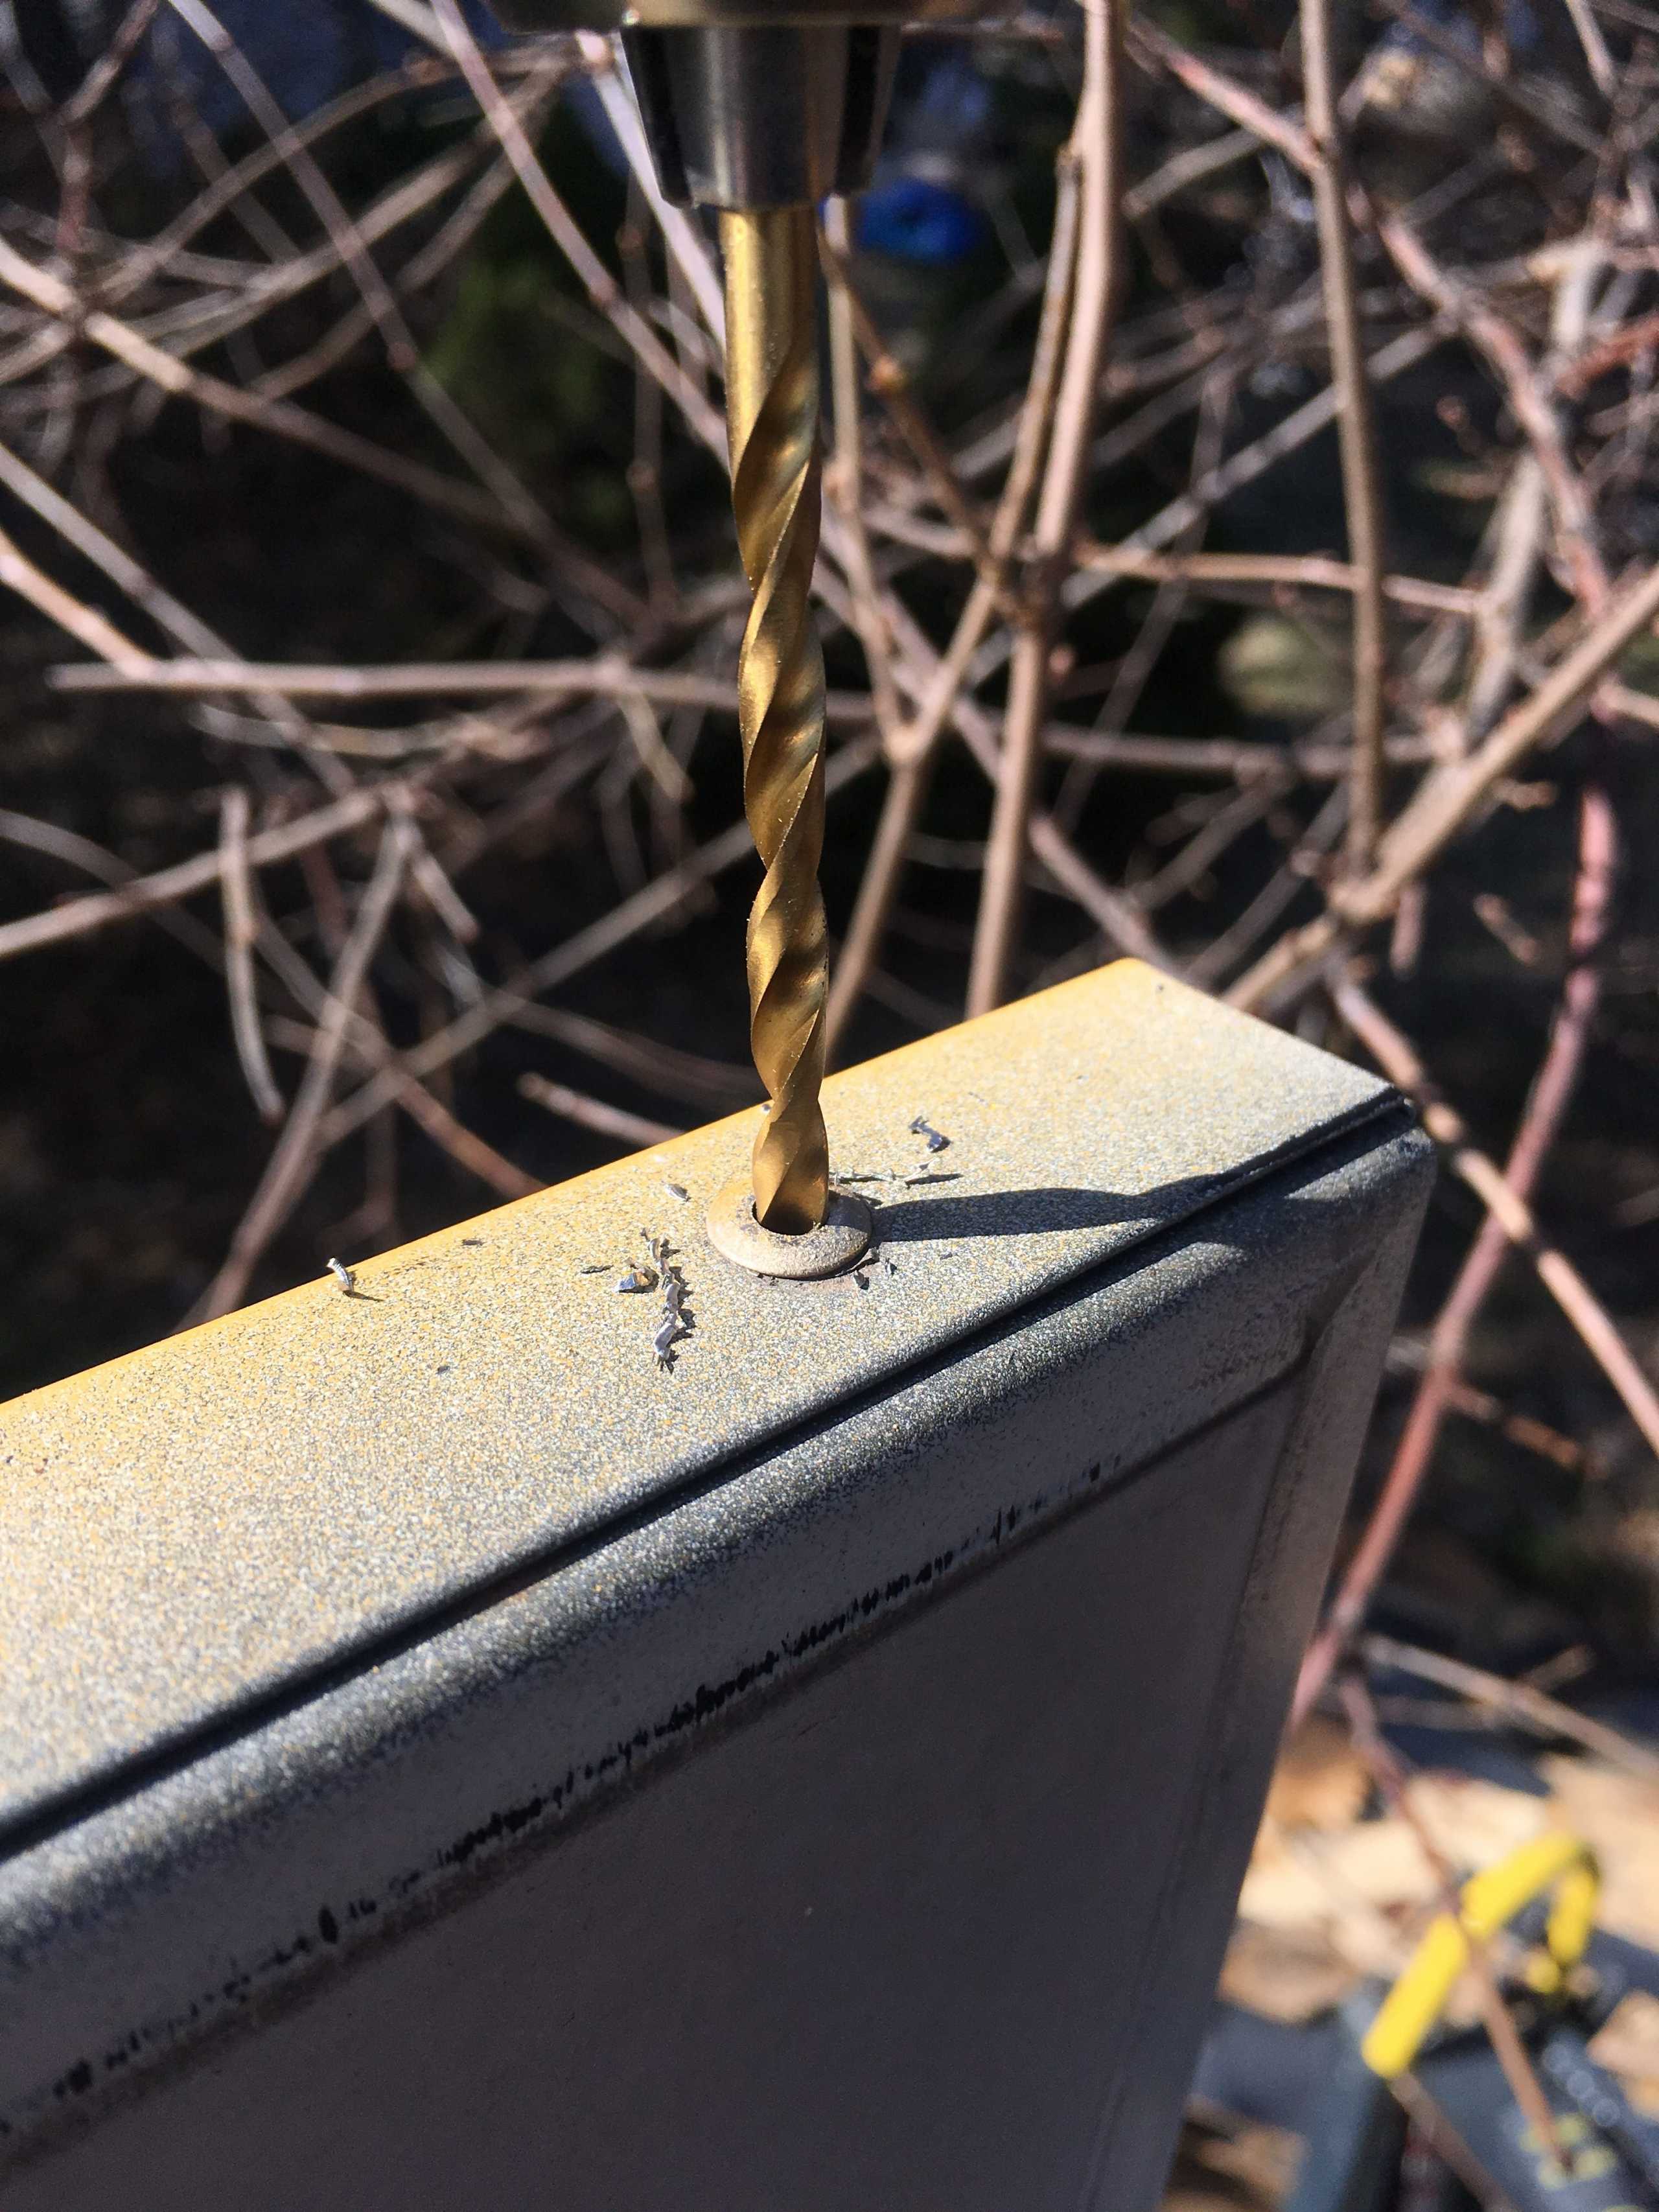
Now you can drill out the middle of the rivets as best as you can. This can be a little difficult on the higher sides of the door, so you can use a chisel to pop the heads of the rivets off. You only need to take off the bottom rivets and the rivets on the opening side of the door up to where the window starts. This will save you a lot of time since you do not need to take the entire door apart. You will also need to remove the rivets on the door catch if you have one of those. This is the part that holds the door open when hooked to the side of the bus.
The Pattern:
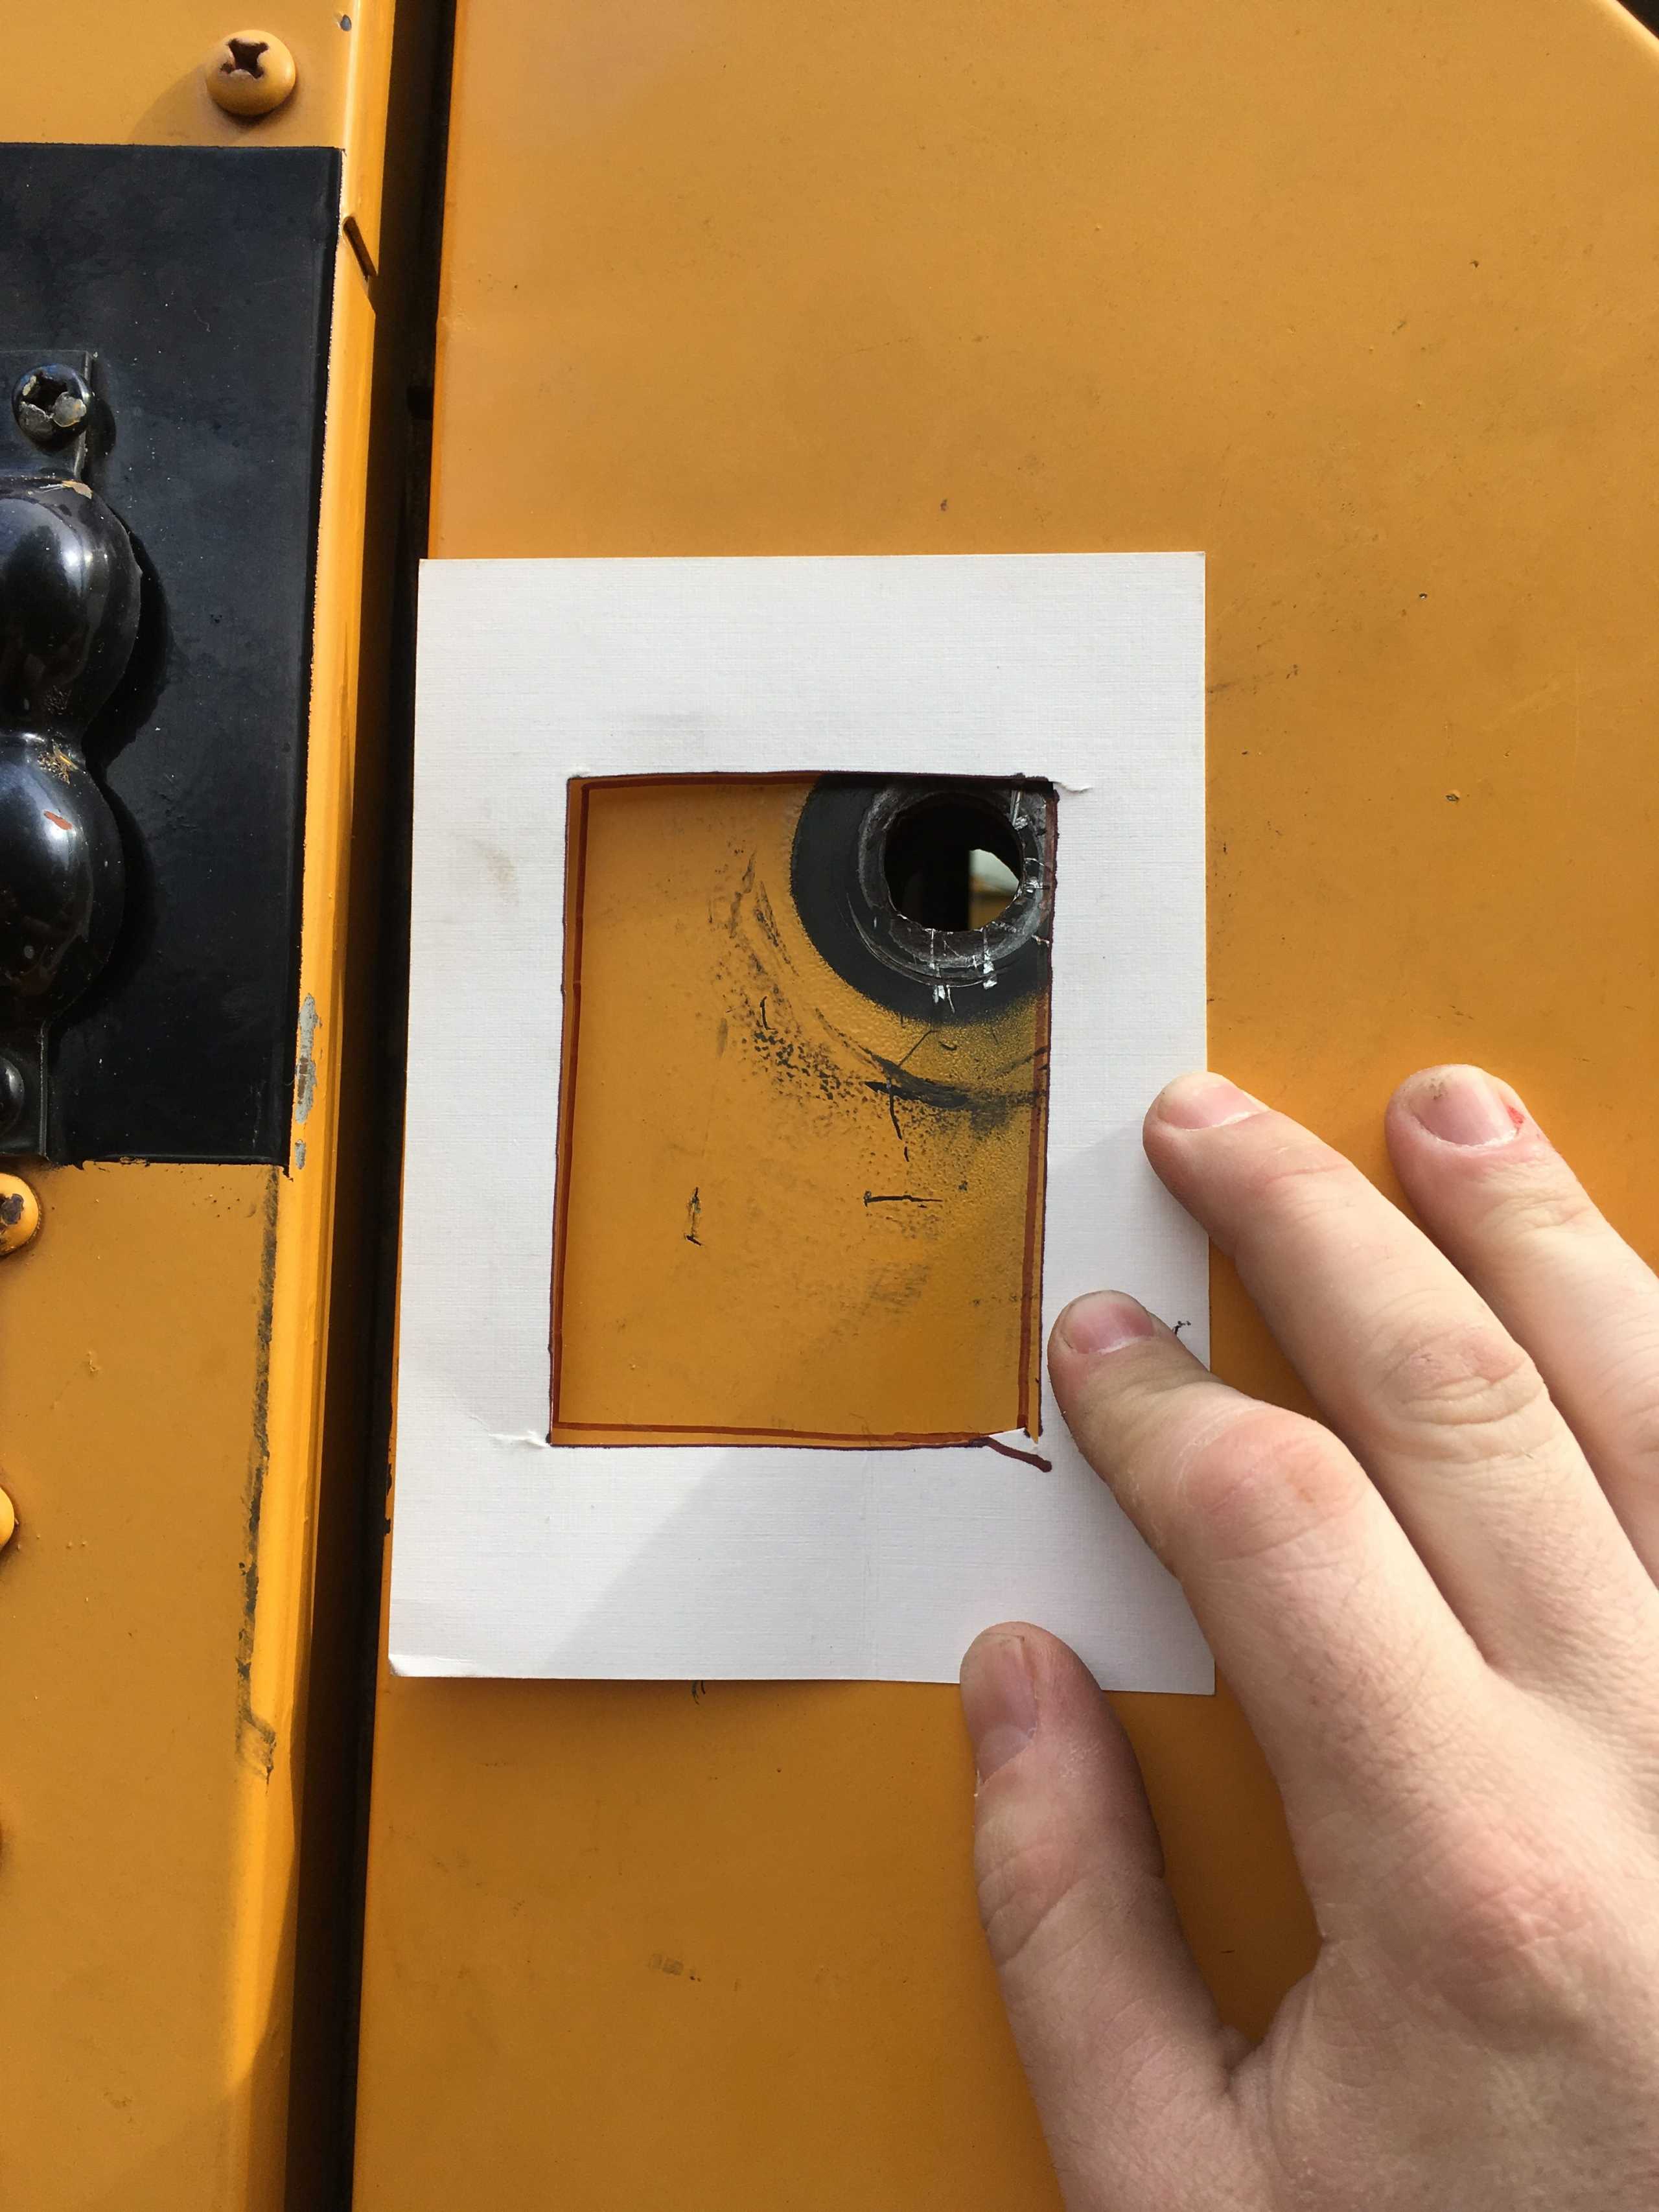
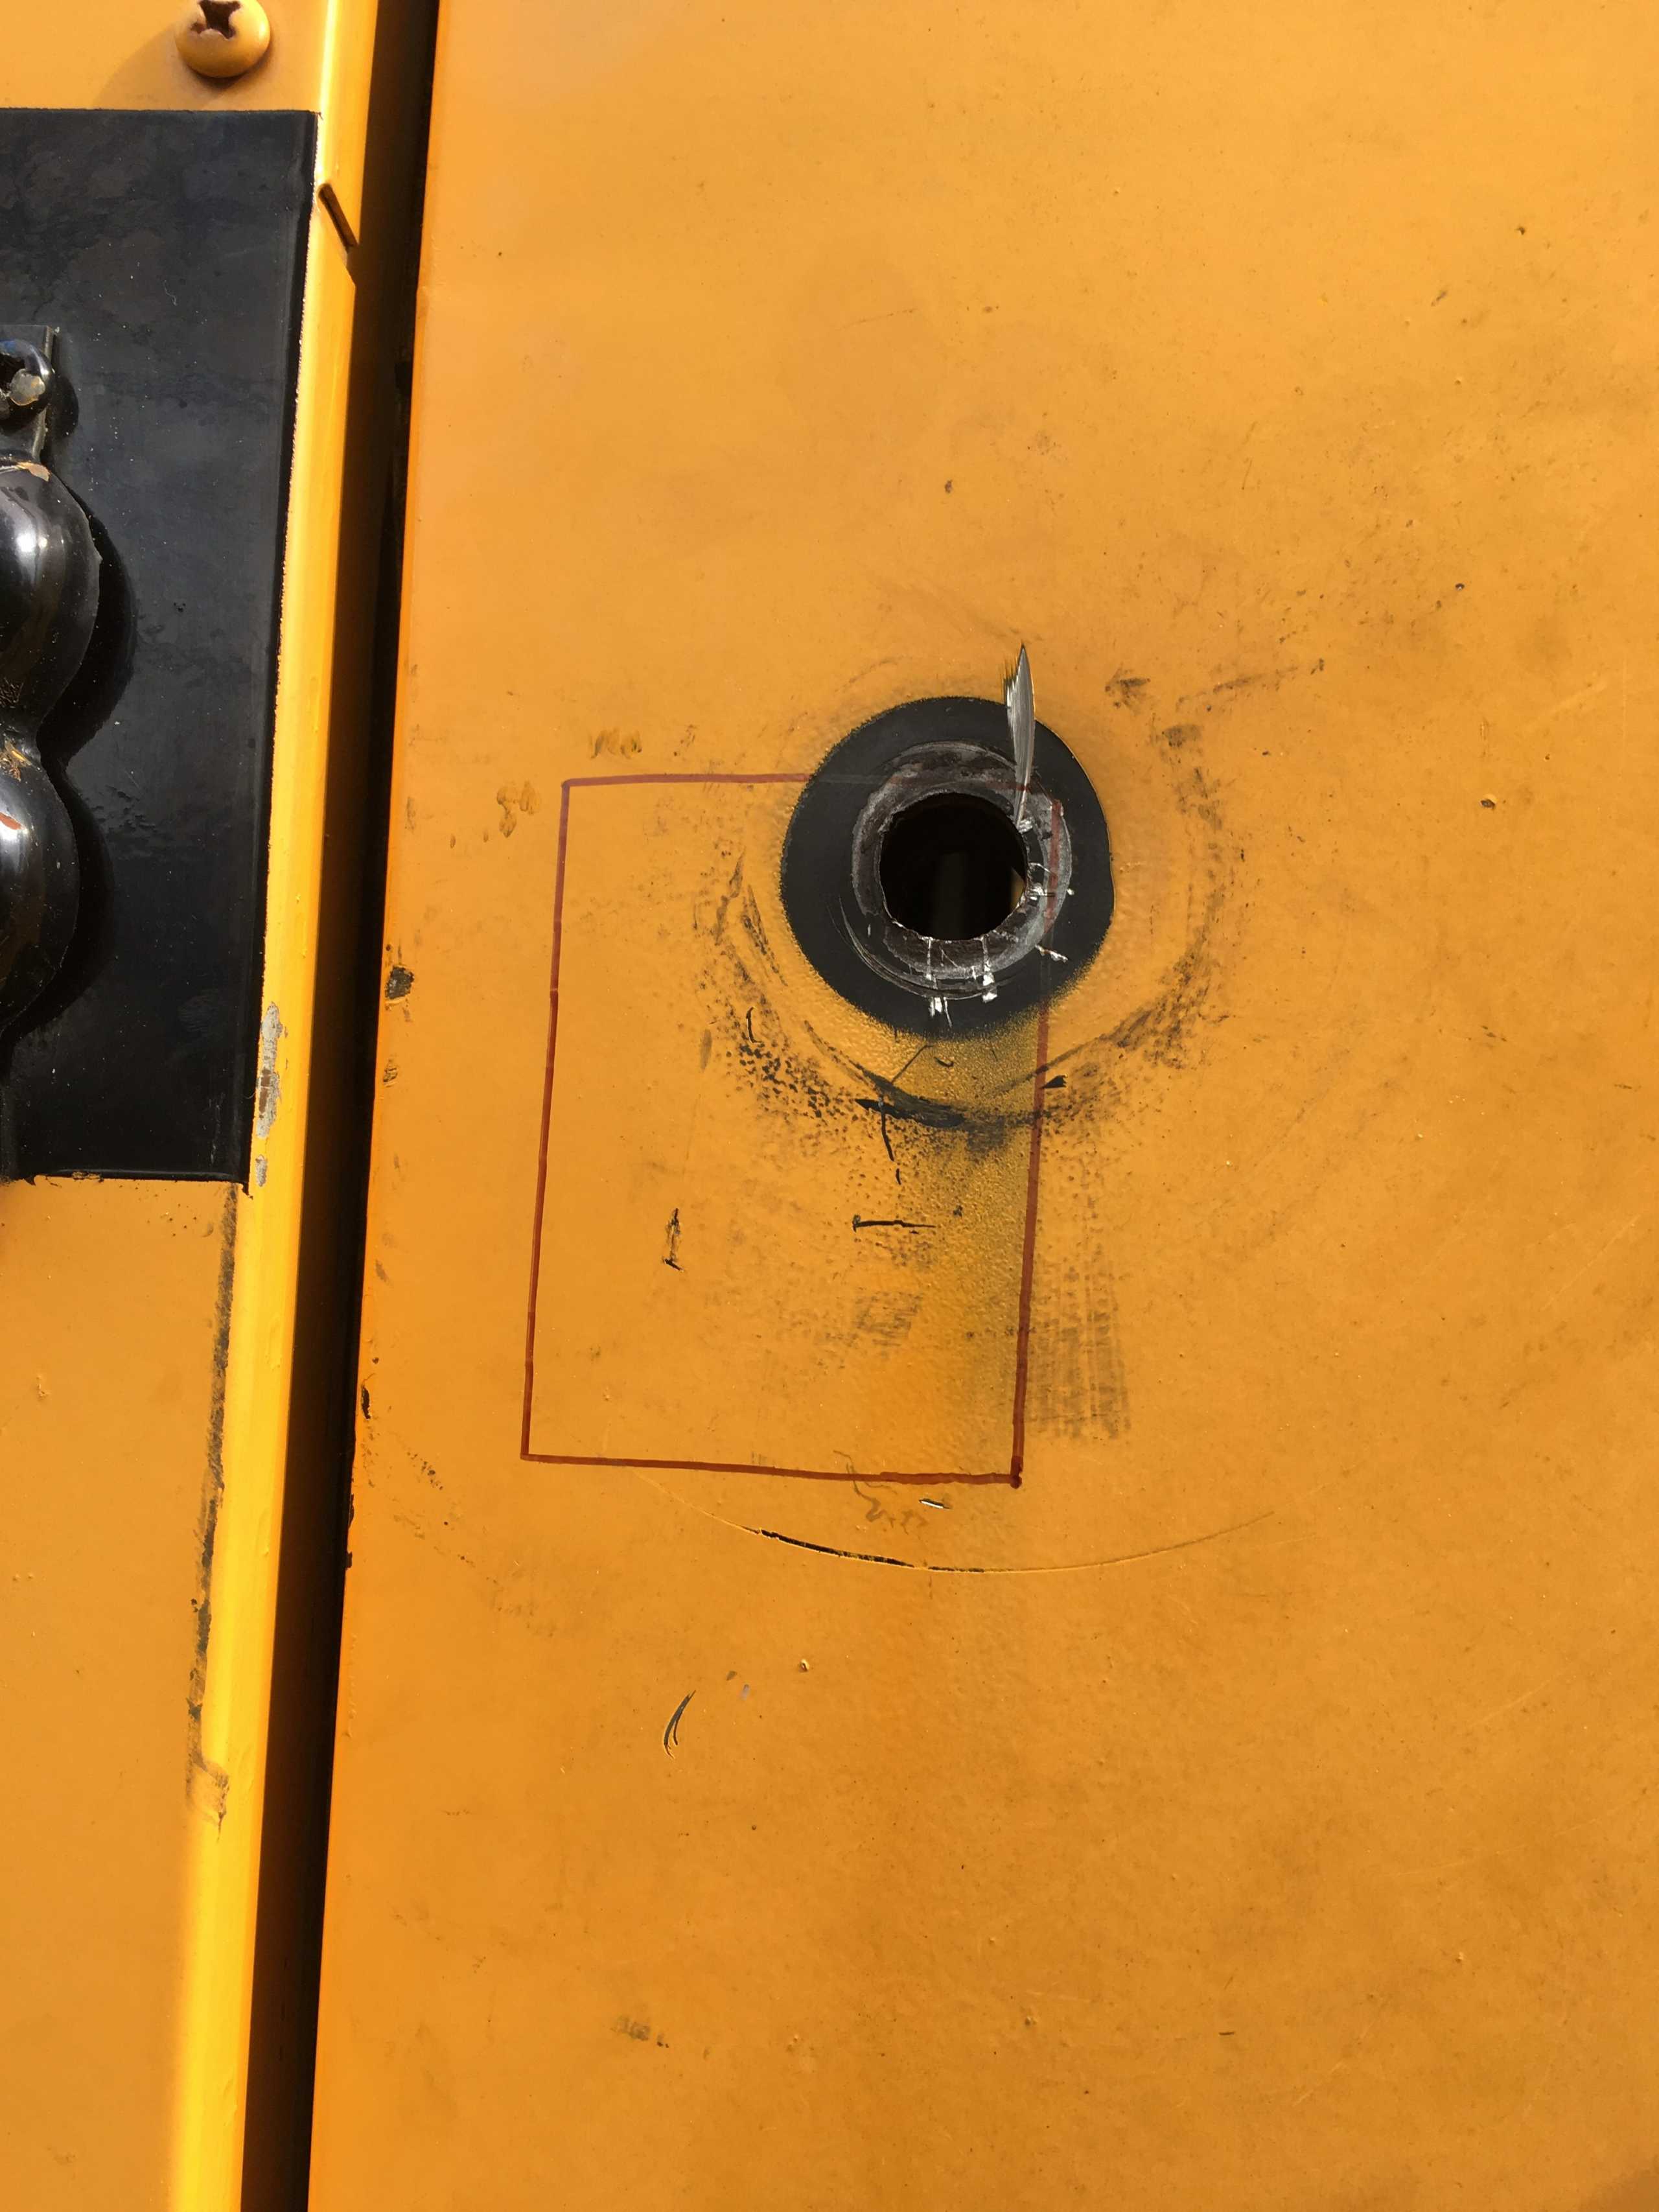
You can then measure the inner part of the lock (the part that goes into the door) and draw a paper pattern. We love patterns. This will give you the exact size hole that needs to be cut out of the door. The edge of the paper should be the edge of the door.
Cutting:
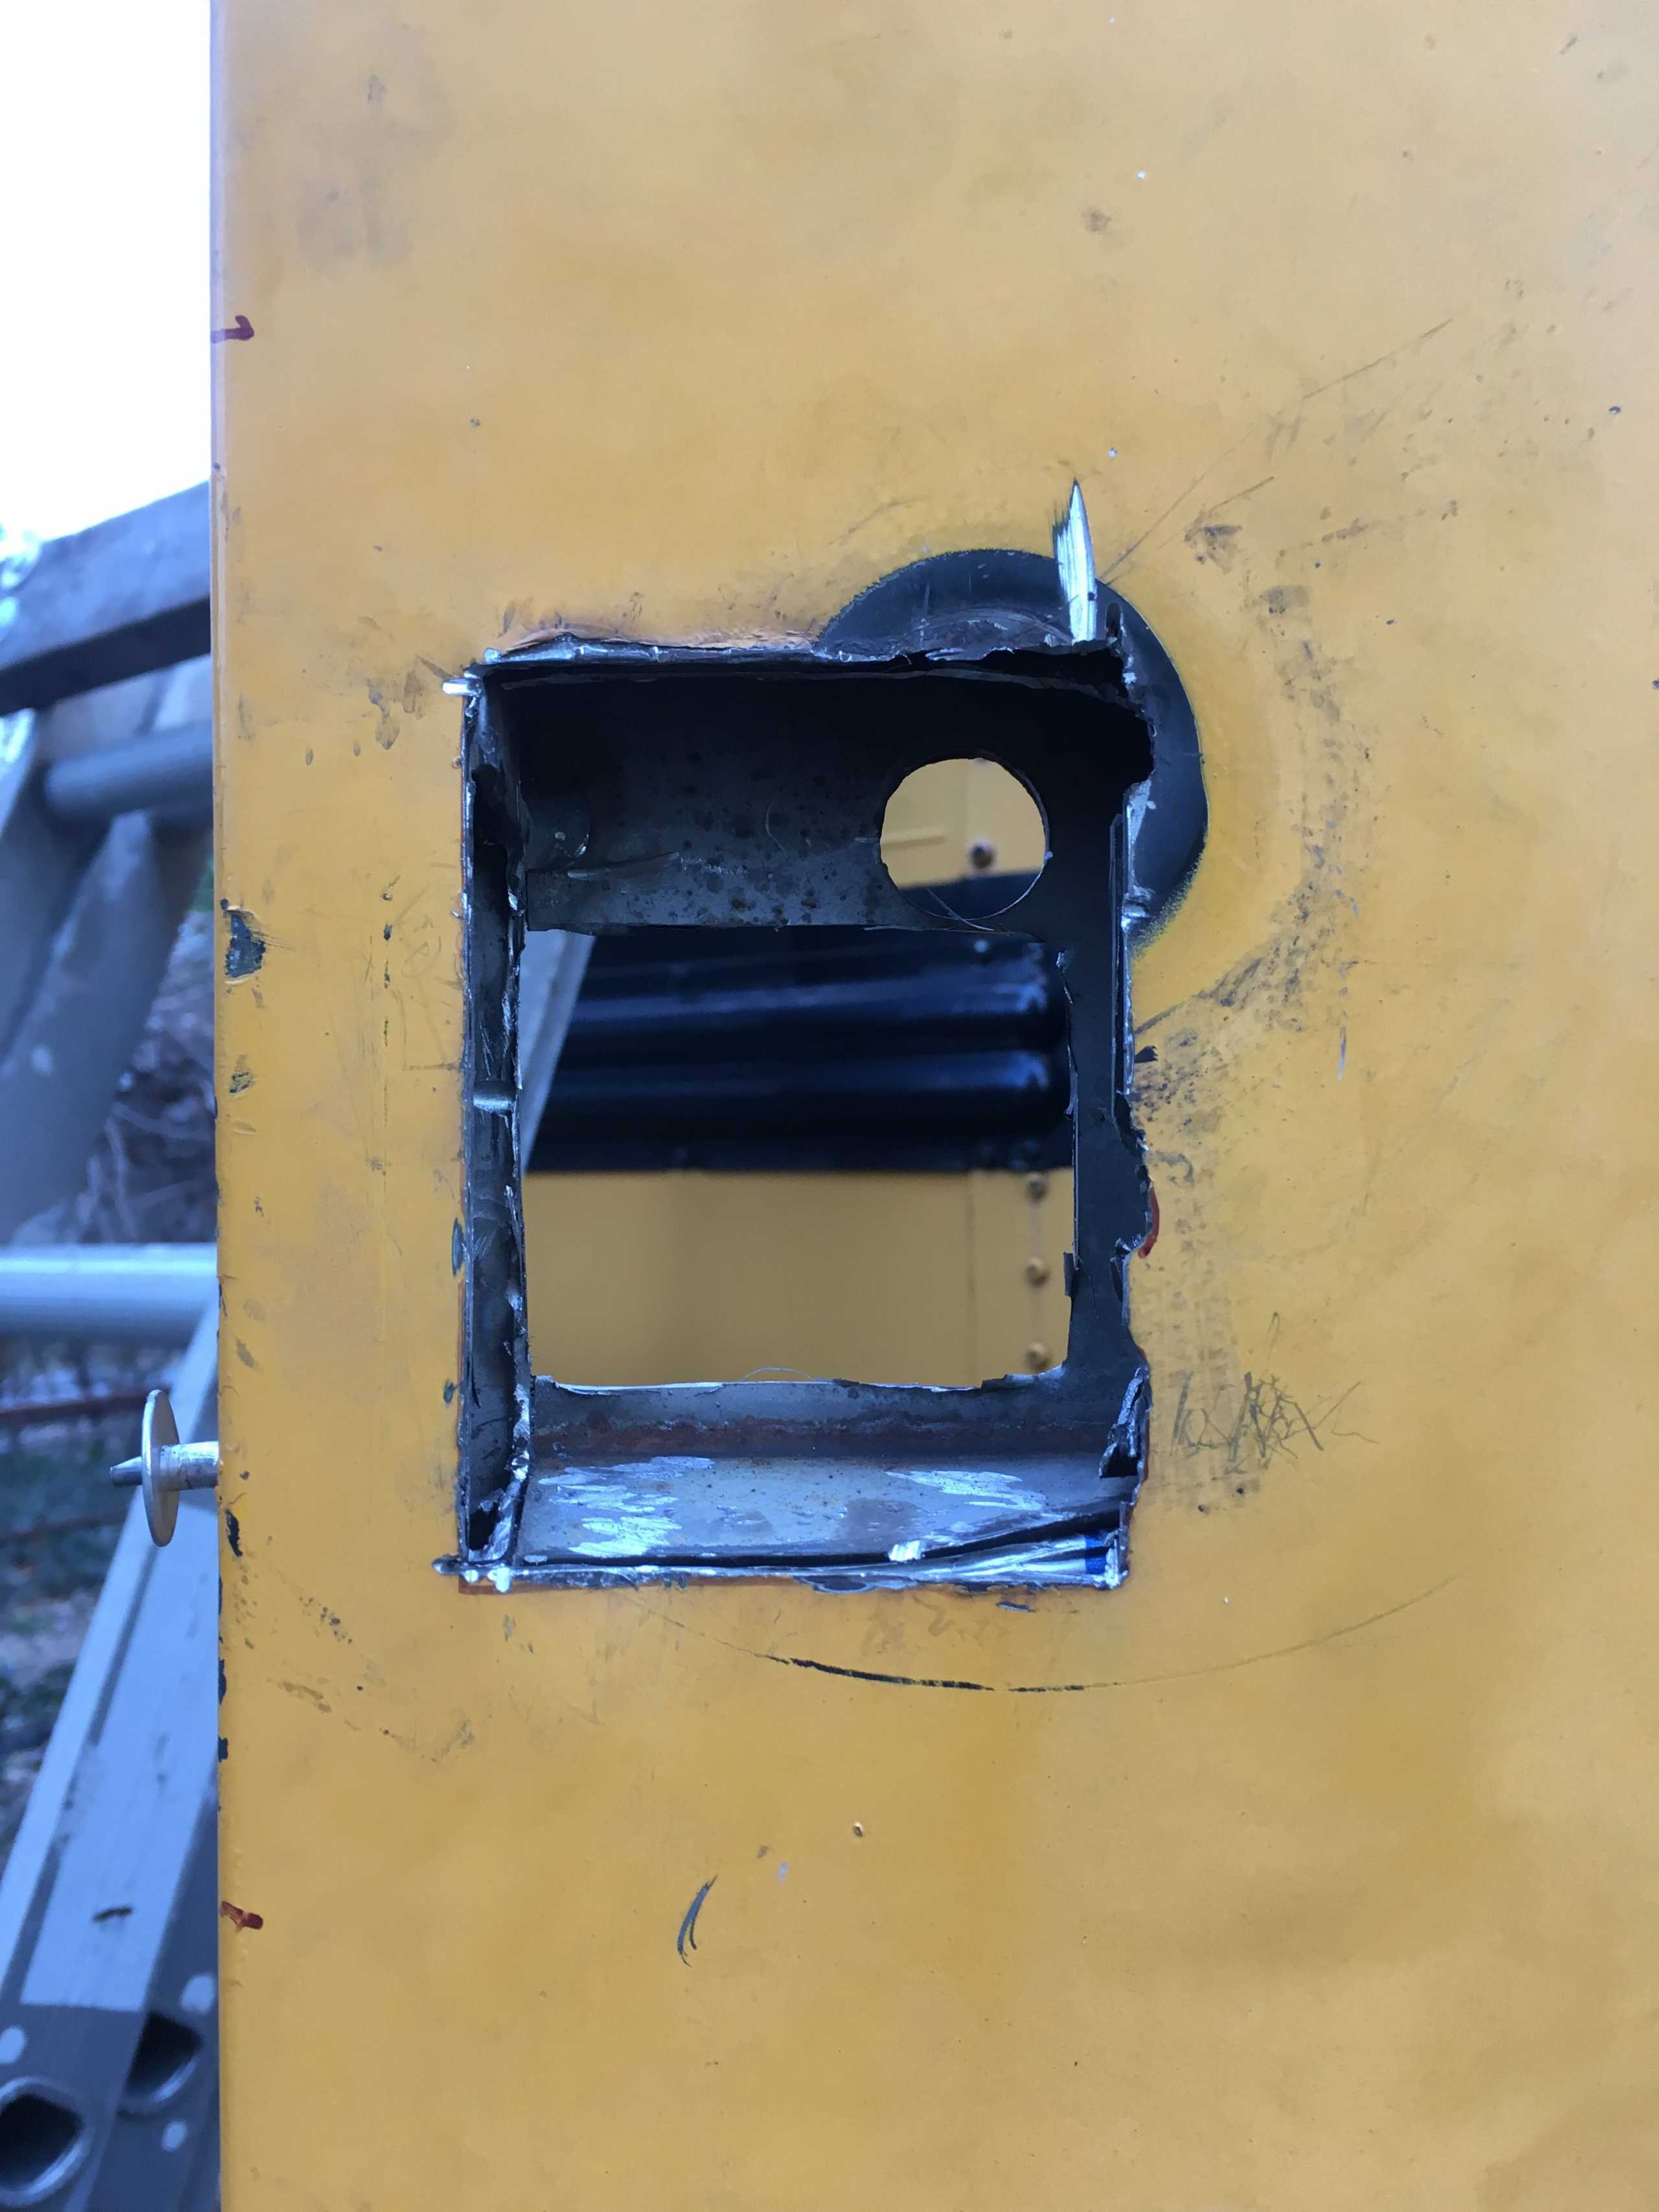
Now comes the trial and error part. This part of the retrofit took the majority of the 2nd day. Test fit the lock with all of the internals removed and see if it fits. It probably won’t fit and you’ll need to cut out a little more of the door here and there. 40 small cuts are better than 1 cut that is too big. This is where the Dremel came in. The door shell contained an inner shell that was too think and would not allow the lock to properly set in the hole. Because we drilled the rivets out we could easily pull the door apart and trim excess metal out. There were times that we were holding the Dremel and an incredibly awkward angle, but it was the only way to see what we were cutting while actually cutting.
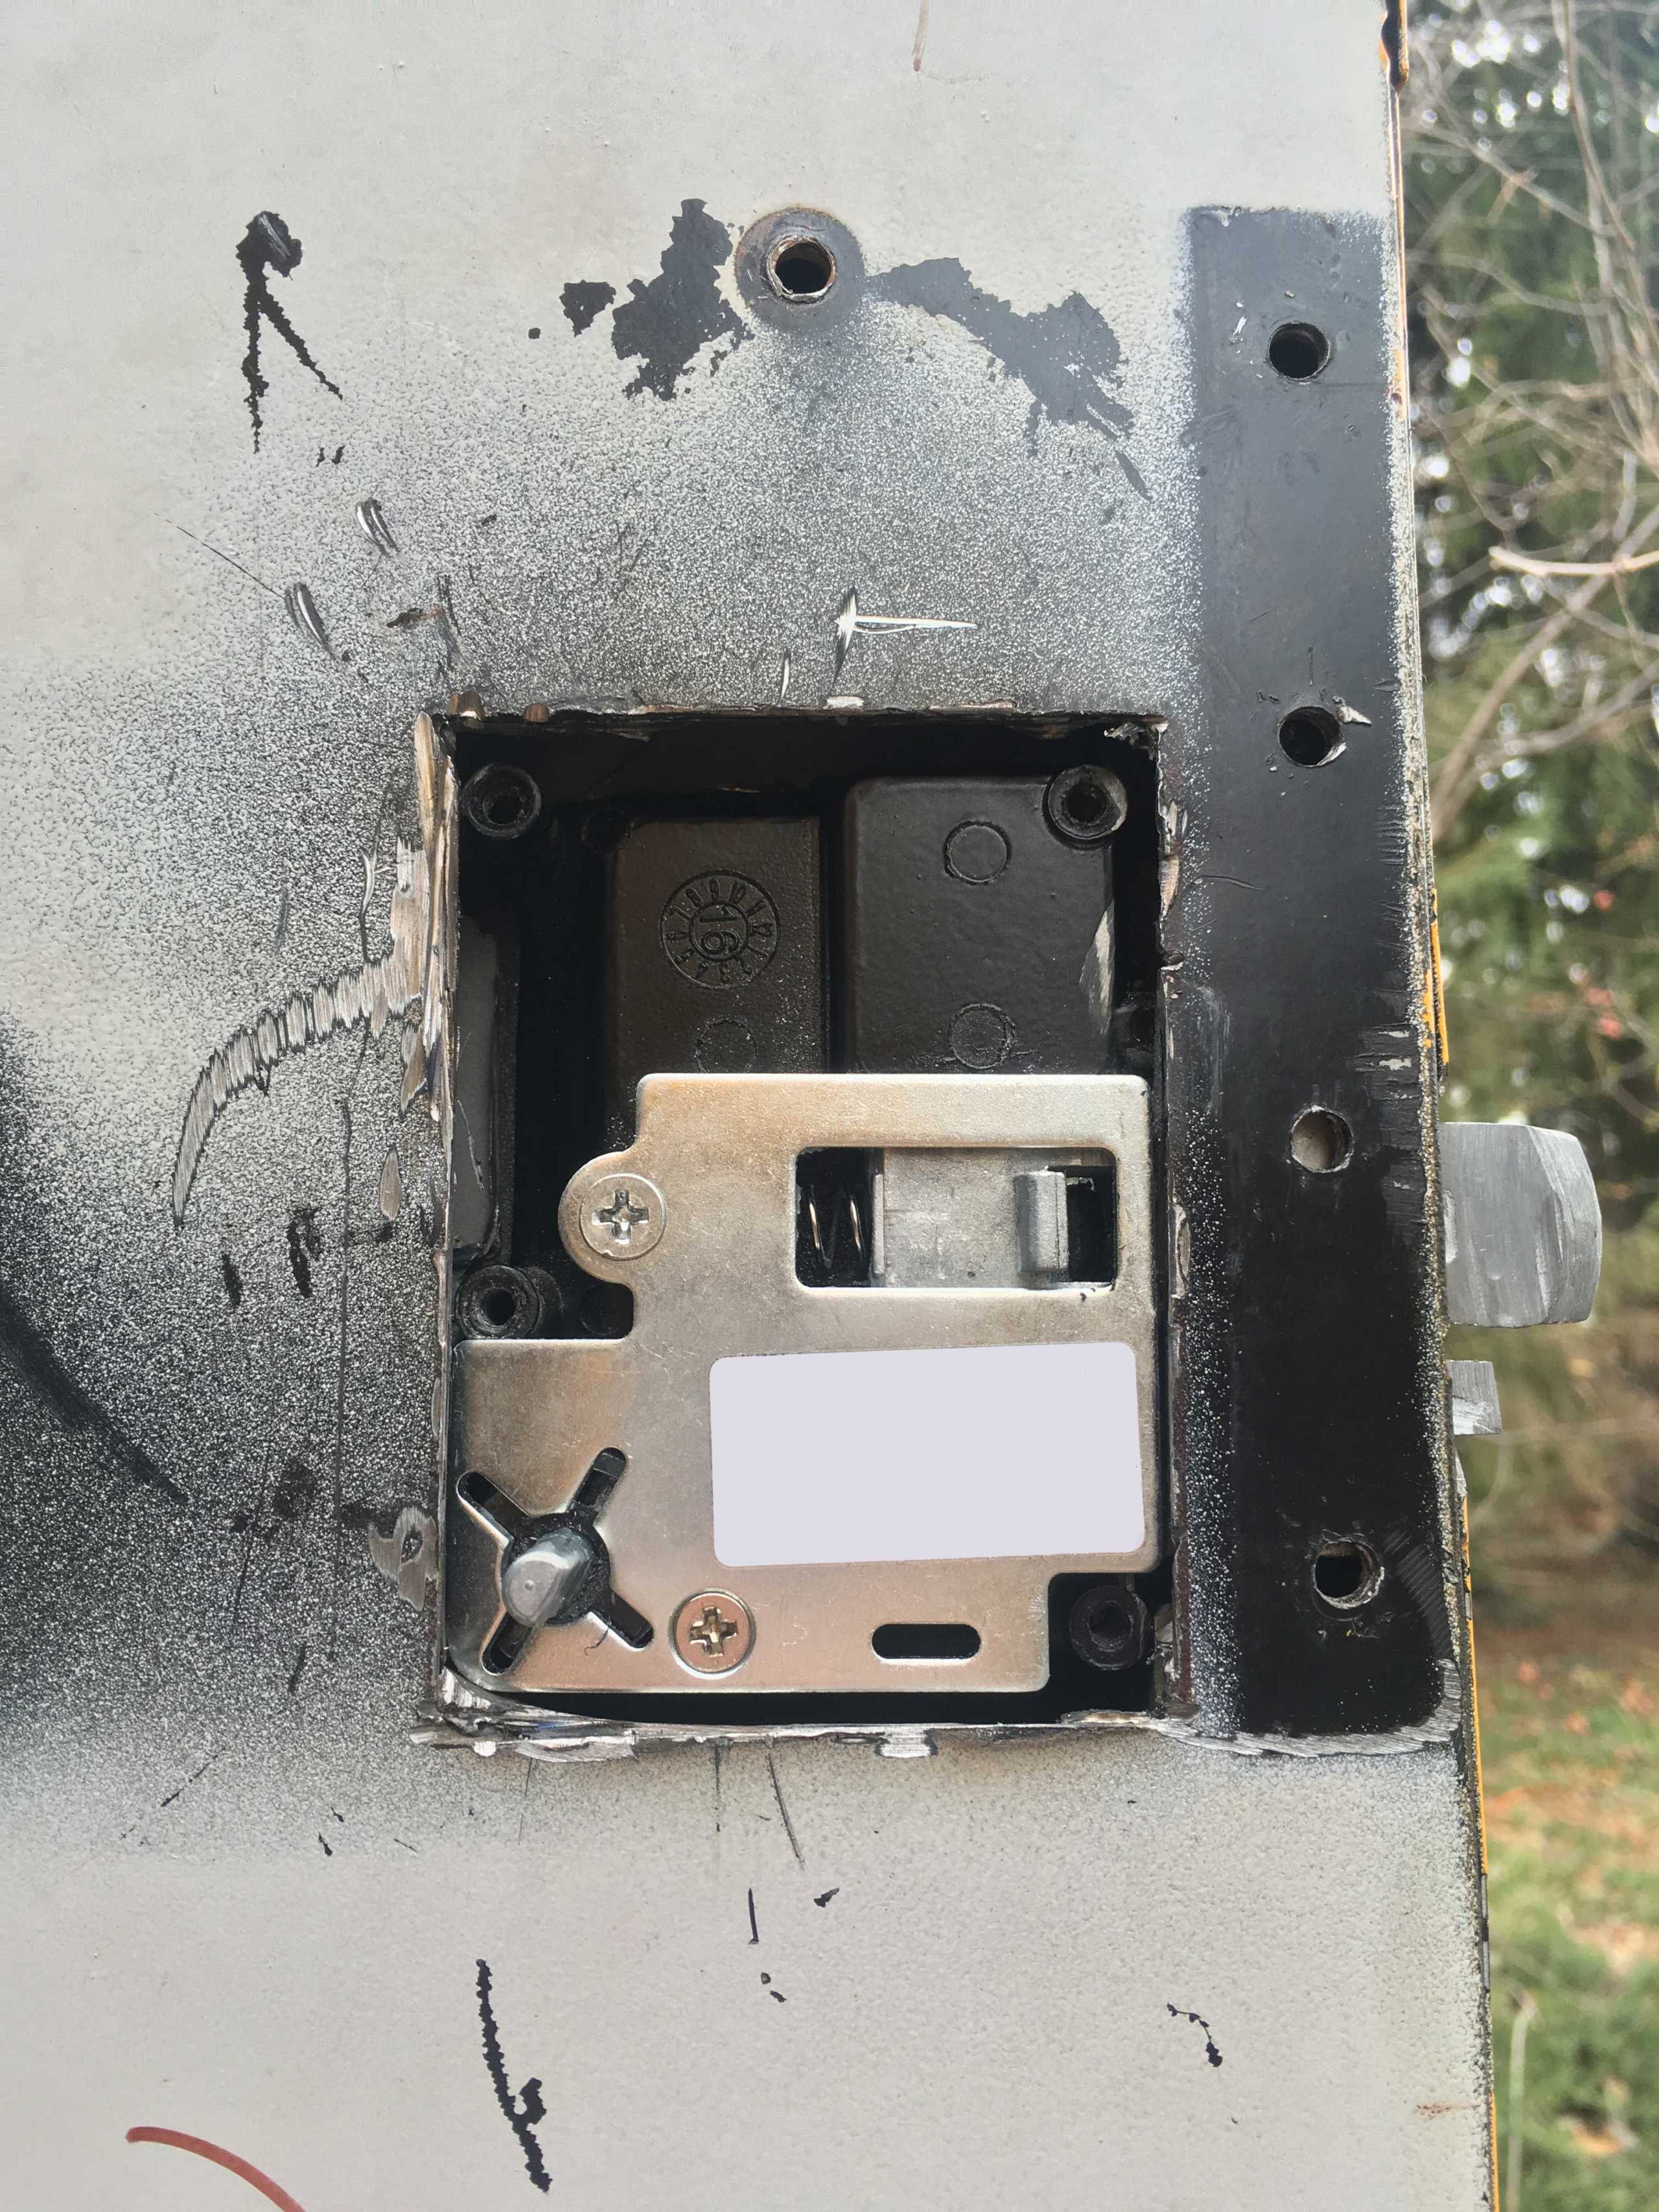
Once it was screwed together we thought we were done. When we screwed the 2 pieces together it pulled all of the internals tighter together and wouldn’t allow the bolts to properly slide in and out. We took it all back out and used the angle grinder with a grinding wheel to take a minuscule amount of material off of the bolts. Once reassembled and screwed tight the bolts were sliding properly. Unfortunately I had to take it out one last time because I wanted to put in thicker weather stripping around the outer handle.
Finishing Up:

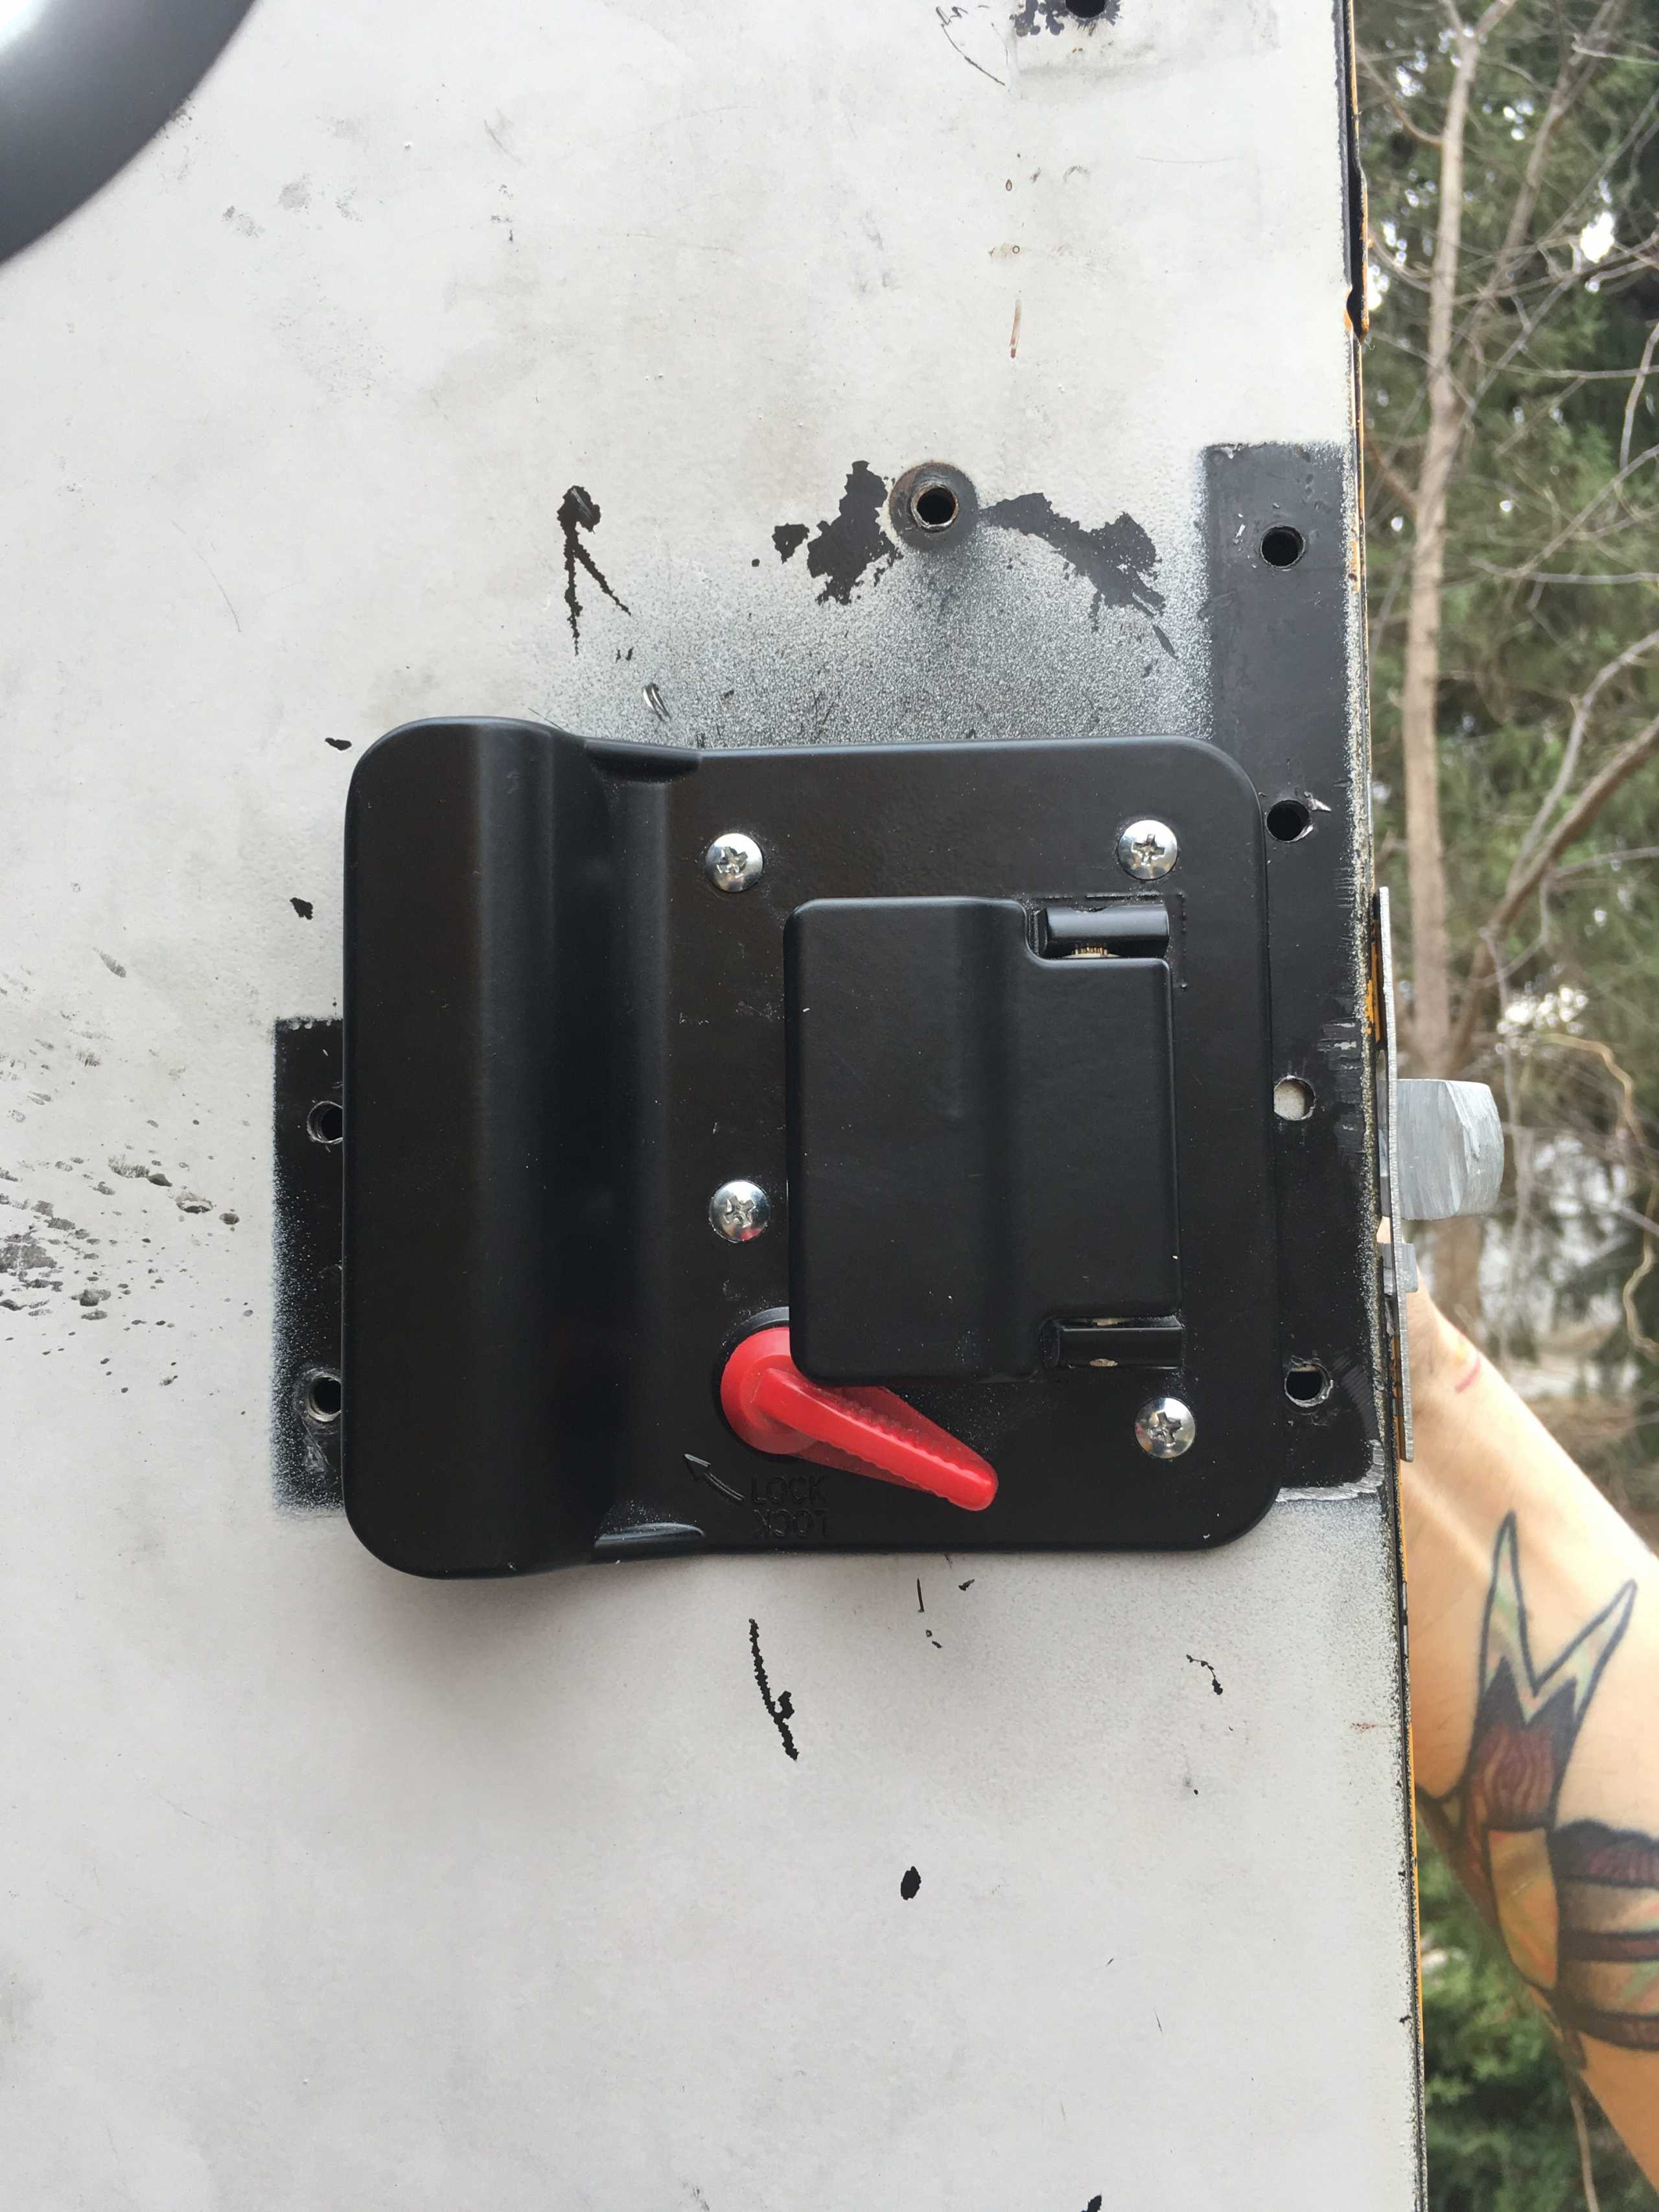
To add some finishing touches to this project we will be adding a wooden block to give the bolts more “meat” to latch into. We will then put the weather stripping back in and it will all look like it was from factory.
We hope this helps you. 😁

