In 1839 an English poet by the name of Elizabeth Barrett Browning wrote a letter addressed to fellow poet Richard Henry Horne in which she wrote, “The luck of the third adventure is proverbial.” In 1862 the Free Church of Scotland minister Alexander Hislop wrote “The third time’s lucky.” These two instances are believed to be the precursor to the phrase “The third time’s the charm.”
Flooring… like most things beneath our feet, we take it for granted. You walk on it, sweep it, your cat Katy Purrrry (Walter Croncat for you older generations) lays on it, and it all seems very simple. We wanted to make absolutely certain that our floor would be sealed properly and that we would never have to deal with any moisture problems down the road. Overkill is perfectly fine when dealing with a project such as this.
We went with several different layers and it ended up quite nice. A trip to Sherwin Williams and a talk with the associate there led us to DTM Marine Bonding Primer. This was an expensive purchase at $100 but well worth it. They can only sell it to contractors but an exception was made for us. It is used for sealing anything indoor or outdoor. After that was dry we used 6.4mm automotive plugs to fill the 480 holes in the floor from the track seating. Using a tiny bit of silicone on each hole for extra precaution, we hammered the plugs in tight. A gallon of Flex Seal was used to paint over them and the DTM primer. Once that was dry we used several tubes of Gorilla Glue and laid down 6-mil plastic sheeting. Finally we could start laying down the sub floor.


For those that do not know, most lumber sold is not the dimensions they are advertised as. When a board is first cut it is true, but the drying process and planing reduces it. A 2×4 board ends up being 1.5×3.5″. When you are buying lumber make sure to check the tag for the “Actual” size if you are needing something more specific. There are true 2x4s that are sold.
Using a Makita table saw we started to plane down a bunch of 2x4s ourselves, taking .5″ off of the ends. This was so we could use 1″ foam board insulation without having to worry about proper fitment. Unfortunately a dull blade, not enough air flow, and pushing the boards through too fast burned up the $600 saw and the project came to an abrupt halt. After sourcing an industrial table saw a few days later we finished planing down the boards, keeping the scrap .5″ pieces for trim work.

We placed a 2×4 joist every 4′ so that we didn’t have to worry about cutting the 4×8′ sheets of OSB. The OSB sheets were laid down but the floor was soft. We thought we could live with it but the more we walked on it, the more we realized if it’s not right now it won’t be right later. We removed the OSB boards and ran another set of joists vertical down the middle, since the middle of the bus is going to be a high traffic area. Because the foam board insulation was already installed, we cut the joists to the appropriate length, tracing them on the foam, and using a box cutter to remove where the joist would be. The OSB boards were laid down again but the floor was still soft. What else could we do but pull the OSB boards up again?
After watching a bunch of episodes of This Old House, we noticed that not only the walls, but the floors were 16″ centers, meaning from the center of one 2×4 to the center of the next 2×4, was 16″. We decided that we needed some sort of horizontal support between the 4′ sections.
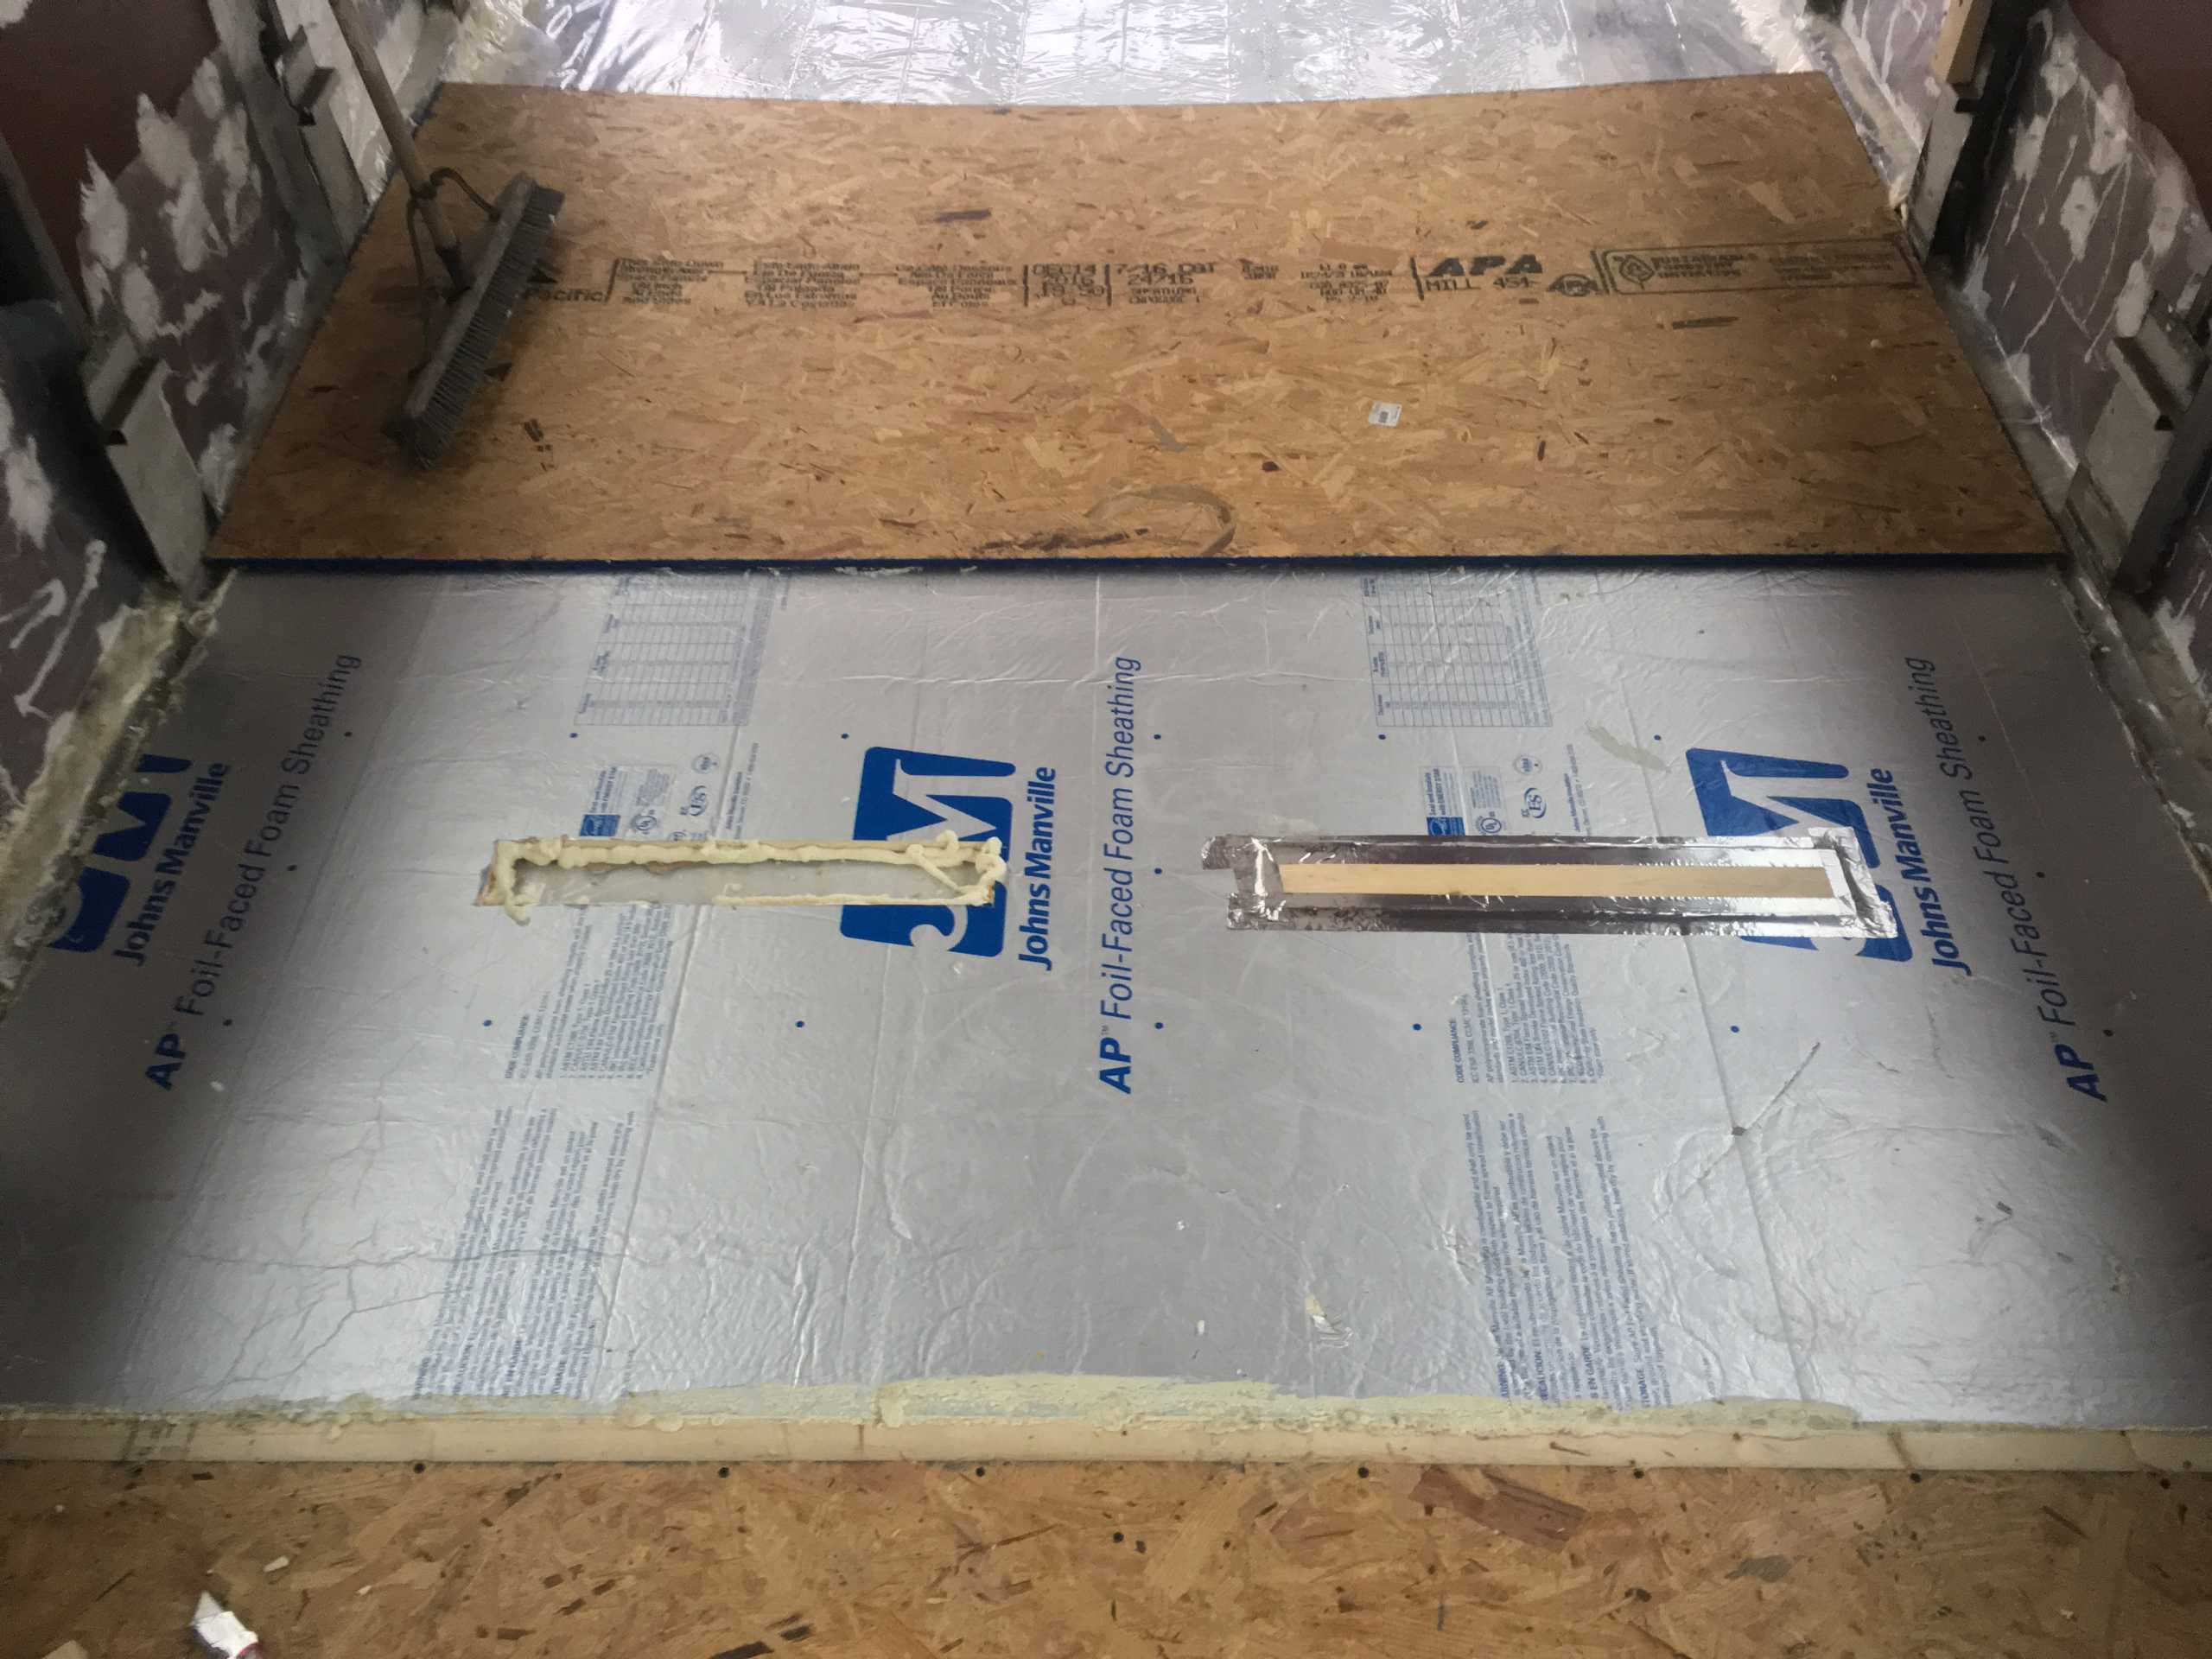
We took all of the OSB boards (3rd time) back out of the bus and added more joists running parallel with the horizontal joists. These joists we cut short so that there was plenty of insulation around them and the other joists. Spray foam was used to “glue” and seal around the shorter horizontal boards. The OSB boards were put back in and wouldn’t you know it… still soft on the ends.
The boards were taken back out (why are you still reading this?) and additional vertical joists were added to the ends of each 4″ section. Teks Self-Tapping Phillips-Drive Exterior Wood Screw were used for all of the joists except the shorter horizontal ones. The OSB boards were put back in and the floor was solid. Except… you know what? We forgot to tape all the seams. Hahahahahaha! We lurveve it ser murch!
The boards, they were taken, back out, again… Reflectix tape was used to seal every crack and Reflectix 4′ Roll Insulation was placed down on top of it all before the OSB boards went back in and screwed down to every joist. It was finished.
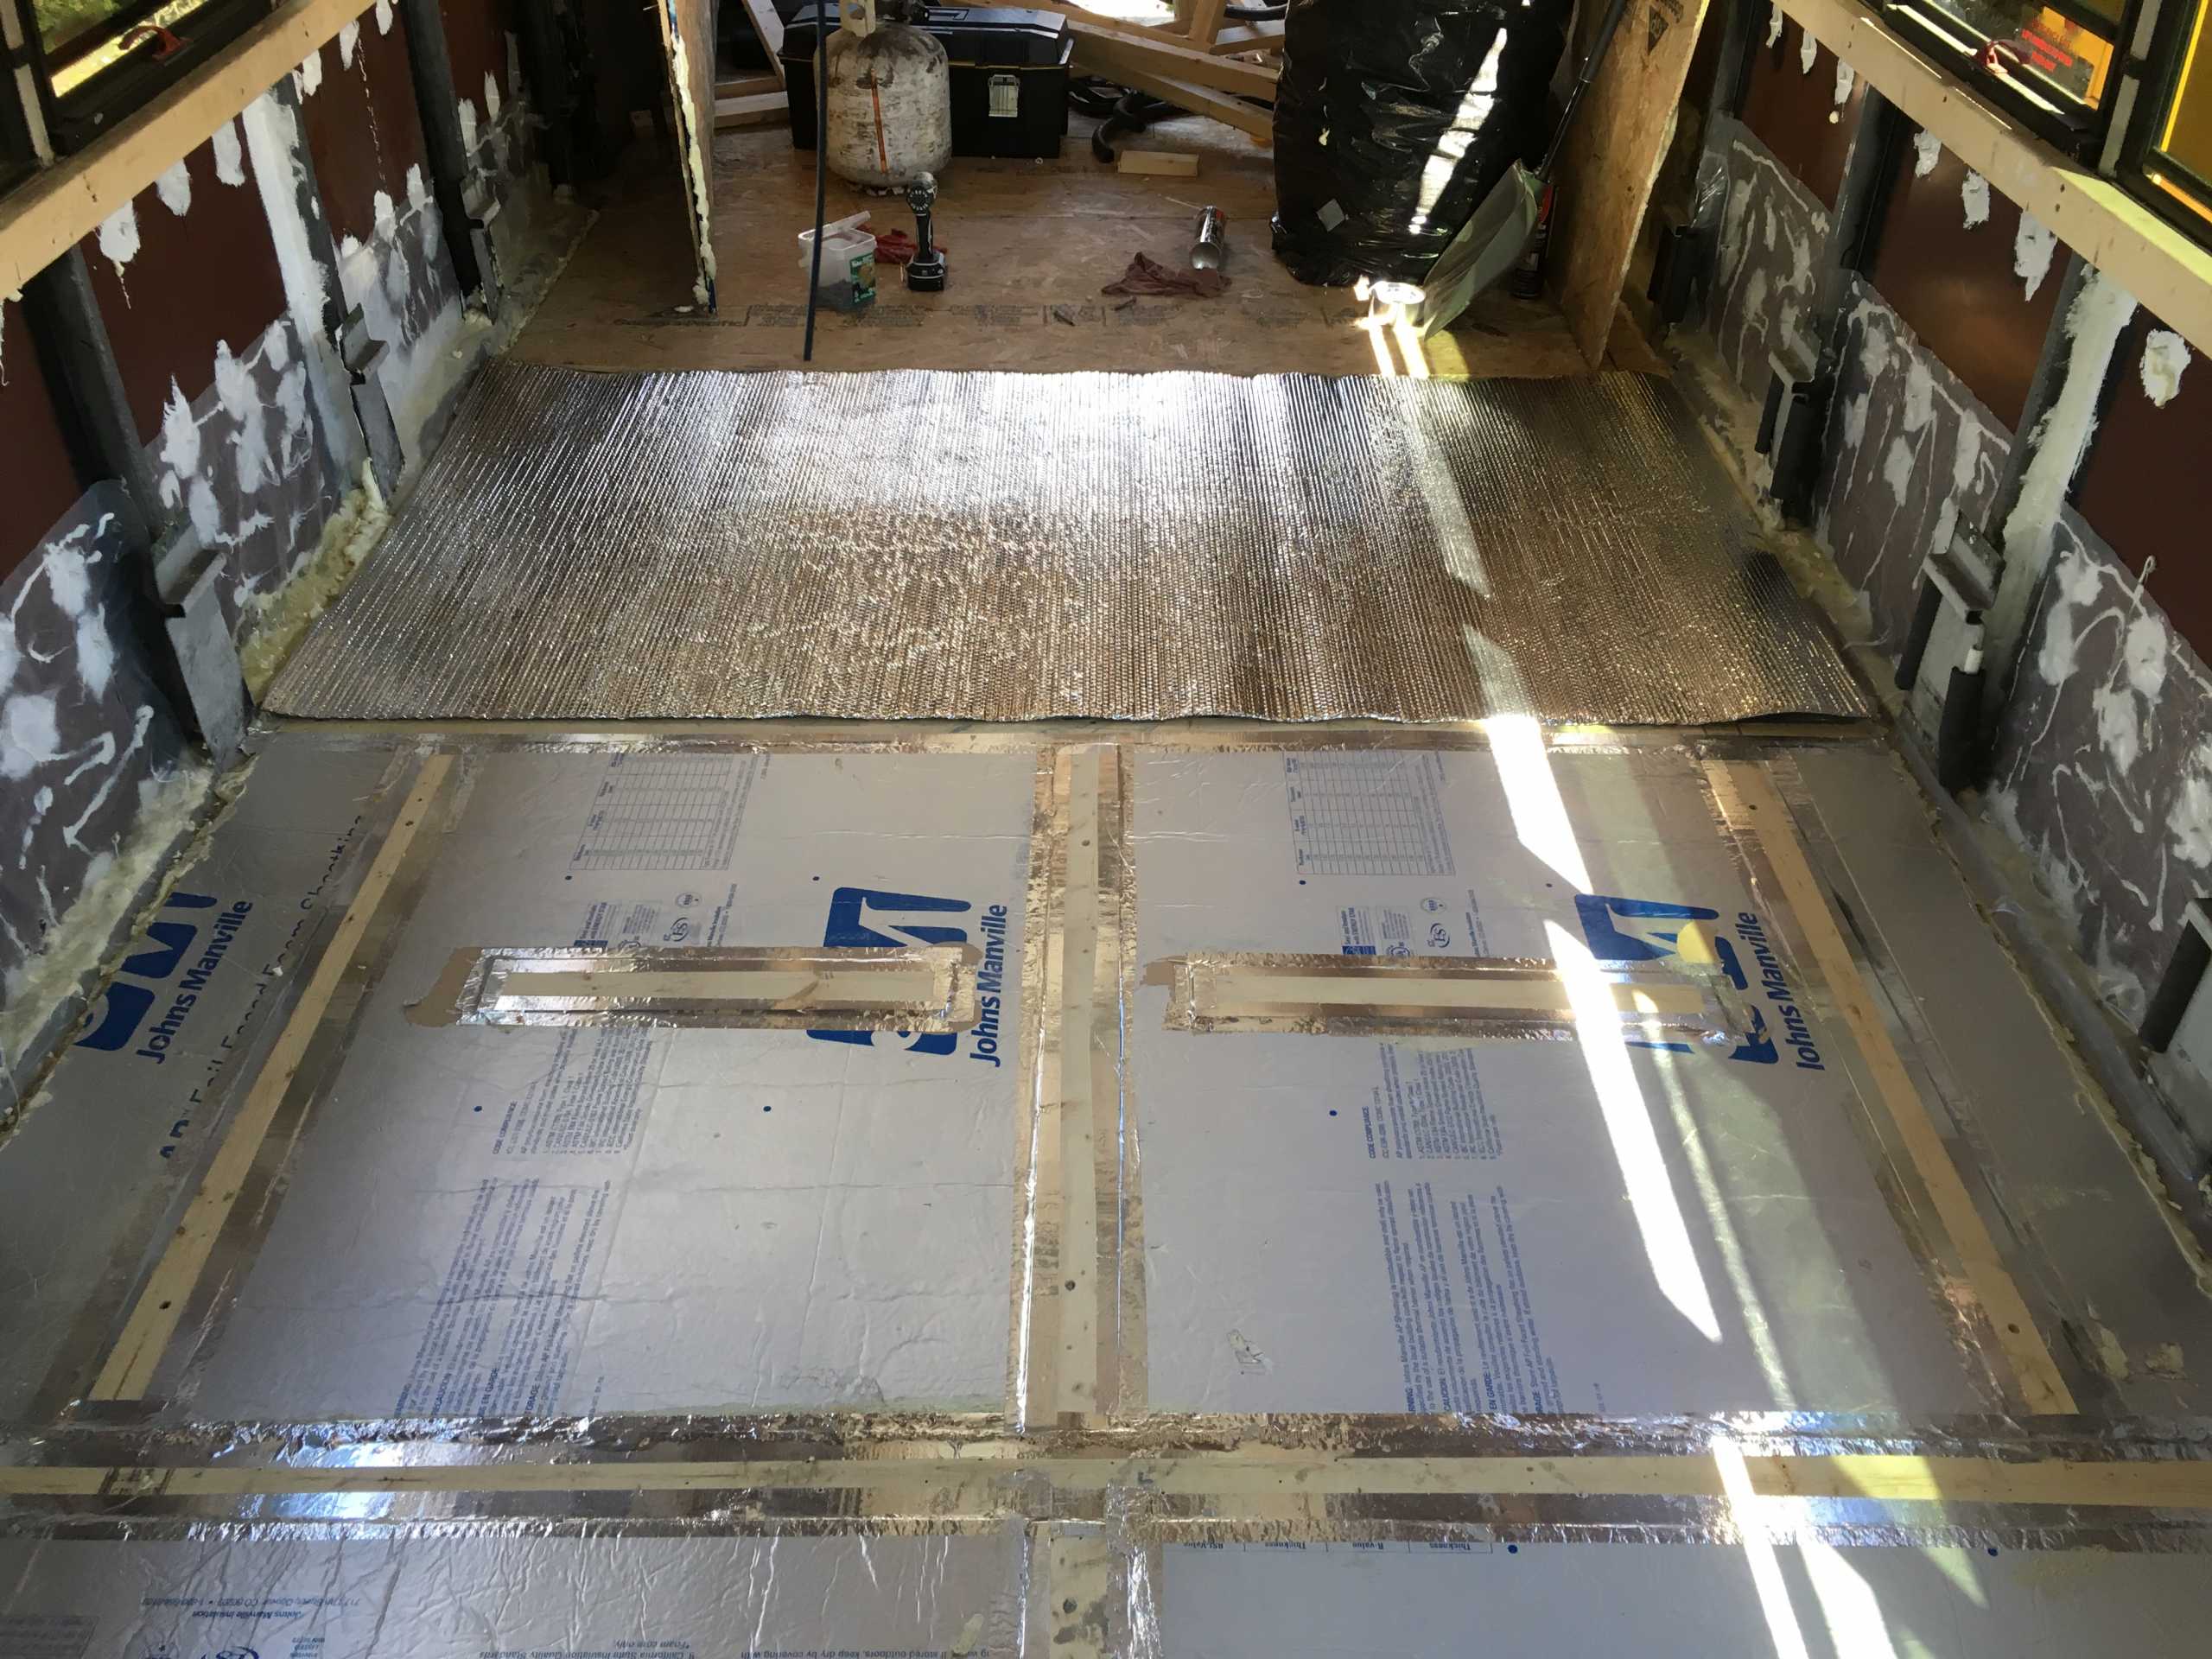
This floor is now water proof, over insulated, and incredibly sturdy. All we can say is…
5th time’s the charm!
