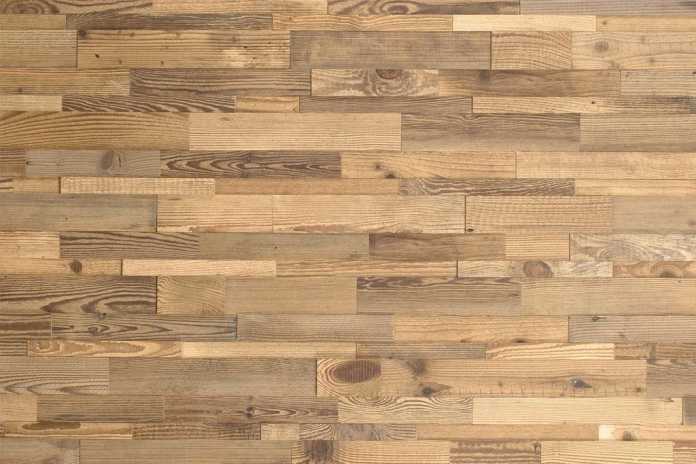
Accent walls made from reclaimed pallet wood have become quite popular over the last several years. Installing a pallet wall in your home or RV is an incredibly easy, and extremely affordable way to bring a bit of color to any wall that may be lacking. We have seen a lot of these walls that were quite skewed and this tutorial is aimed to help those that may be struggling to build a proper pallet wall.

Tools
| Drill | Hammer | Tape Measure |
| Table Saw | Pencil |
Materials
| Finishing Nails | Liquid Nails | Black Paint (Optional) |
WARNING:
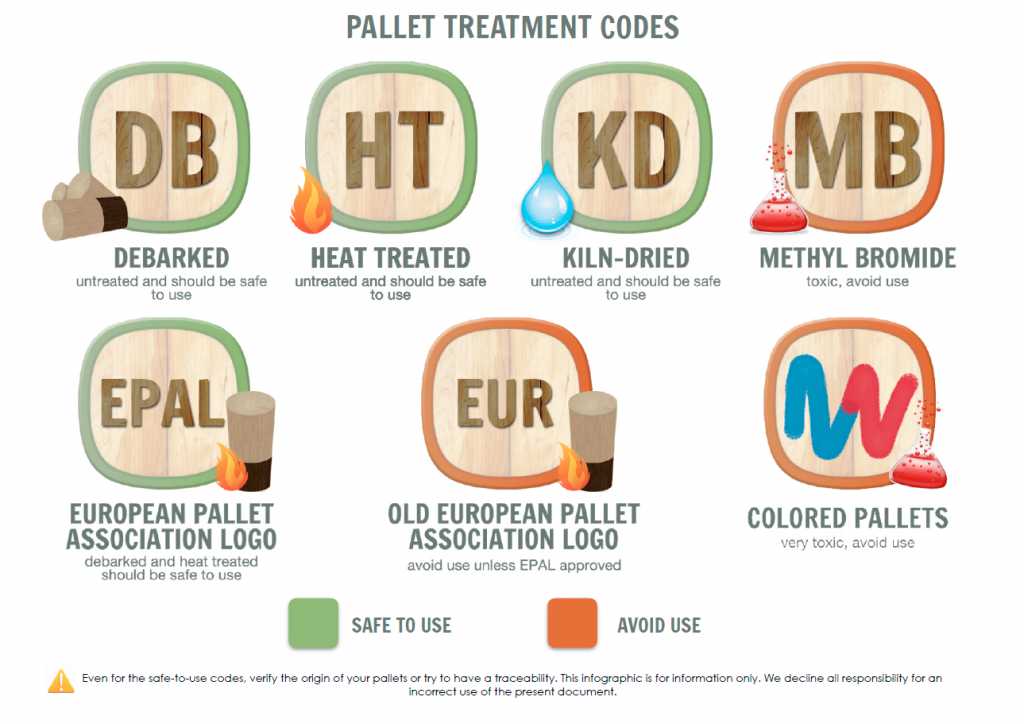
Some pallets are treated with extremely toxic chemical called methyl bromide. Methyl bromide is a potent neurotoxin that affects the nervous system. Methyl bromide exposure can cause short-term and long-term problems including severe lung injuries and neurological impairment.
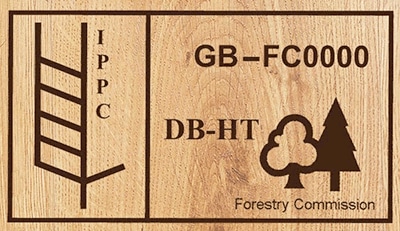
When sourcing pallets, look for the following treatment codes stamped on the side of any pallet that you want to use. DB, HT, and KD, or any combination of the three are safe to use. If you do not see a stamp, DO NOT use the pallet!
Prep Work:
Breaking down the pallets is honestly the hardest part of this project, and can be quite time consuming. We found the easiest way was to use a circular saw to cut the ends off of the pallets, leaving the pallet wood attached to the middle support. Once the ends are removed, the wood can be twisted and turned until it releases from the center support. Once all of the boards have been removed from the pallets, they are ready to be stained. We think that five different stains yield the best results on the finished wall.
Installation:
Because of the irregularity of pallet wood, it is best to start in the middle of the wall. This is so that by the time you get to the ceiling or floor, any skewing will be minimal. Start by measuring halfway up the wall on both ends and draw a straight line. This will be the starting point. To keep each row of pallets the same width, a table saw can be used to rip down the boards.
Put Liquid Nails on the back of each pallet and use finishing nails to secure them. If you do not have access to a finishing nailer, use a 1/16th drill-bit and use a finishing nail to secure the boards.
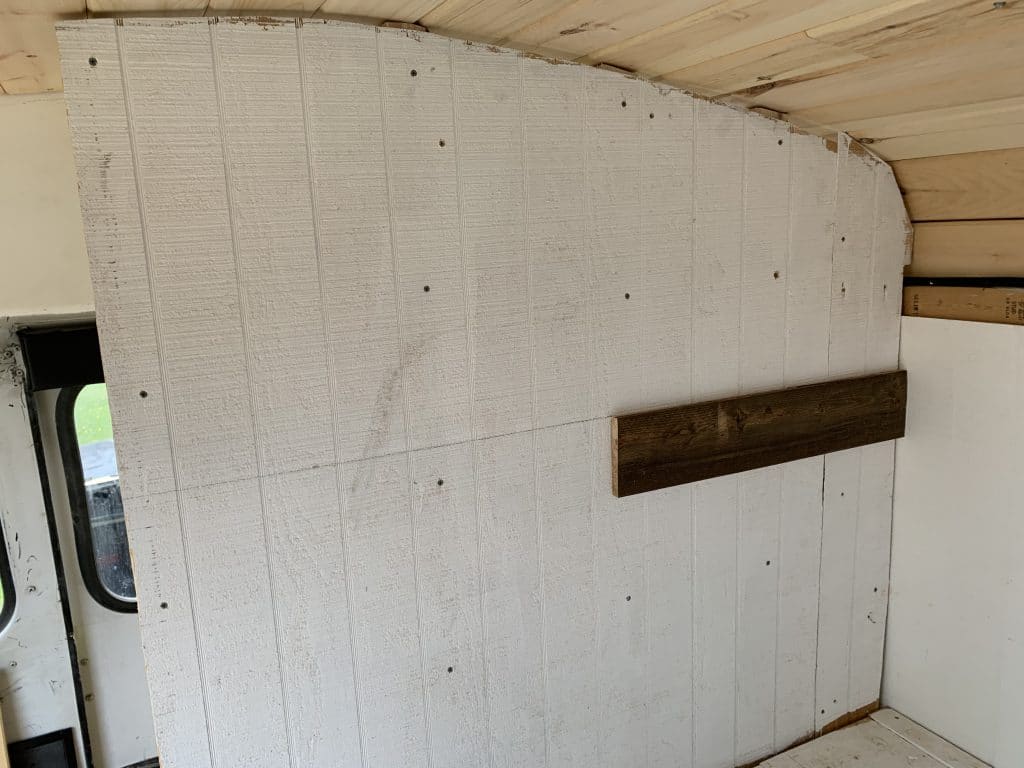
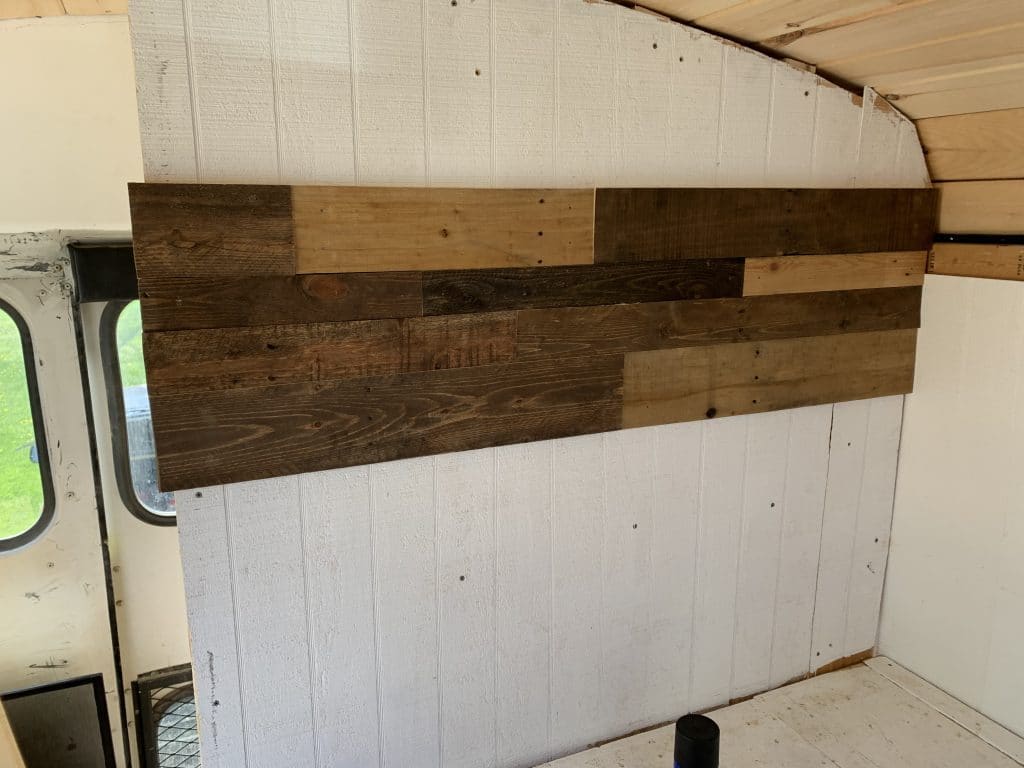
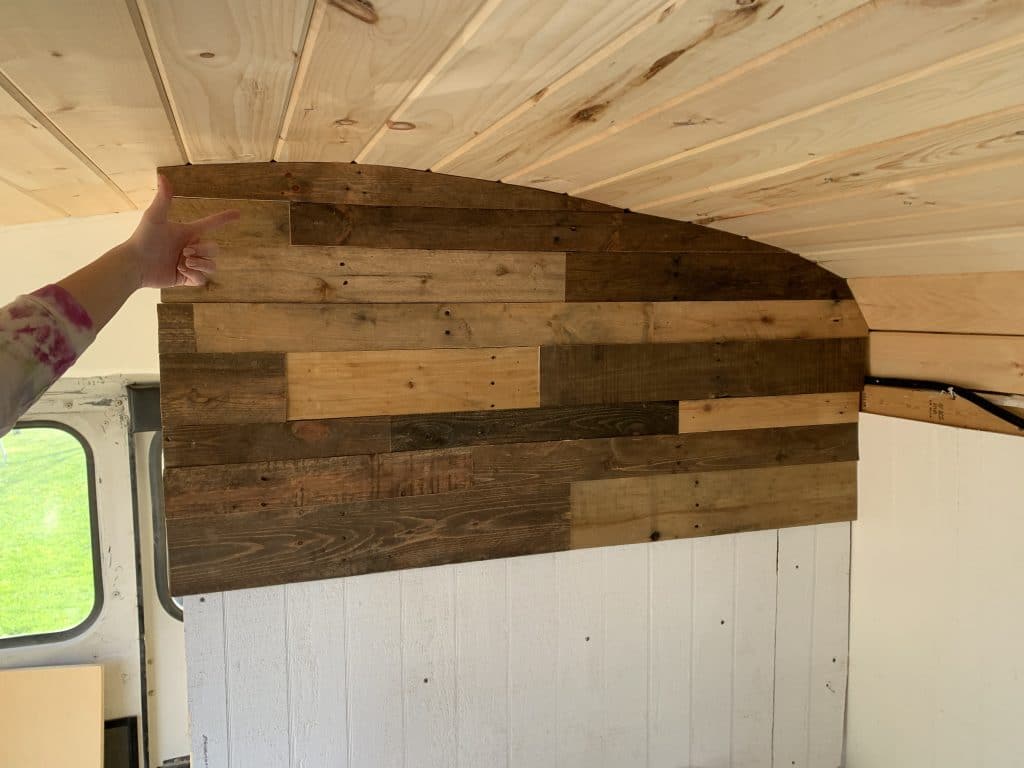
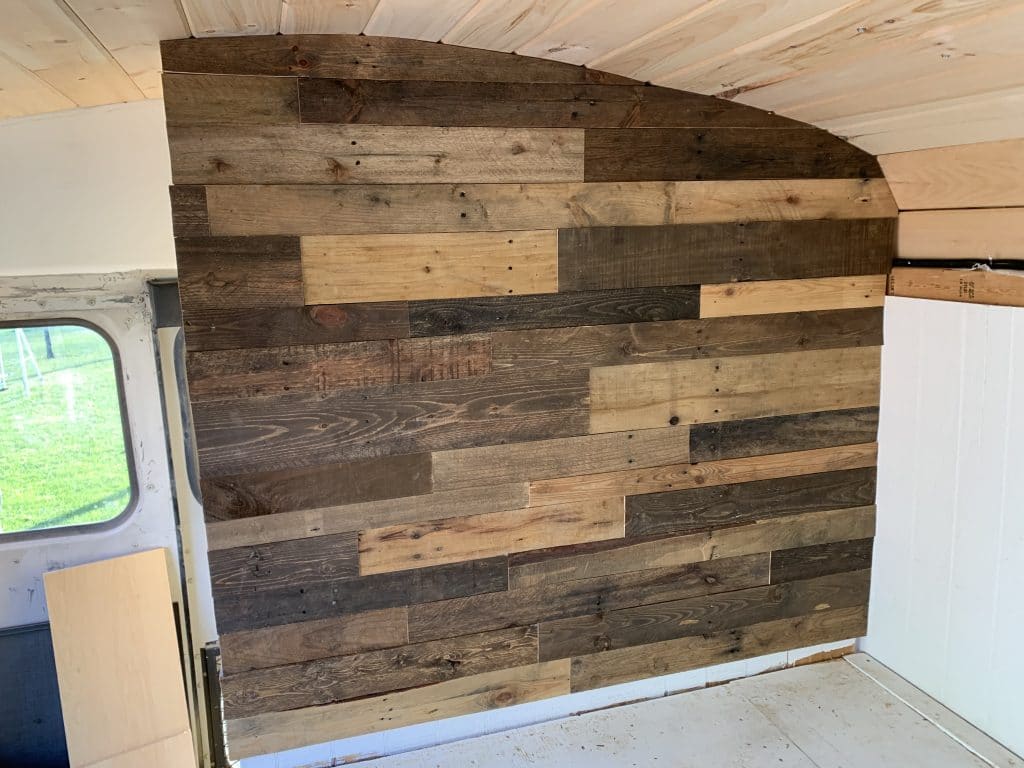
“Pro” Tips:
- For trickier cuts along a curve, a cardboard template can be made.
- Painting the wall black behind the pallets will hide some of the irregularities.
