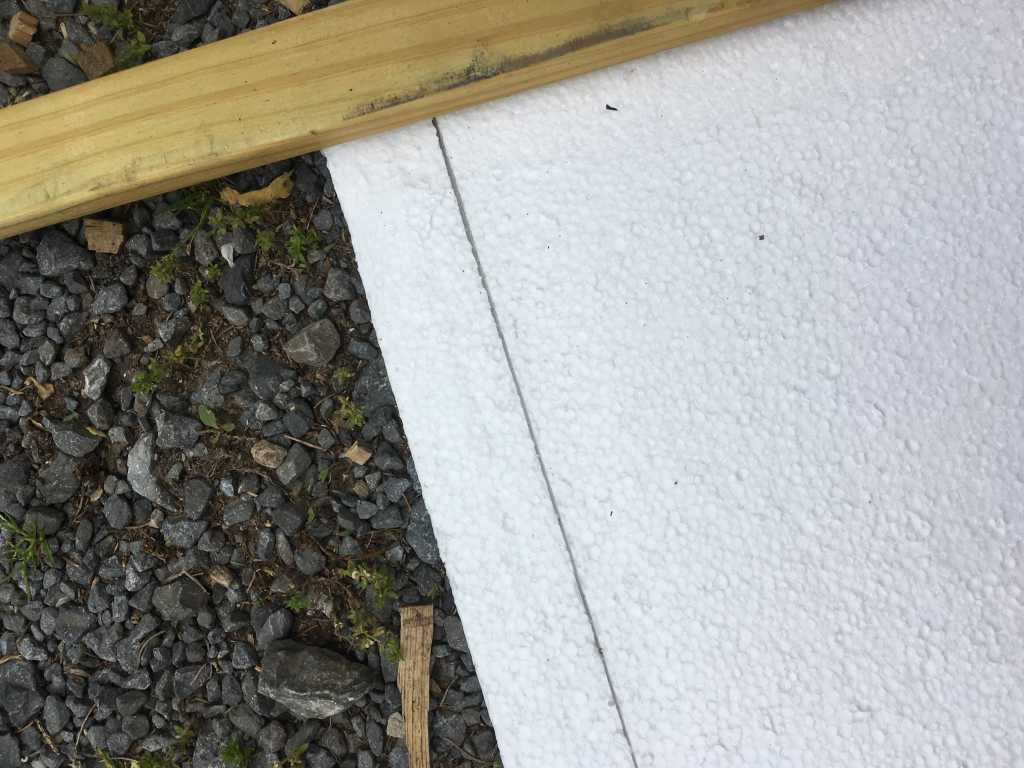
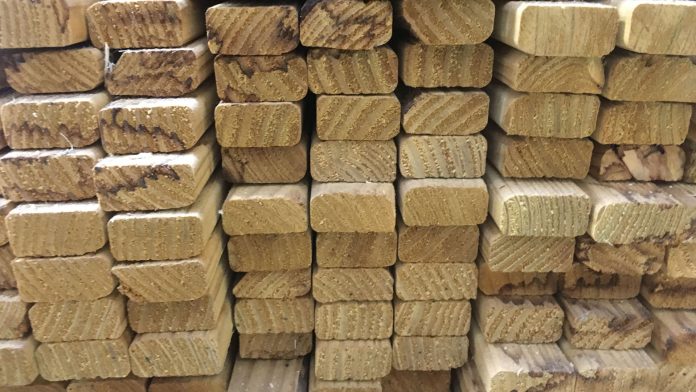
While framing and insulating the bus walls we didn’t consider the steps. It wasn’t until we saw another build that we realized the steps had no insulation. The solution was to simply rip up the steps, add insulation, and be warmer. However, like every other part of this build, it was a bit more challenging. This tutorial will guide you through framing and insulating your bus steps to seal up that ice cold metal box that is often over looked.

Tools
| Pry Bar | Table Saw | Screw Driver |
| Hammer | Pencil |
Materials
| Rust Converter | Caulk | Treated Furring Strips |
| Liquid Nails | Reflectix Roll Insulation | Reflectix Foil Tape |
| 1/2″ Foam Board | 1/2″ Plywood | Picture Frame Nails |
Prep Work:
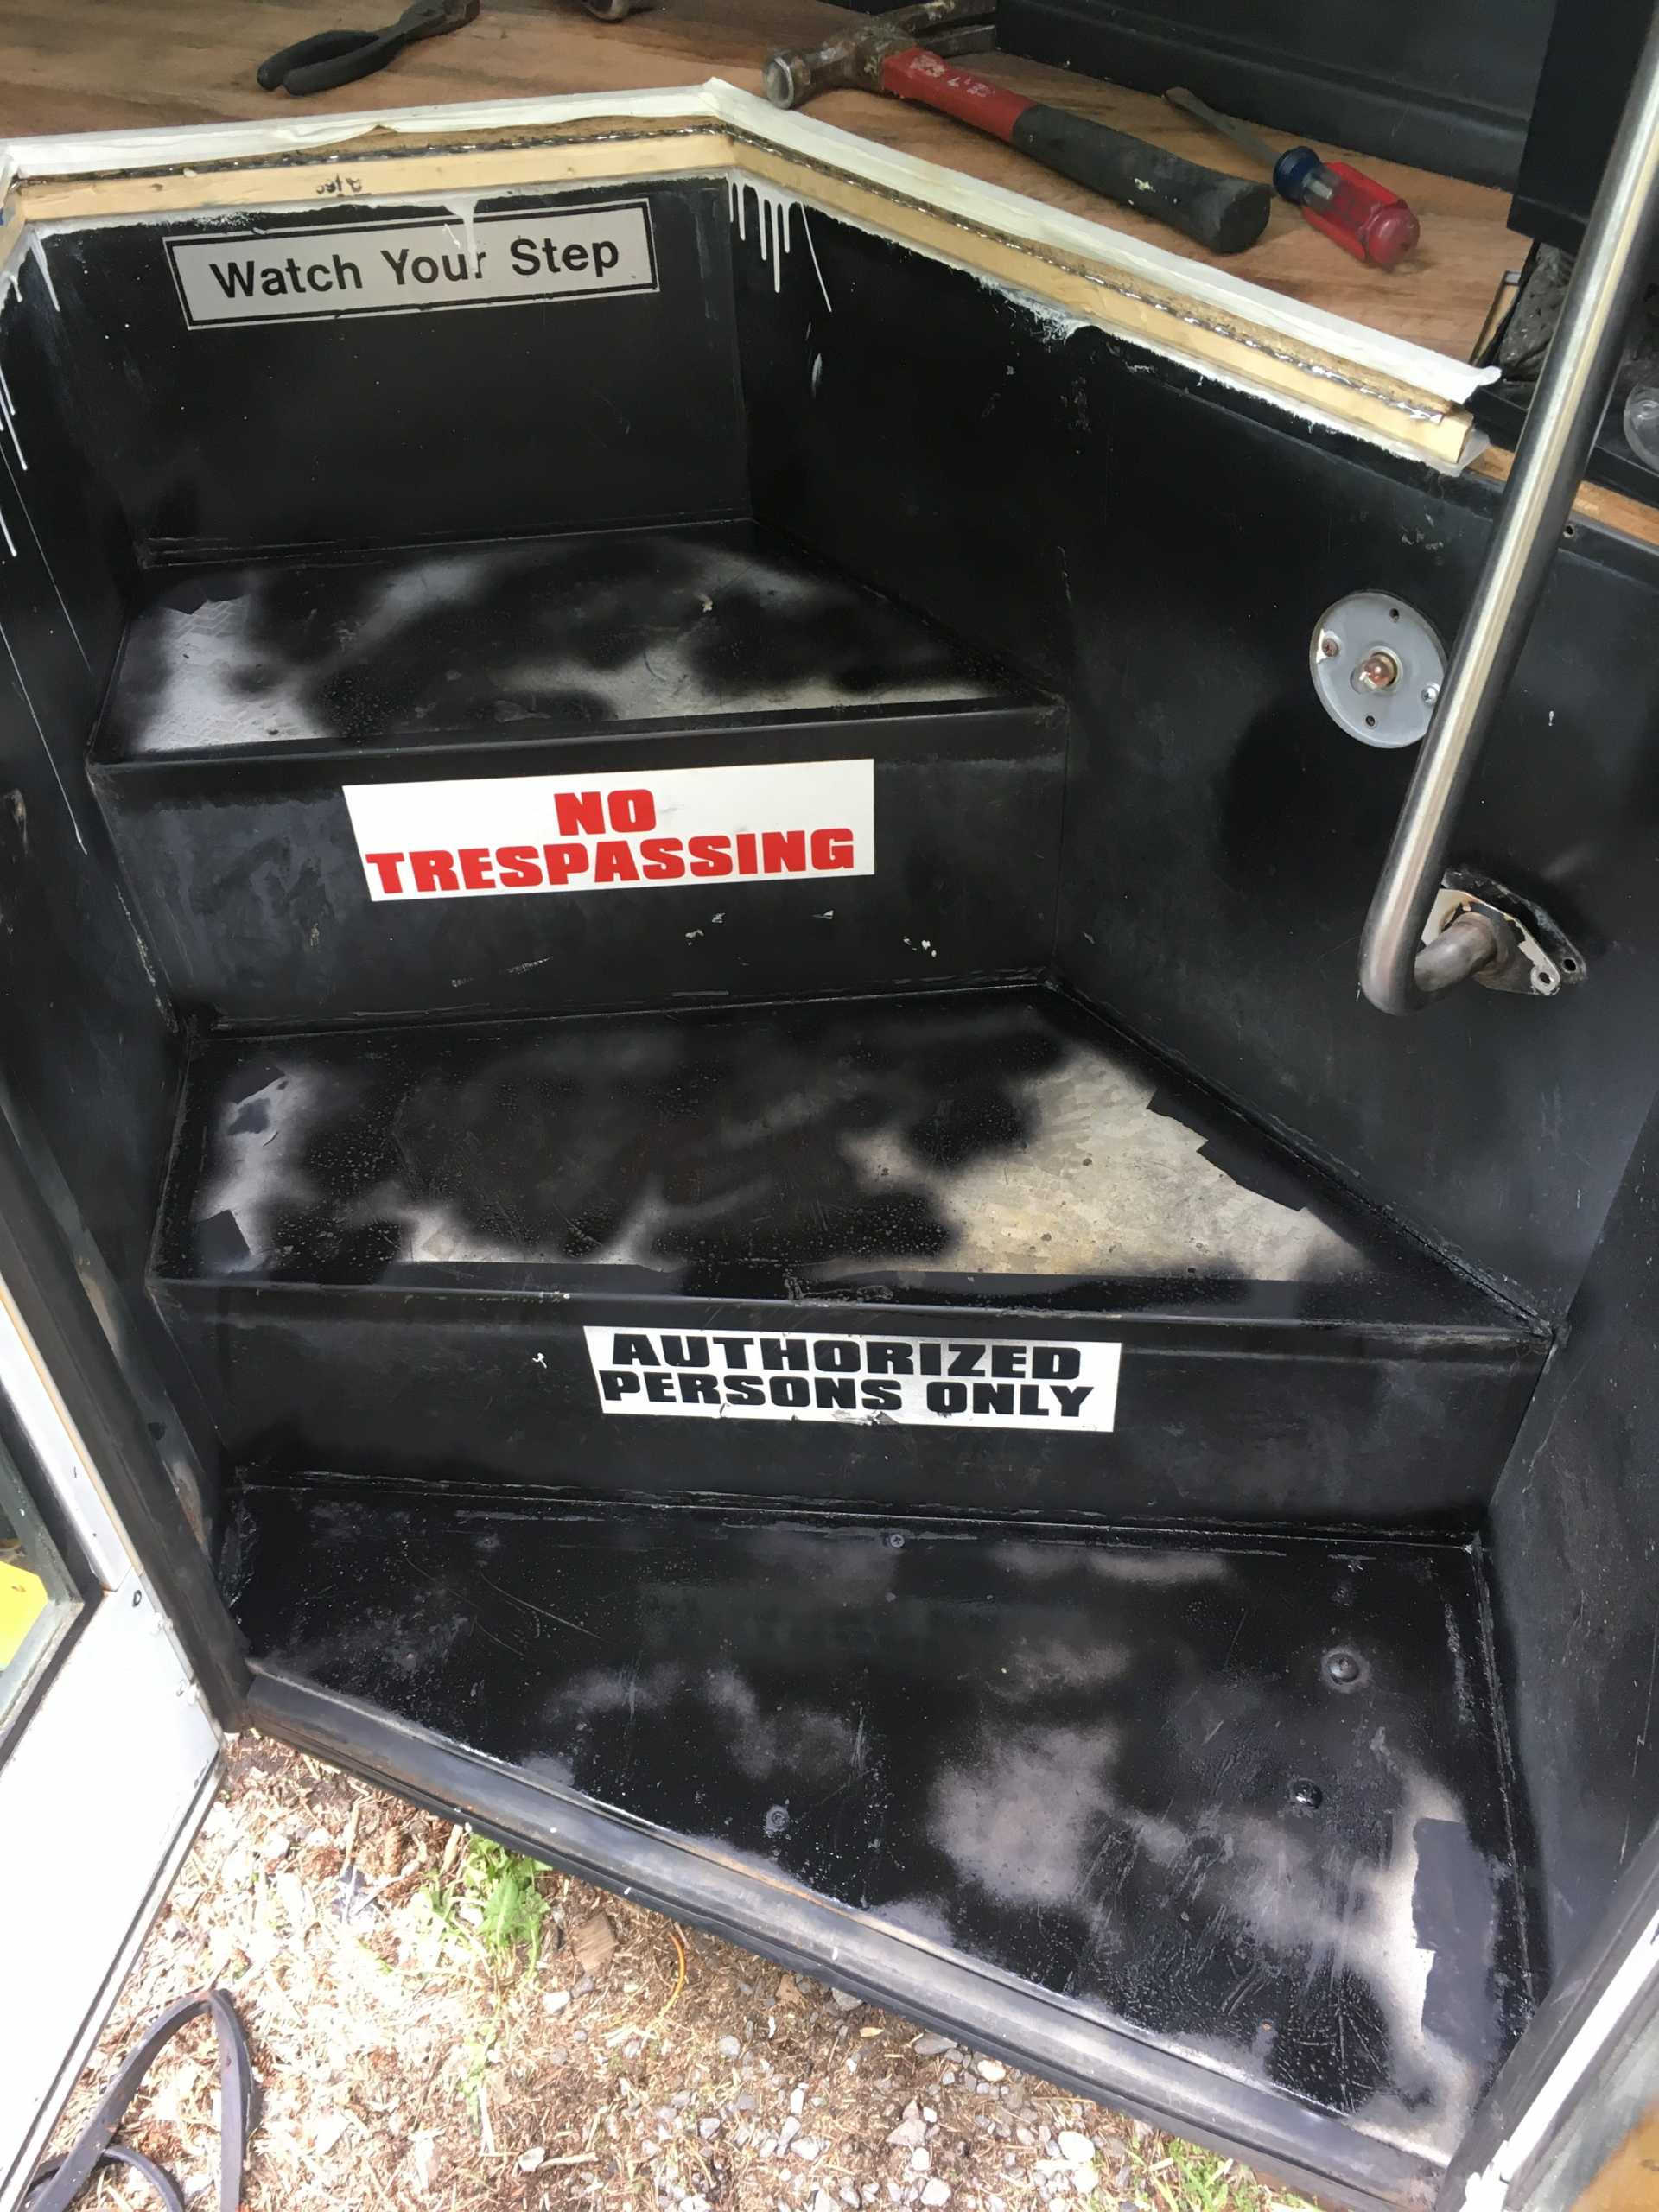
Once the three steps were removed we cleaned the area and used rust converter where necessary. We also caulked all of the screw holes to ensure this area was water tight. We let the caulking dry for the day and gathered the other materials needed to finish the job.
Framing:
Measure and cut the treated furring strips to fit the front and back of each step as well as the top face of each step. Cut another set of furring strips to go along the entire top of the step box from one side of the door to the other. Some of these furring strips will need to be cut at 45° so they properly fit the angles of the step box. Using liquid nail, glue all of the pieces in and allow them to cure over night. Small picture frame nails can be used for the furring strips on the step faces to hold them while the glue cures. Picture frame nails can also be used to secure the furring strips that go from one side of the step box to the other into the side of the subflooring.
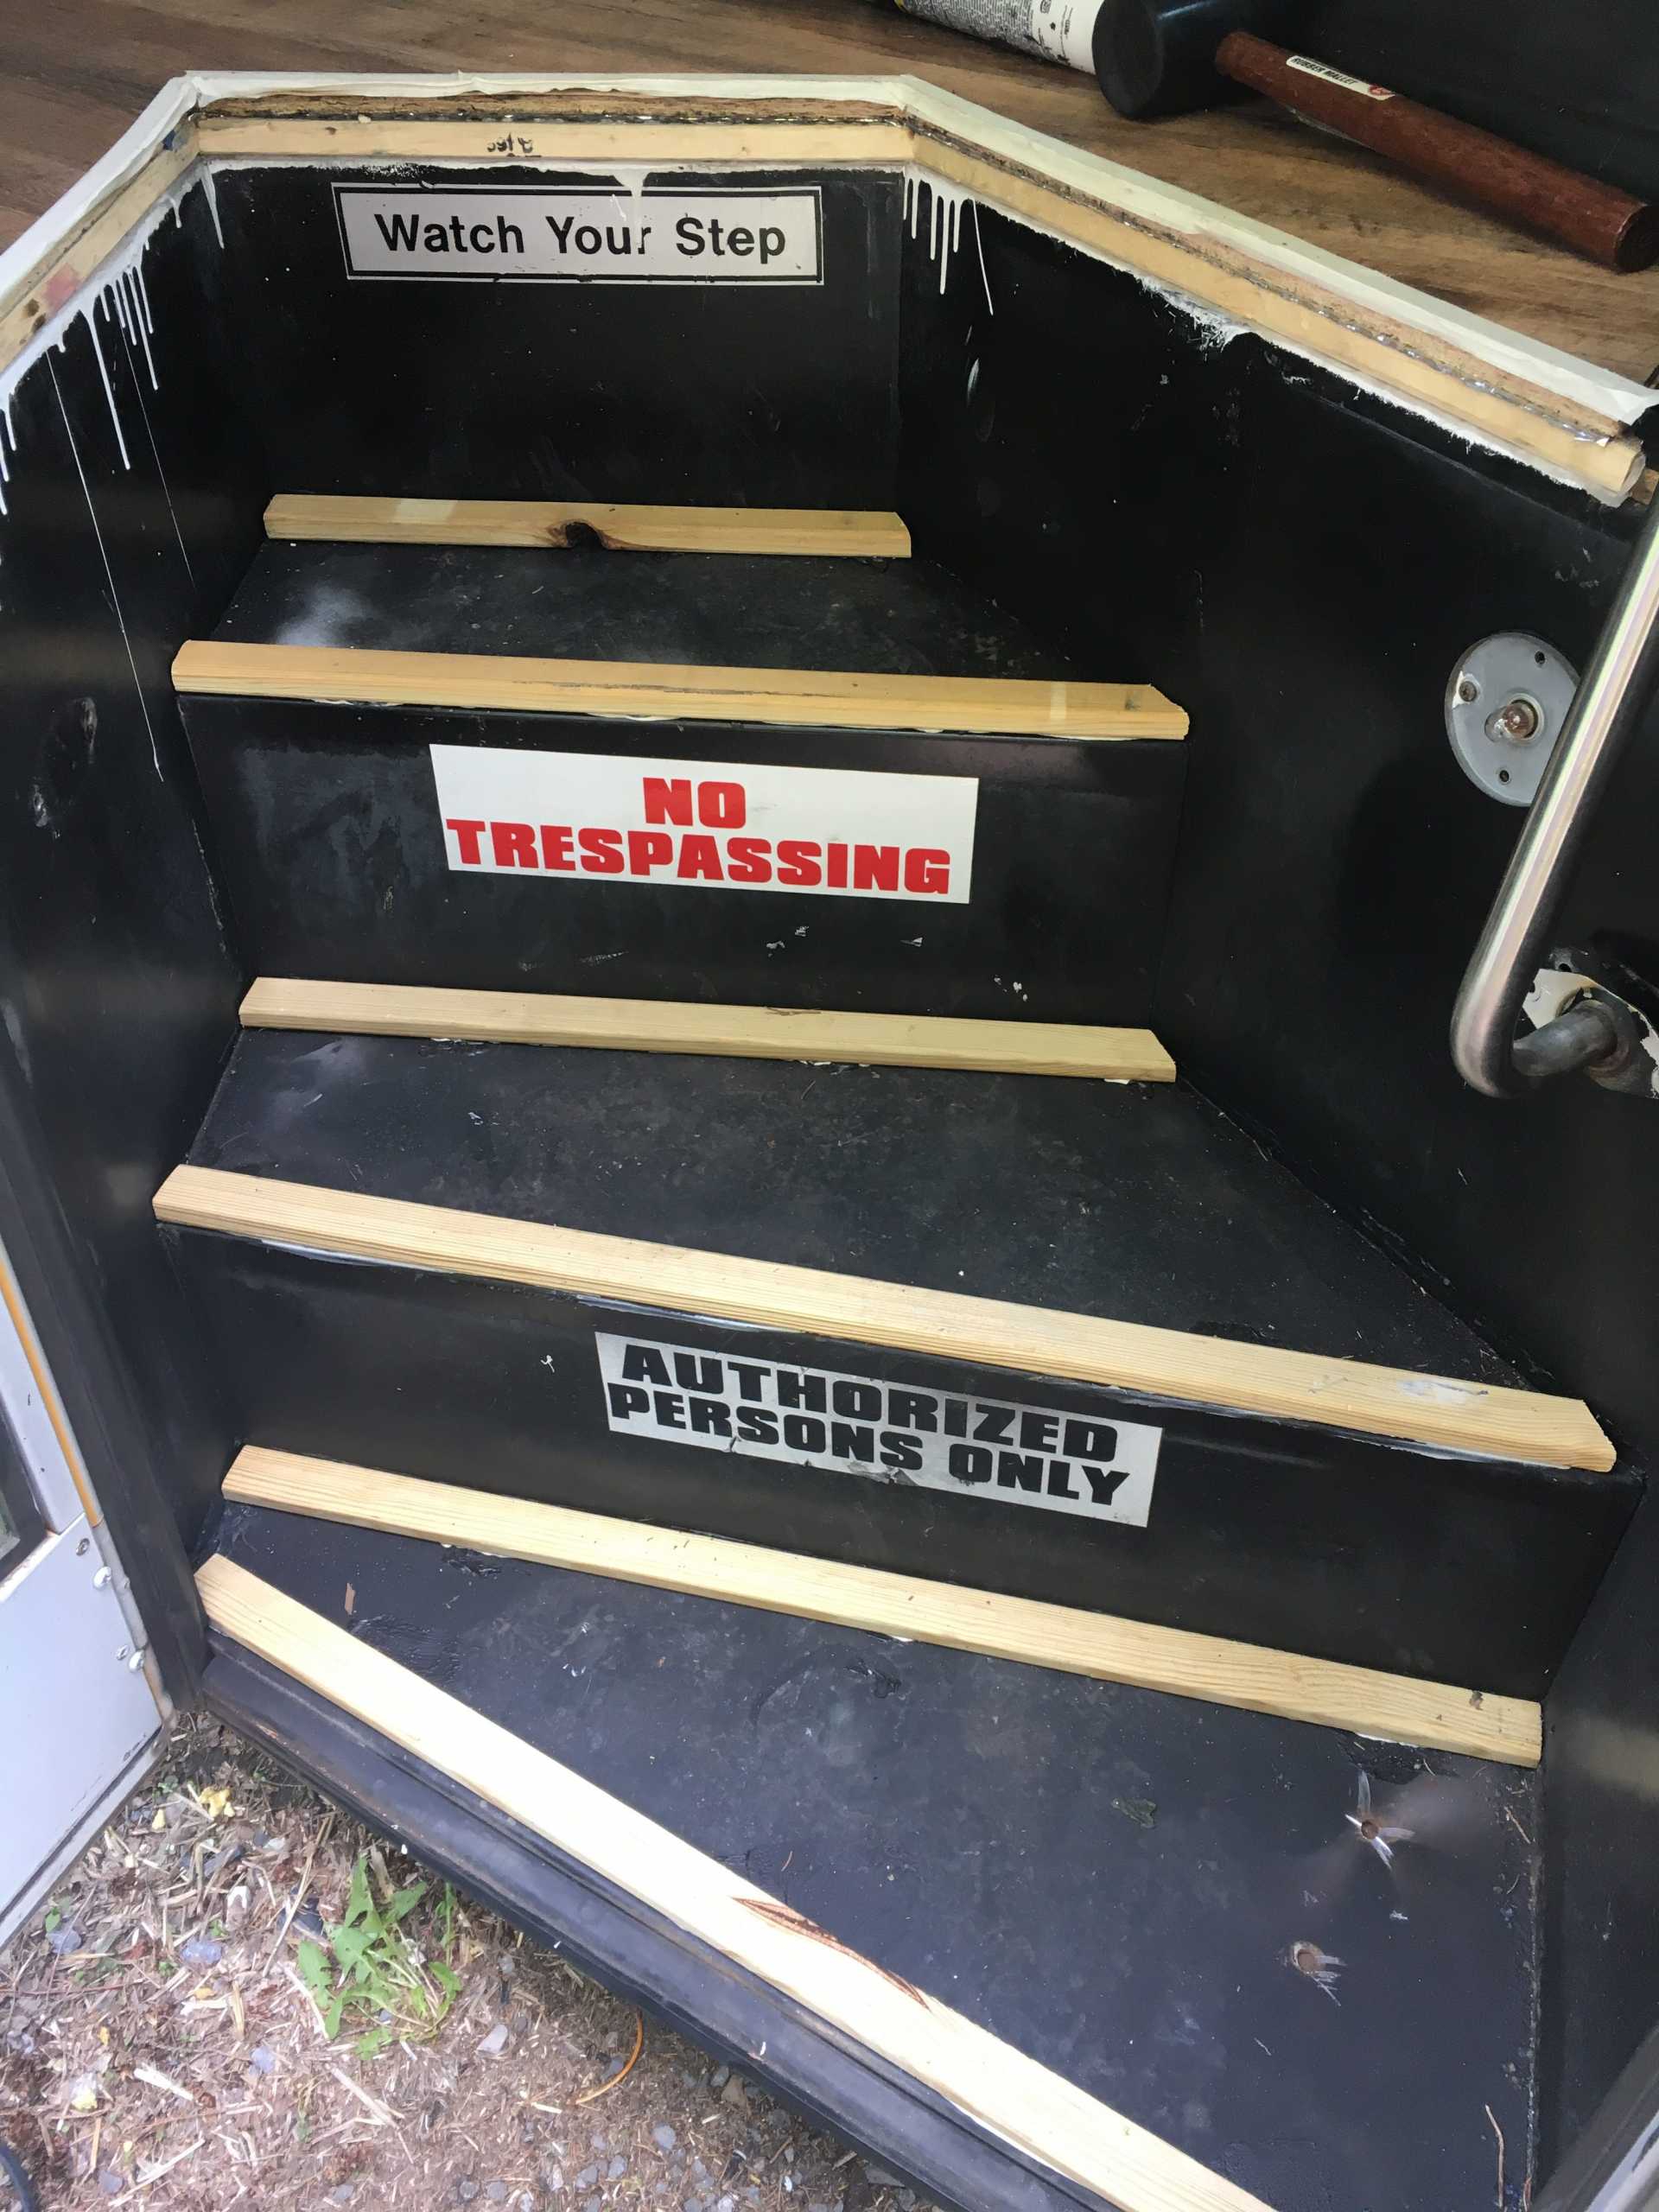
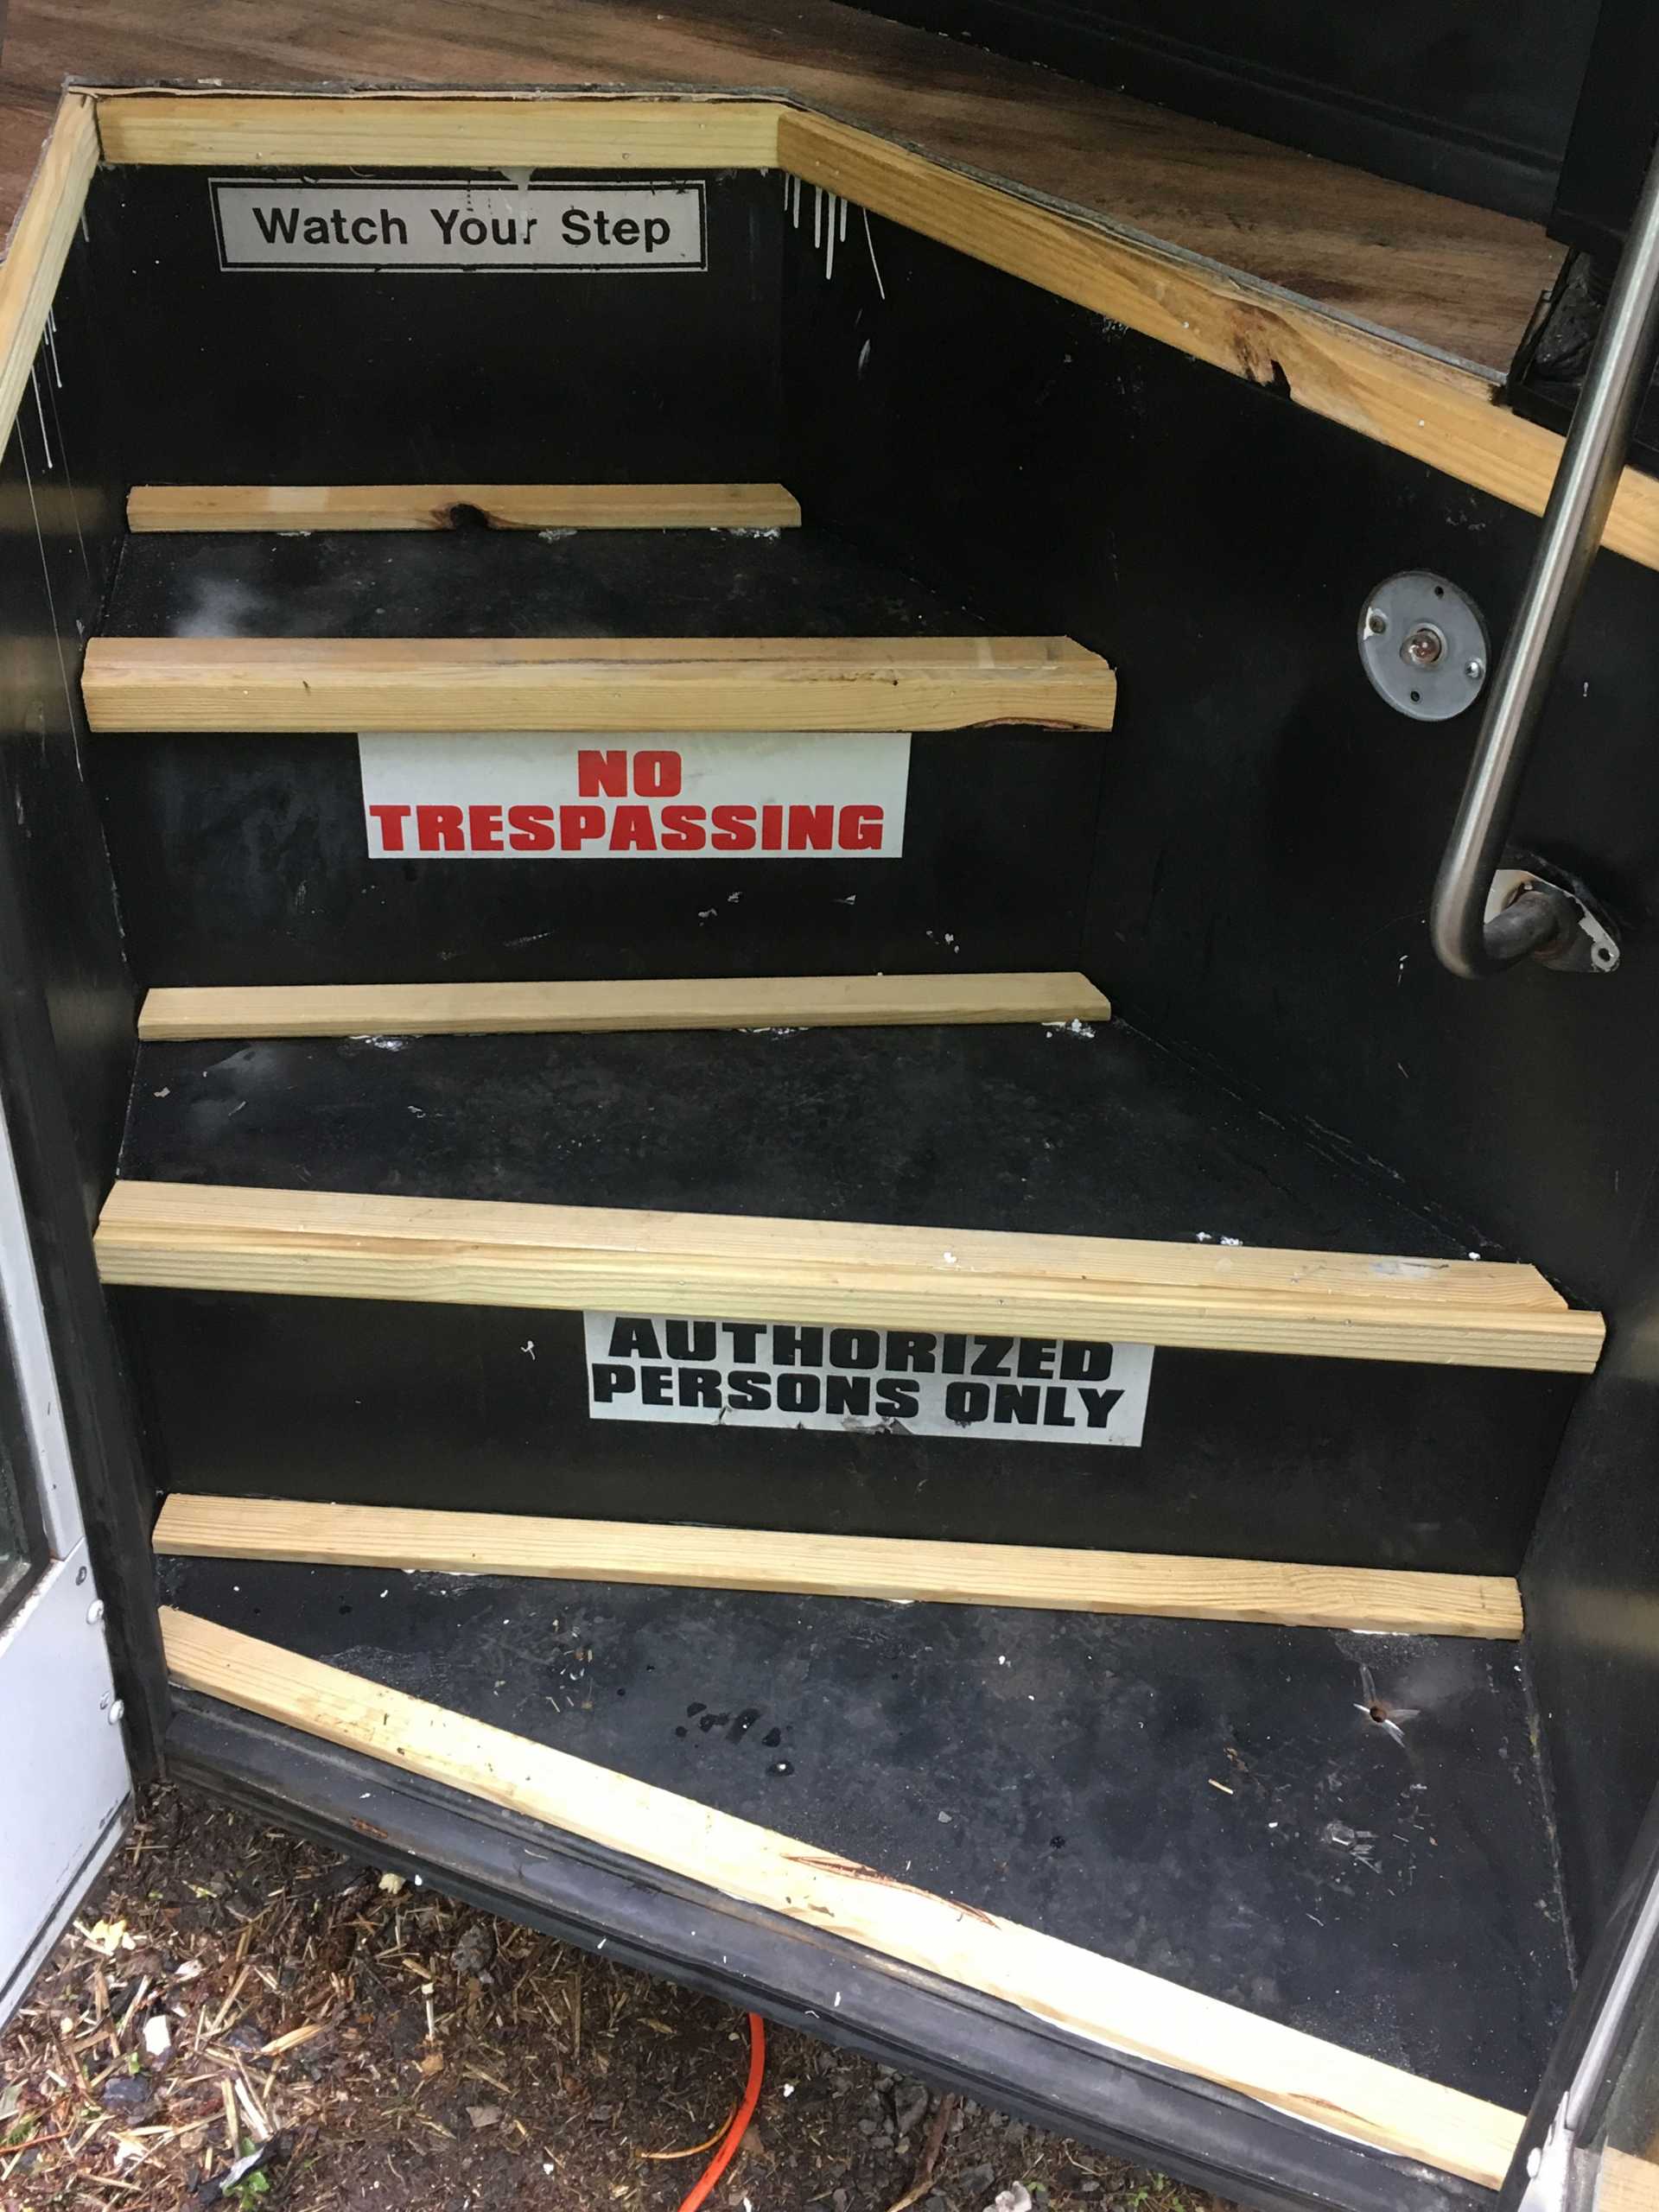
Use the original bus steps to trace out your foam board. Once you have them traced, use a furring strip on the front and back of your foam step pattern to subtract the width of the furring strip. This will ensure that the insulation fits perfectly into the newly created cavity between the furring strips on the steps. Insulation can also be added to the sides of the step box. Finish this off by adding a 1/2″ wooden tops to the steps and secure them with small nails. Thinner wood such as luan can be used on the sides of the step box since there will be no pressure on these parts.
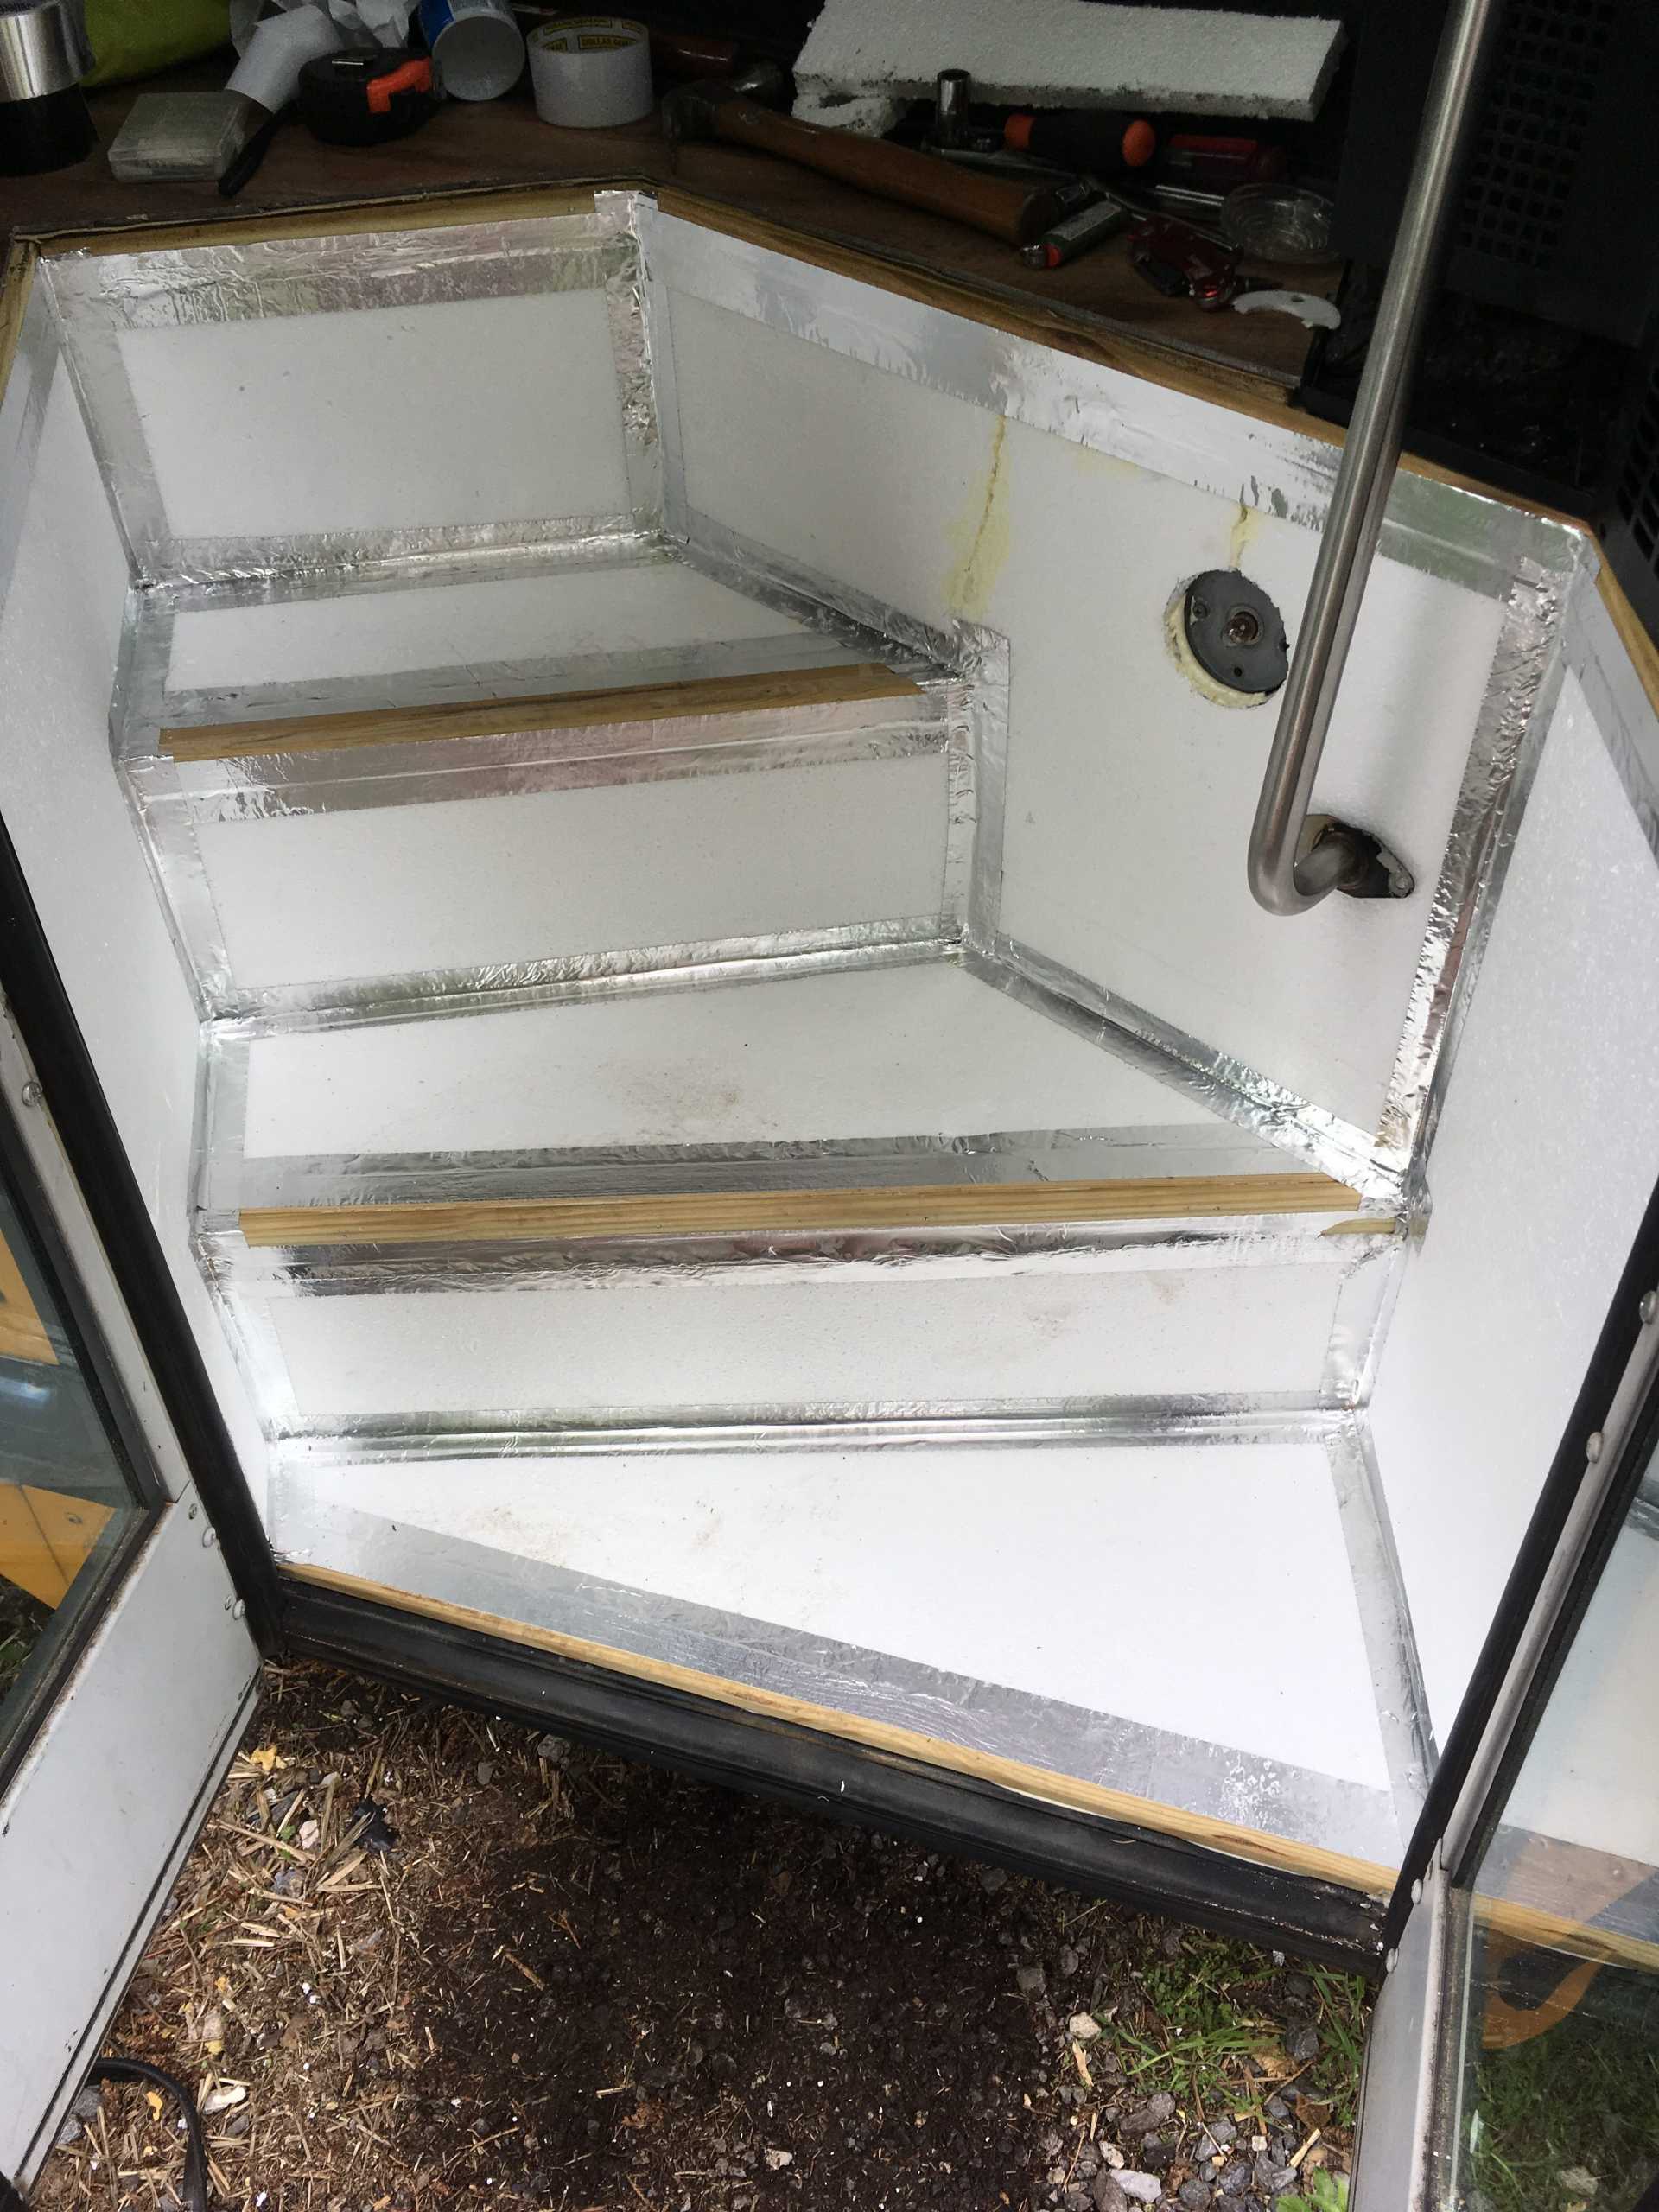
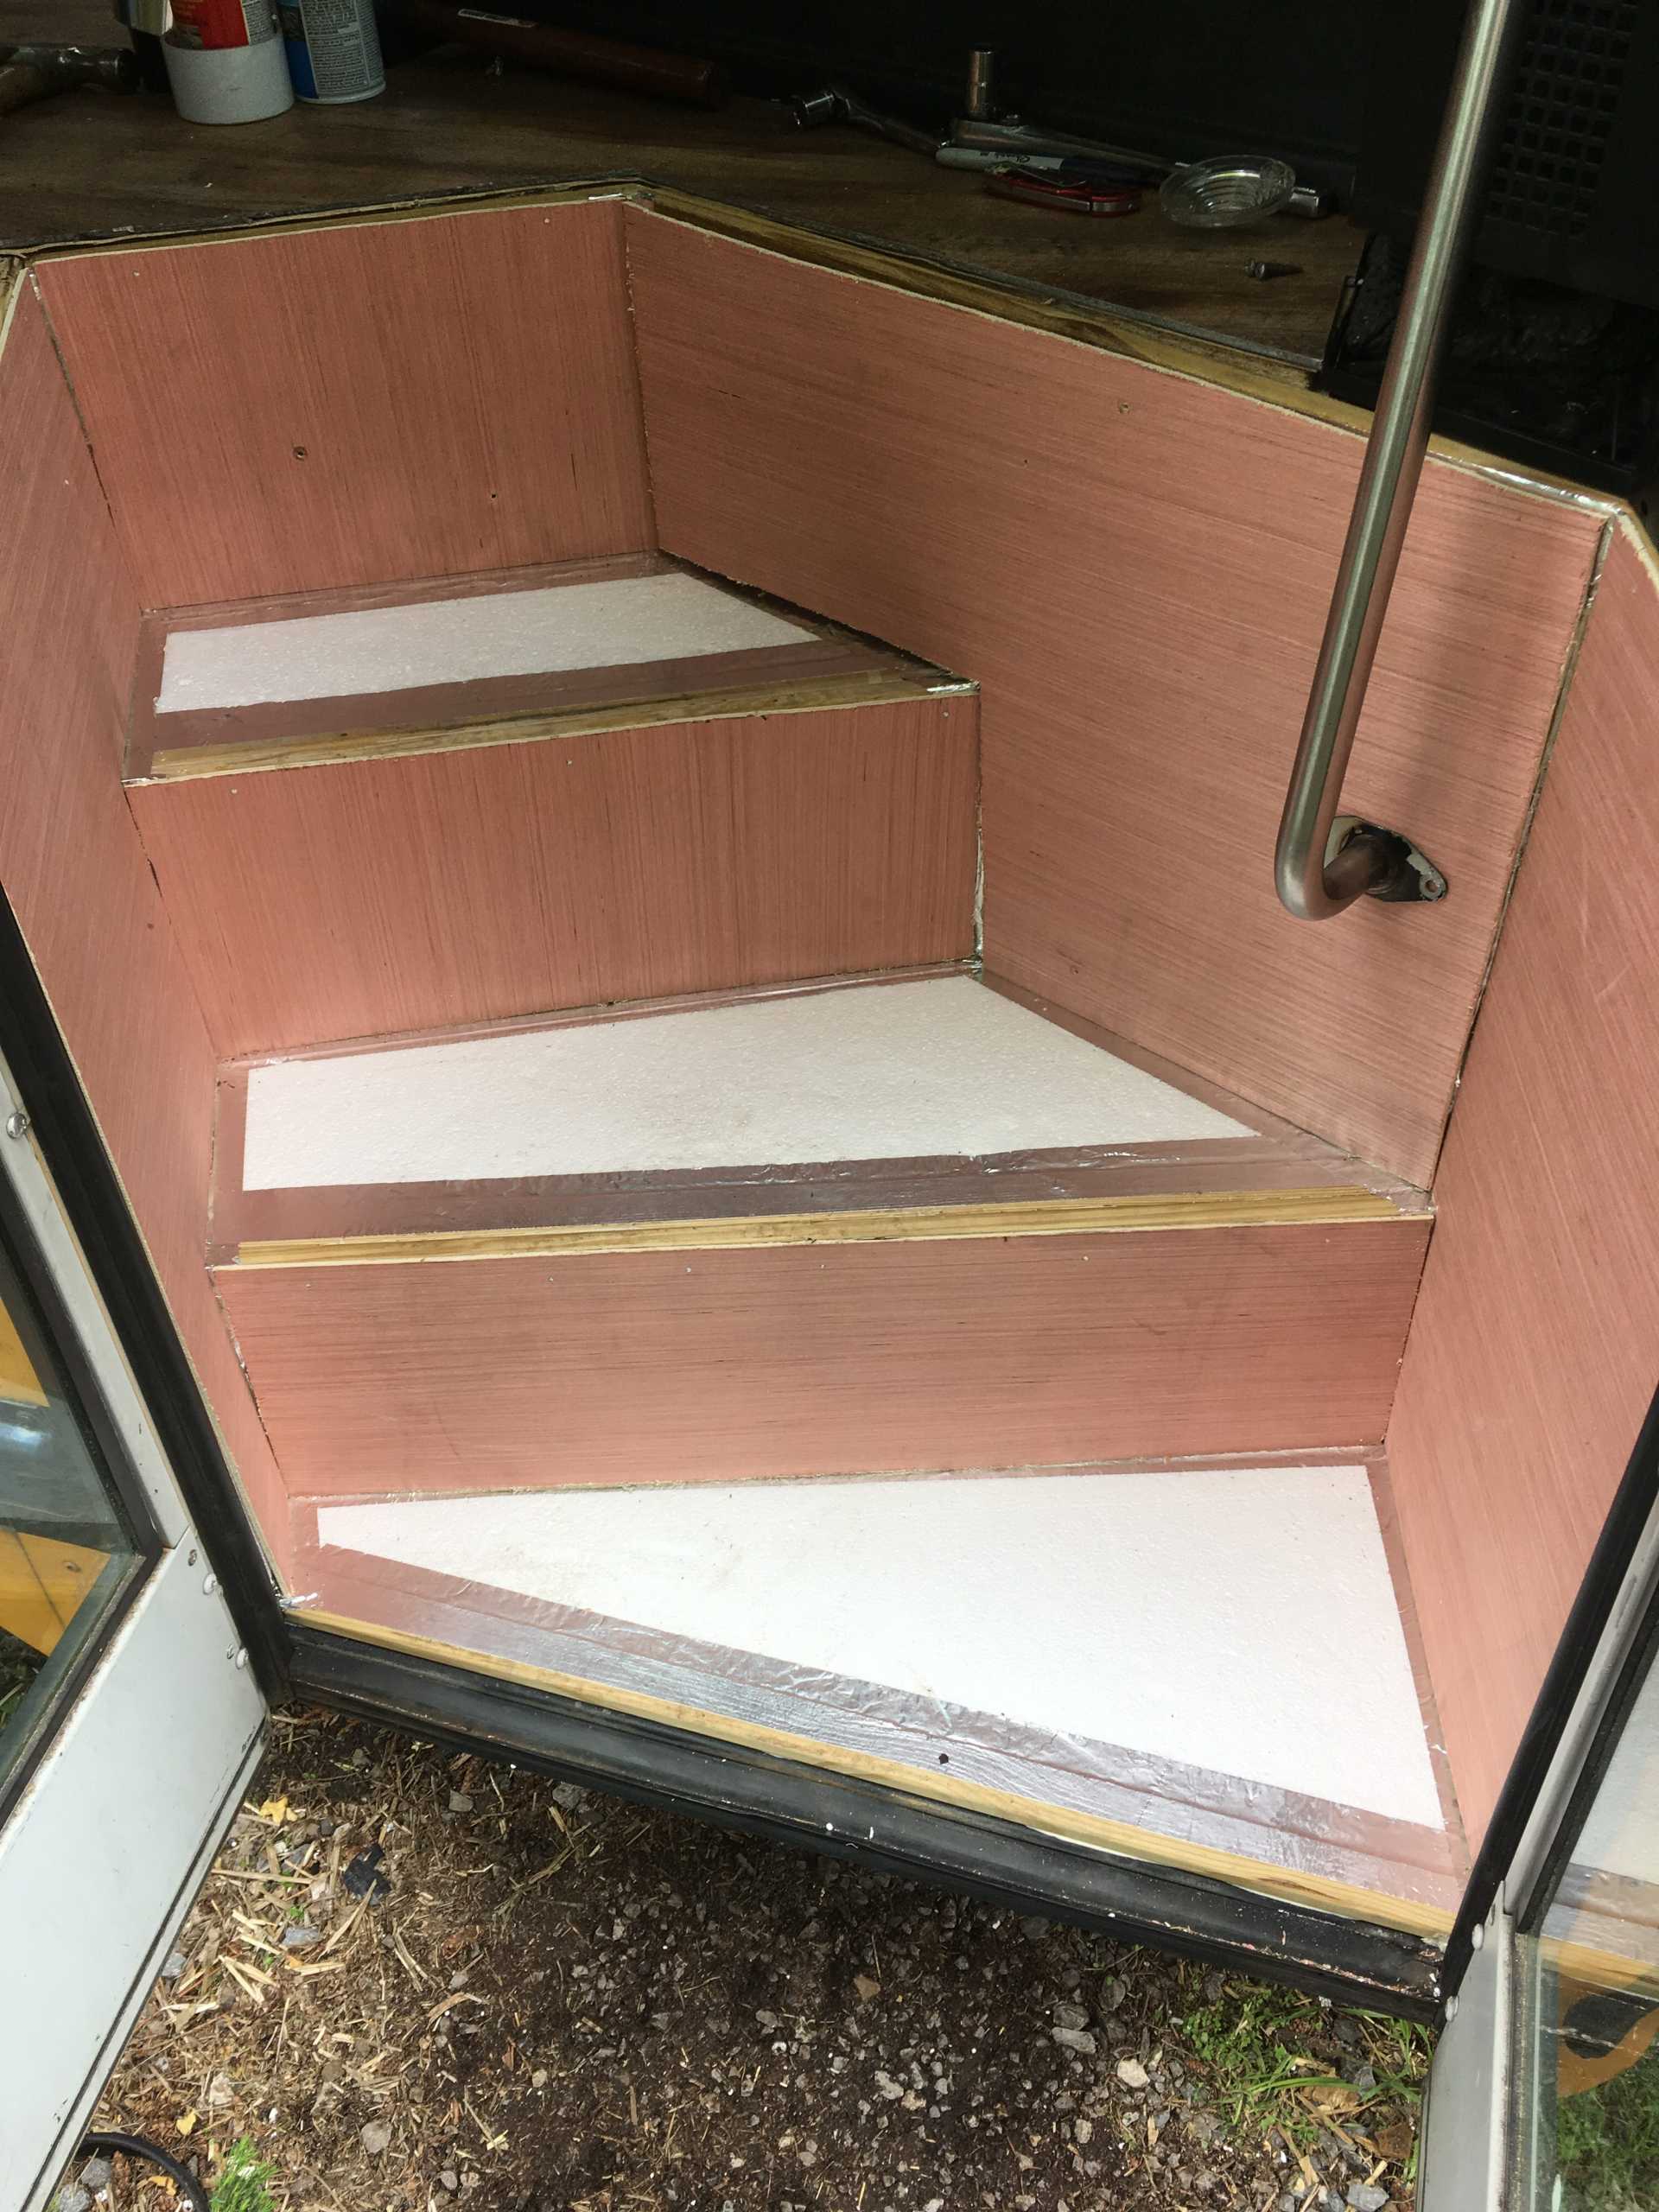
“Pro” Tip: Heat up your box cutter with a lighter when cutting foam board to make cleaner cuts.
