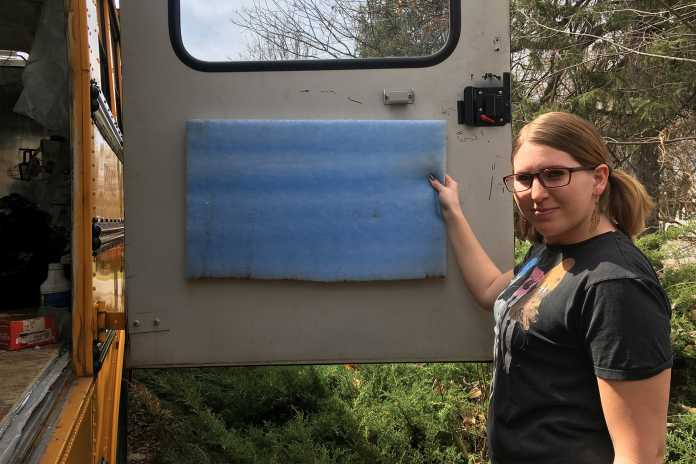
While we were doing our RV Latch Retrofit we realized that the door insulation was as pathetic as the rest of the factory insulation that came in the bus. We had some foam board left over and decided that it would be a good idea to properly insulate the bus while we had the door apart.

Tools
| Drill | Box Cutter | Rivet Gun |
| Rivets |
Materials
| 1″ Insulating Foam Board |
Prep Work:
Start by taking all of the screws out of the latch and sliding the mechanism off.


At this point it is easier to take the door off of the hinges so that the door can be turned upside down. Drill out the middle of the rivets and use a chisel to pop the heads off. Only remove the bottom rivets and the rivets on the sides of the door up to where the window starts.


Doin’ It:
Once you get the rivets out you can pull apart the bottom half of the door and see the cheapo undersized piece of factory insulation. Take a few measurements, and cut your insulation. We had to cut around metal boxes that sat in the bottom corners of the door.


Place in your newly cut insulation and put the rivets back in. We placed a small amount of silicon under each new rivet to help seal them better. While this method doesn’t help the sides and top of the door, you can drill some small holes and fill the door with Window and Door Insulating Foam from the company Great Stuff. This foam does not expand as much as their other foams and will ensure you don’t blow the door apart.

Enjoy being warmer… and cooler!


