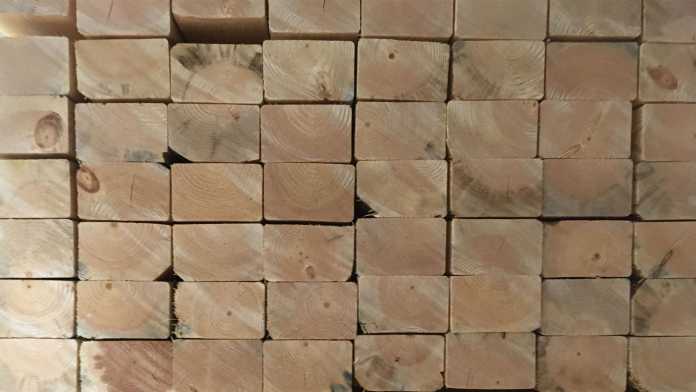
We have never framed anything other than a picture, however unlike most other parts of this project, we only did this once because we were equipped with the proper knowledge of thermal bridging. Thermal bridging occurs when an object has a significantly higher heat transfer than the surrounding materials. In short, cold or hot metal on the outside of the bus transfers through all of the surrounding materials and then into the bus itself.
Thermal bridges occur in three ways: Materials with higher thermal conductivity than the surrounding materials, penetrations of the thermal envelope, and discontinuities or gaps in the insulation material. 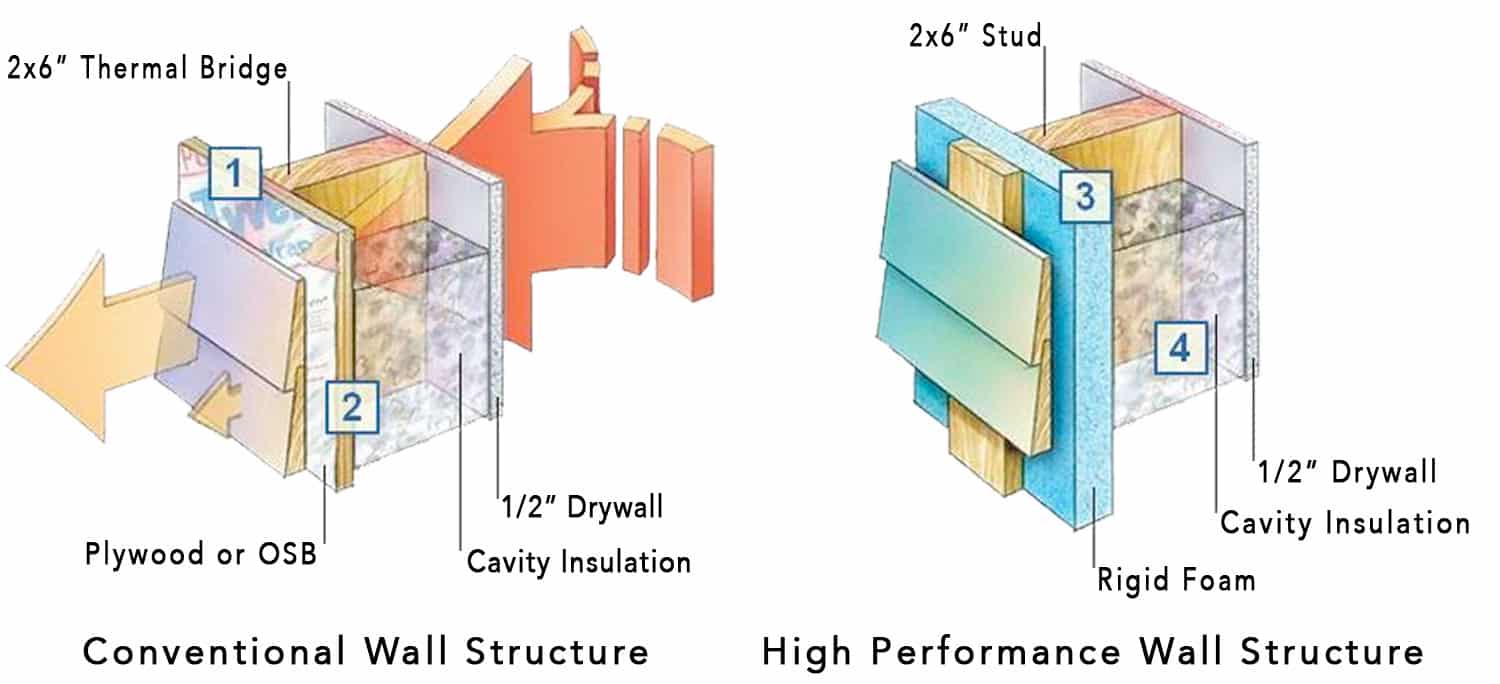

Tools
| Impact Drill |
Materials
| Wood Screws | L Brackets | 2×3′ Studs |
Prep Work:
This all works best if the bus is gutted. We have seen many builds that are done on the preexisting tin bus walls which, is a perfect example of a thermal bridge. The heat or cold transfers from the external metal bus skin, to the internal metal bus frame, to the internal tin skin. Take the time to gut your bus and insulate it with real insulation rather than the pieces of scrap material the manufactures use.
Framing:

Now do the same thing under the windows. Your partner will need to hold the stud so that it does not slip off of the tiny lip of metal that will secure the stud. The bottoms of these studs will be seen so make sure they are not junk and adjoin together as square as you can get them.
Once that is finished place another row at the bottom along the subfloor. There should now be 3 horizontal, parallel rows of studs down each side of the bus.
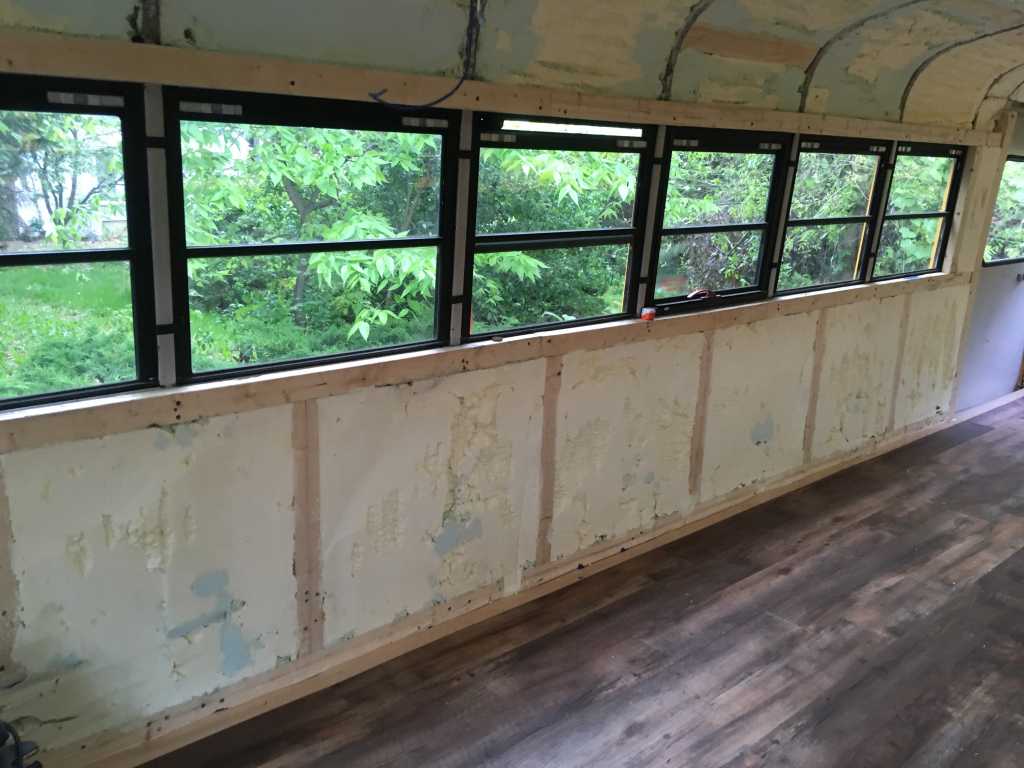

Here is where thermal bridging comes into play. We have seen a lot of buses that use the vertical metal frame ribs (below the windows) to screw their studs to. While this won’t transfer the heat/cold as well as metal on metal, it will eventually transfer through the stud. There is also a high risk of the wooden vertical studs obtaining moisture from the frame ribs and causing problems down the road. To avoid any future issues, put a stud between each frame rib and use L brackets to secure them between the stud underneath the windows and the stud that sits on top of the subflooring.
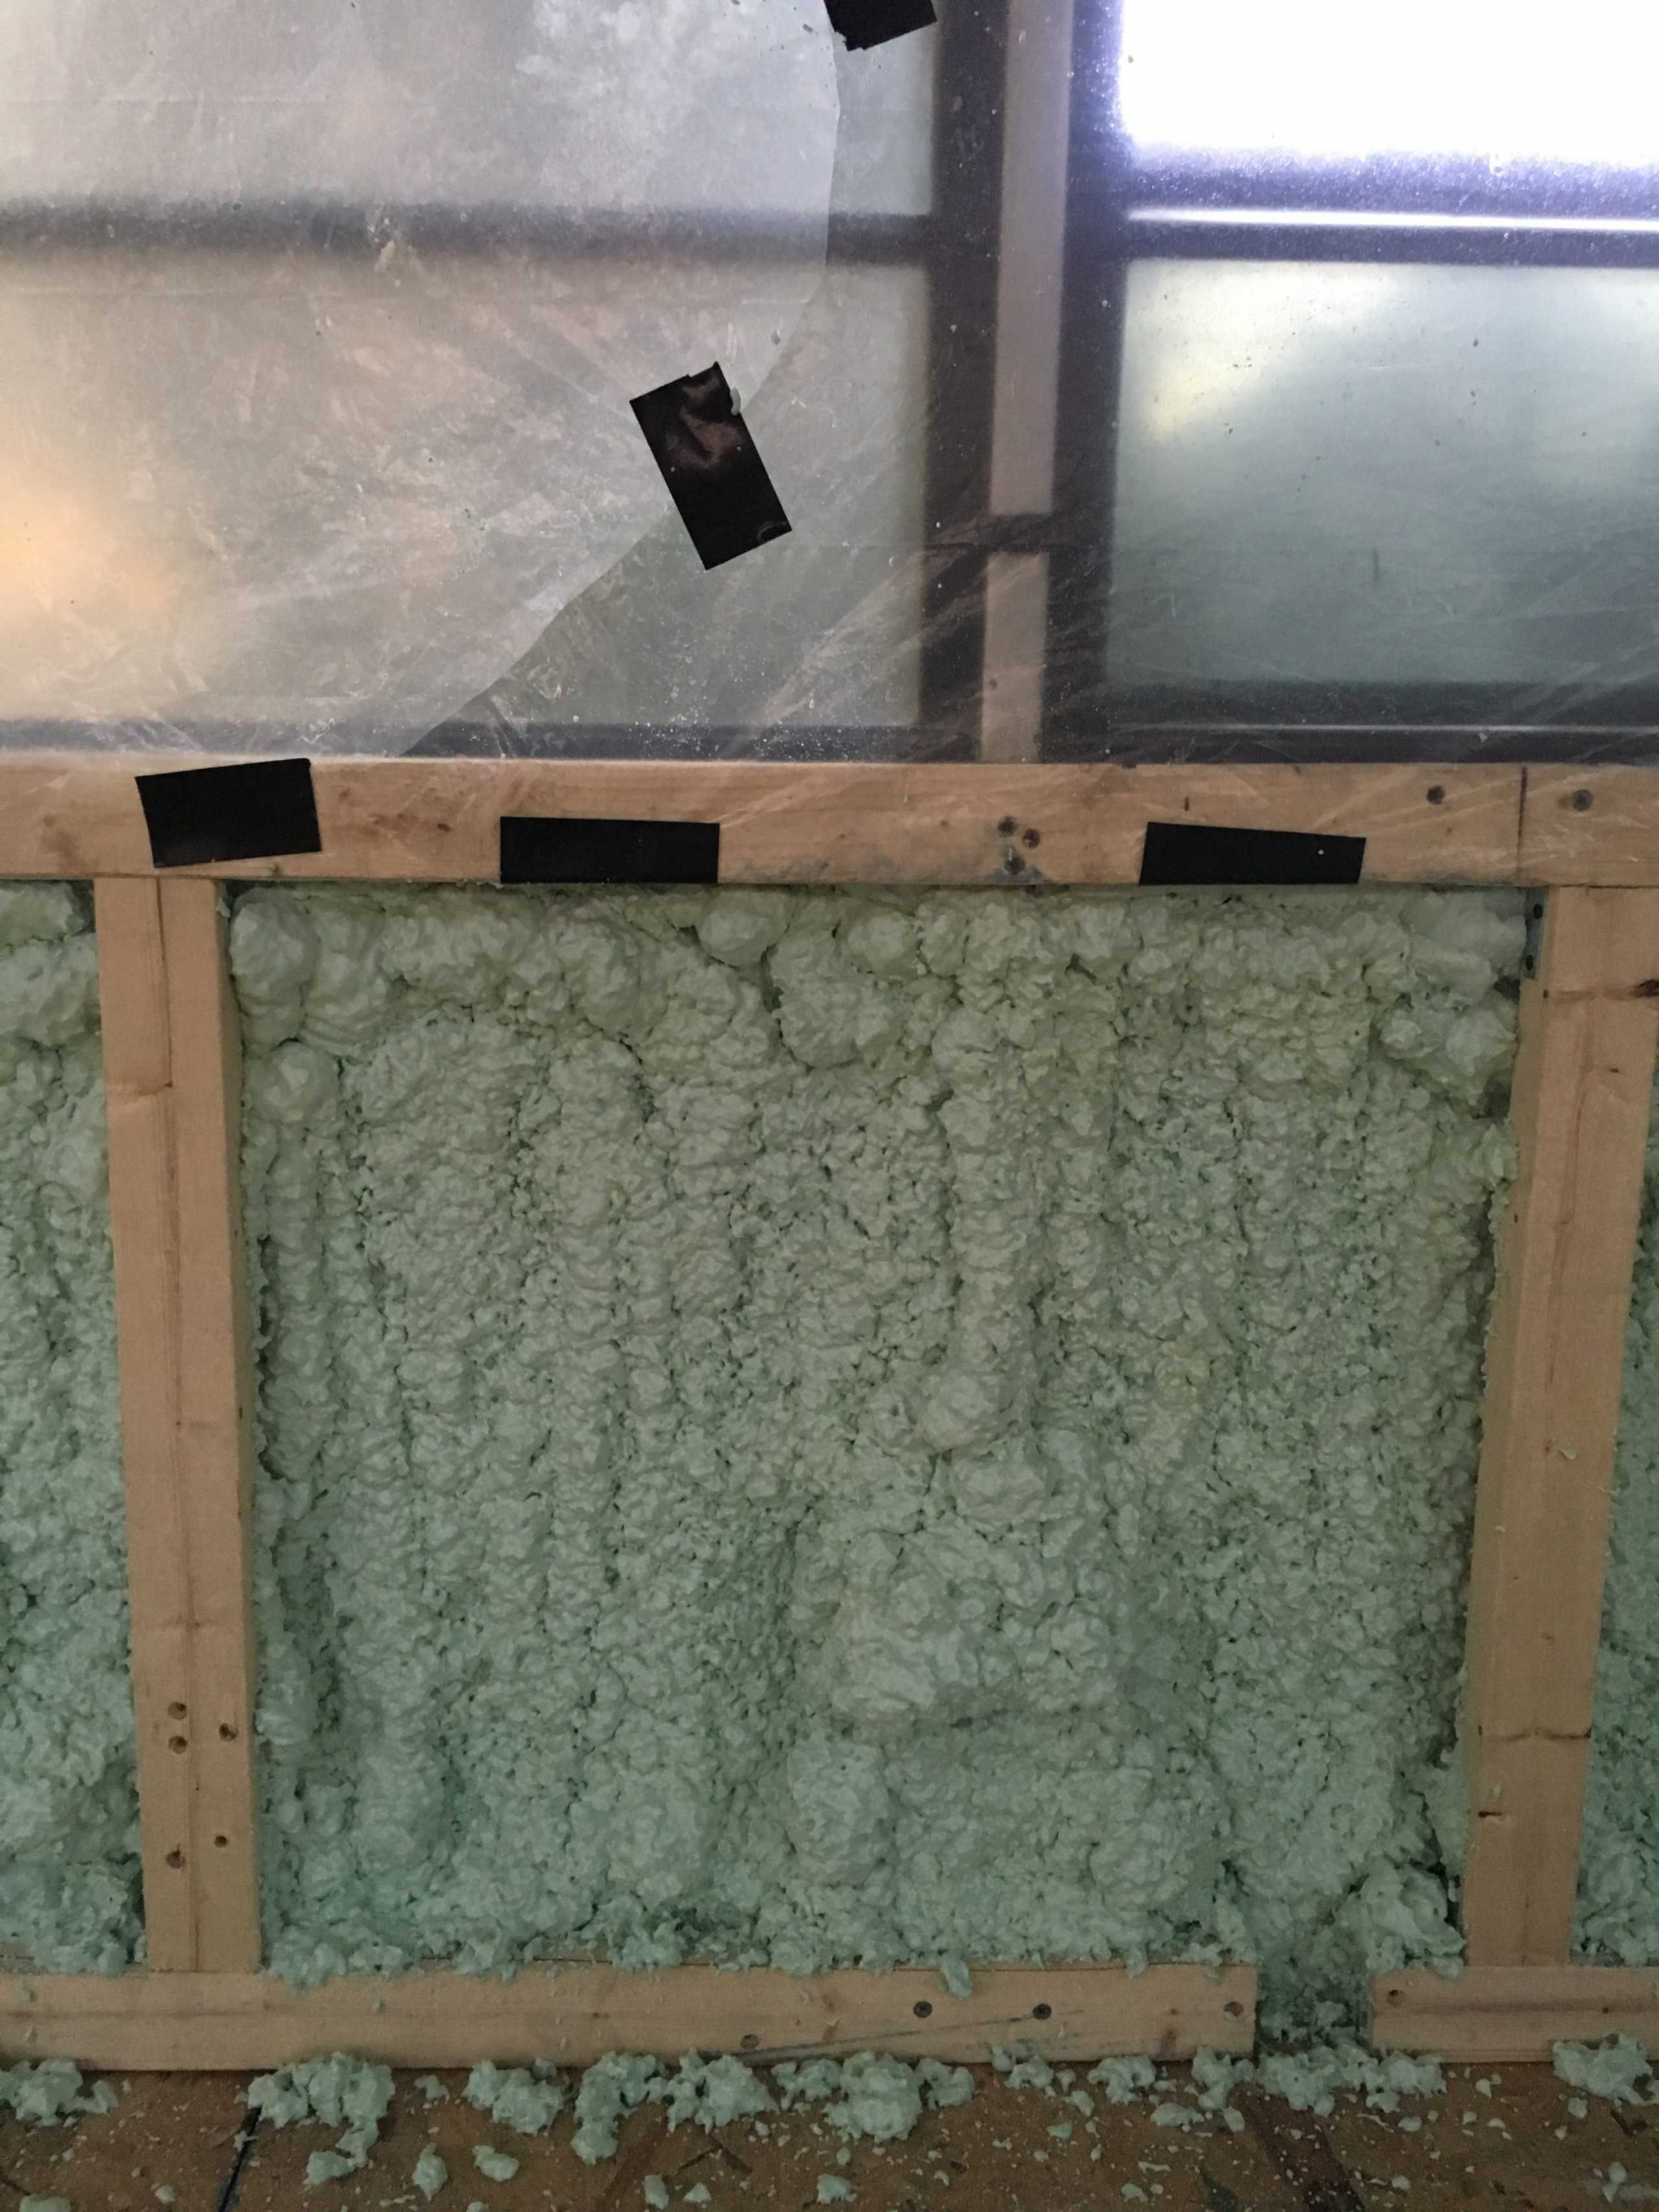
Once it is all framed out, you can spray foam behind the studs and over the metal frame ribs. This will completely seal off that thermal bridge and make your bus a much more comfortable climate as well as easier to control one way or the other.
Happy framing! 😀🔨
