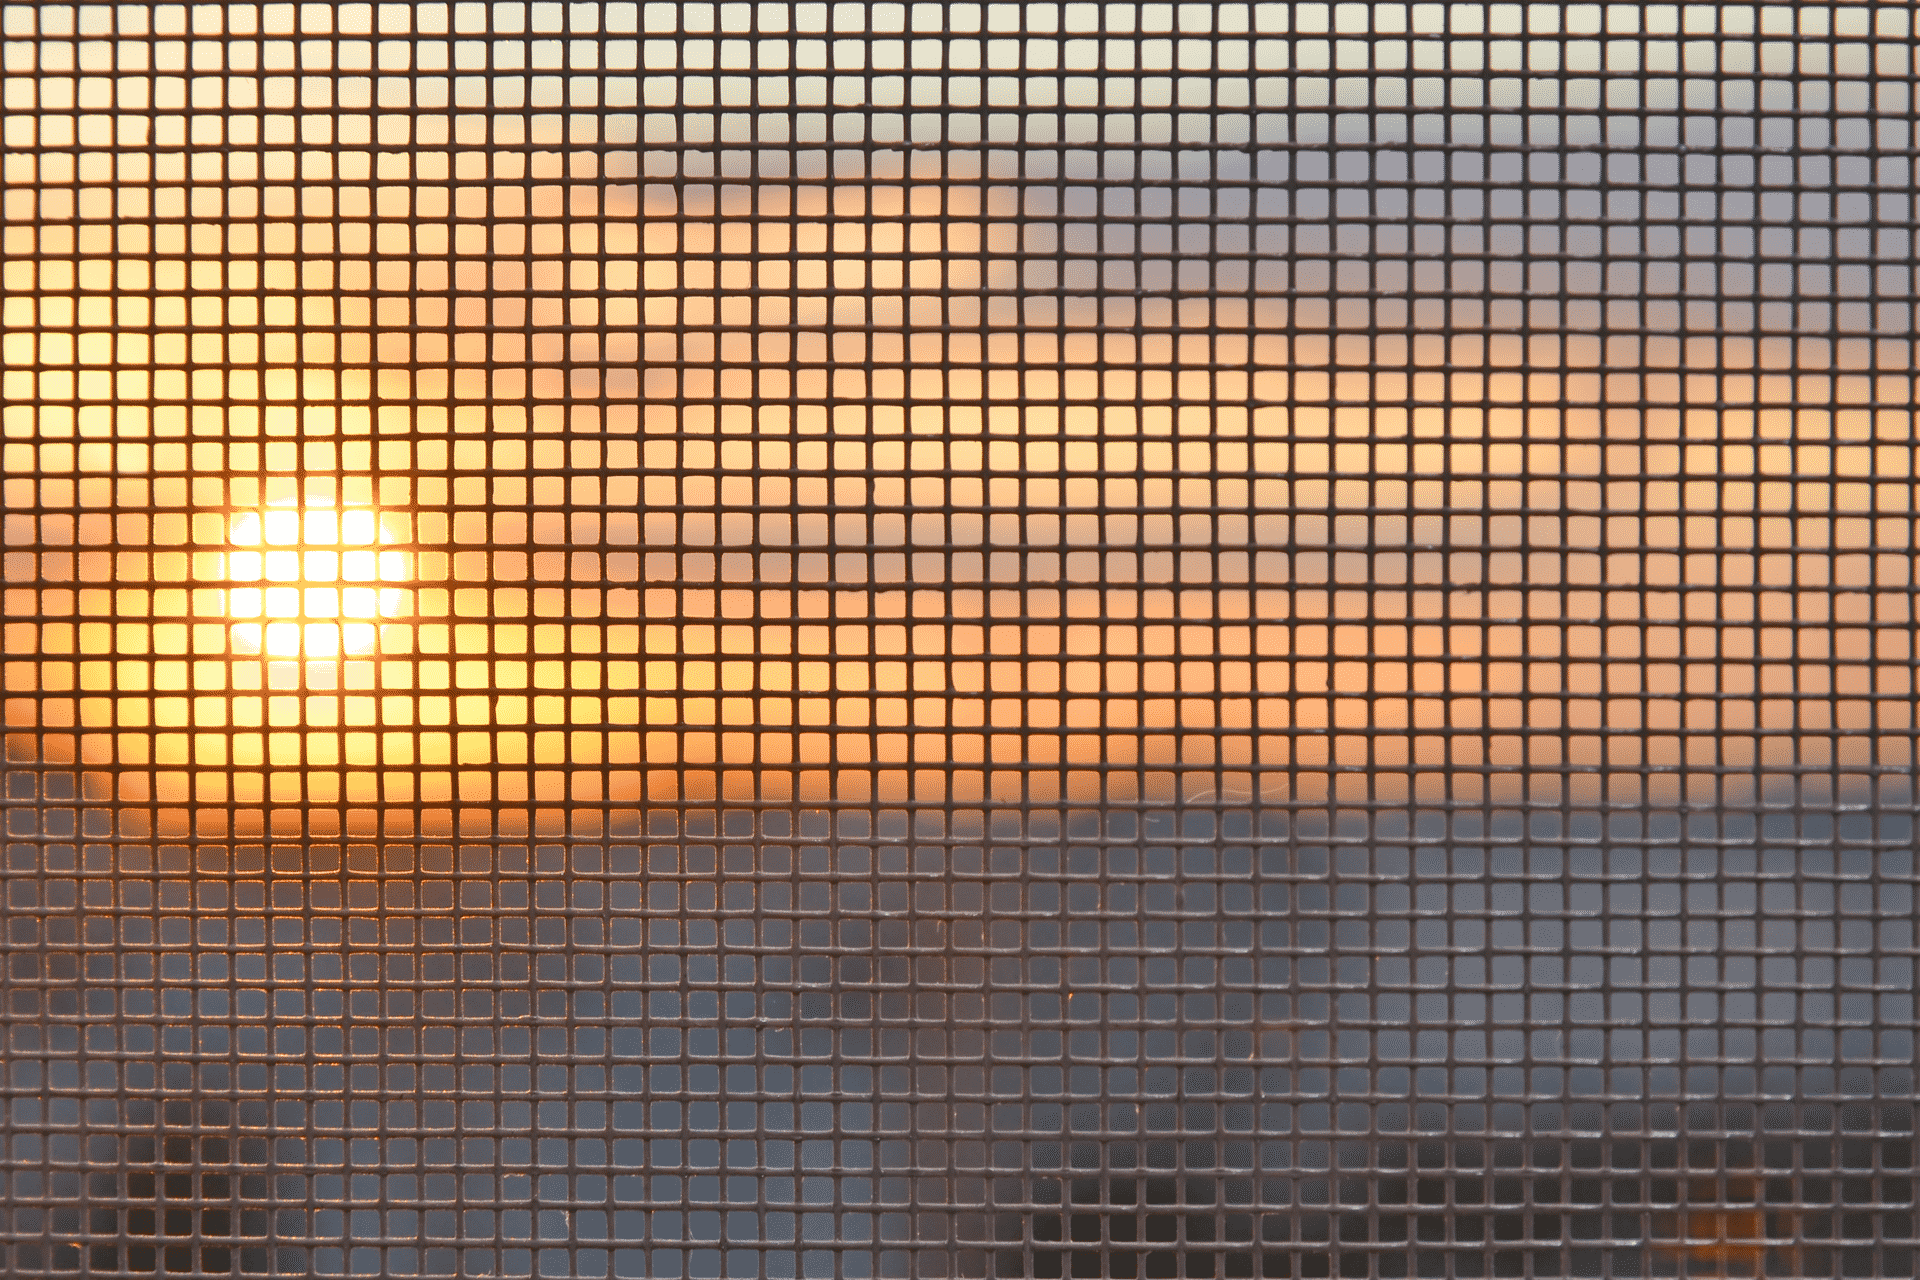
Making window screens requires very little tools and is something easy that can be done over a rainy weekend when other projects may be halted. Having screens on our bus has completely changed the exterior appearance. Not only do the screens look nice, but they also keep out bugs and rain! No more closing the windows when a spring shower moves in.


Tools
| Chop Saw | Spline Tool | Utility Knife |
| Scissors |
Materials
| Frame Corners | Screen Frame | Screen |
| Spline |
Screening:

We purchased the wrong size frame corners because they were not fitting tight into the screen frames. We ended up having to push the back of the frames in a little so that they would better secure the frame corners. A little bit of glue is a nice, but unnecessary touch.
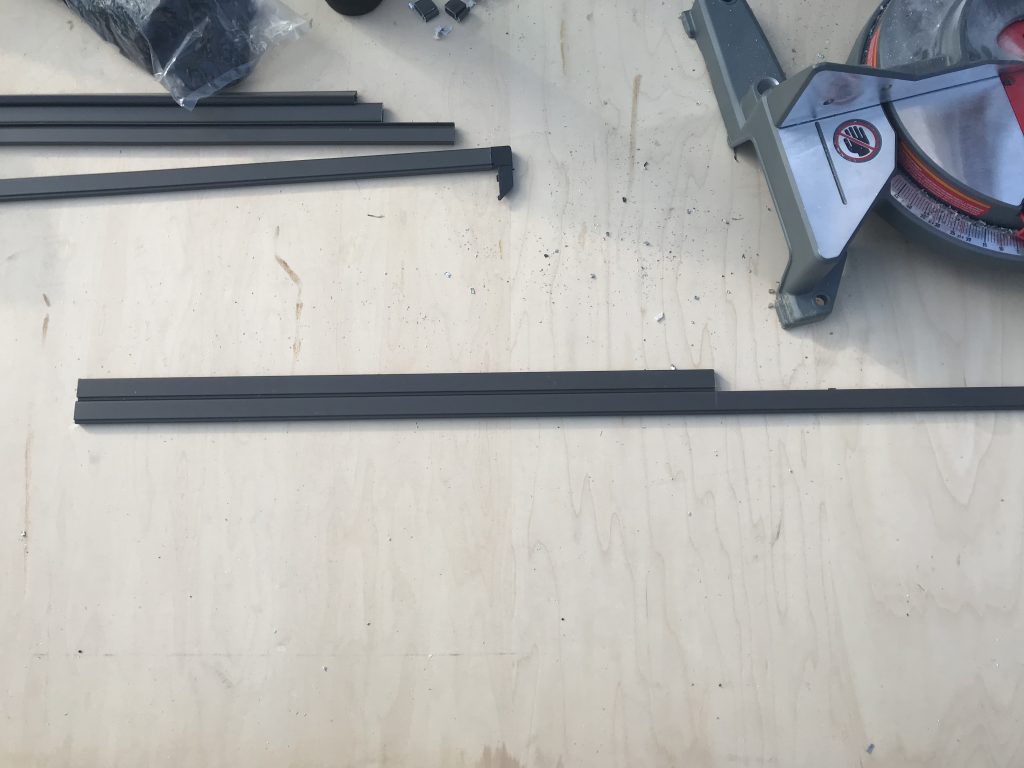
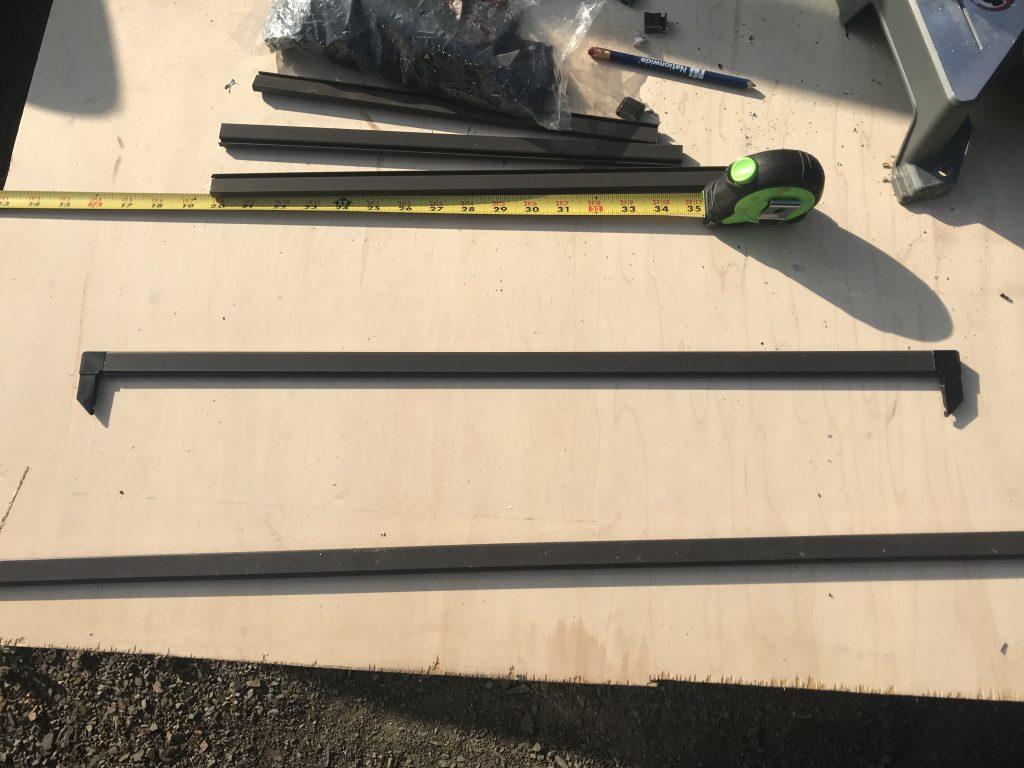
Continue measuring and cutting windows and frames until all frames are made. Do NOT measure a single window and then make all of the screens! EVERY window on our bus was a different measurement. Because of this, we used a paint marker to write D# and P# on the back of each screen to represent driver side window number or passenger windows number.
The process for screening a frame is the same for both pet and metal screen materials. Lay a frame down and place screen material over it, overlapping it on each side by about 2″. After the rough size of the screen material is determined, cut it off the roll with scissors.

A spline tool is a 2-in-1 tool used for pushing the screen into the spline channel, and for pushing the spline into the spline channel on top of the screen. When pushing the screen into the spline channel the screen or frame could askew slightly which will give the final product a rhombus shape rather than square. The best way we found was to run your hand along the screen on top of the frame when using the tool to push the screen into the frame. This keeps everything nice and square since the material cannot pull from the middle of the screen. Next, press the spline into the channel to secure the screen permanently in place.

Some screens had their spline inserted clockwise around the frame while others were inserted top/bottom, left/right. We found that it did not make a difference how the spline was inserted as long as the frames stayed square. Once all of the spine is installed, use a utility knife ran parallel to the screen frames to cut off the excess screen.


